On the 26th April 1986 at the Chernobyl Nuclear Power Plant in northern Ukraine, technicians began a late night safety test on the No. 4 reactor.
The safety test was meant to simulate what would happen and how the technicians would react to a power failure at the power plant, but something went wrong and at 01:23 No. 4 reactor exploded. For 9 days an open air graphite fire in the reactor released radioactive particles into the atmosphere, the majority of the contaminated material landed around the power plant but over the coming weeks and months wind blew radioactive particles across Europe.
The city of Pripyat was just 3km away and home to almost 50,000 people. Residents who heard the nearby explosion gathered on a bridge at the outskirts of the city and watched the aurora of flames coming from the burning reactor. Pripyat wasn’t immediately evacuated, the residents carried on as normal, but within a few hours dozens of people fell ill.
It wasn’t until the afternoon of the 27th April that the evacuation of Pripyat began, initially this would be for 3 days and residents were told to only bring what they needed, as a result personal belongings were left behind.
The next day talks began to evacuate people within the 10km zone, ten days after the disaster this was expanded to 30km and this exclusion zone still exists today.
The residents of Pripyat never returned.
Getting to Ukraine
You can visit the Chernobyl Exclusion Zone just about all year round, but for practicality we decided to go in the spring at the beginning of May.
It’s relatively easy to get to Ukraine with cheap flights from many European countries and for EU passport holders (and many others) you don’t need a visa.
We booked the flights in one go with KLM, flying from Durham Tees Valley to Schiphol and then a codeshare flight with UIA to Kiev, arriving at Boryspil International Airport.
Money
I couldn’t find a money exchange who had Ukrainian hryvnia, but after looking through a few forums and YouTube we found that there are ATMs and money exchanges in arrivals at Boryspil airport, we just used the ATMs and got all the money we needed.
SIM cards
Also in arrivals at Boryspil are SIM card kiosks, Vodafone cover Kiev, Chernobyl and Pripyat so I got a Vodafone Red M SIM with 8GB of data, unlimited Facebook/Twitter/WhatsApp and local SMS. You also got an amount of international calls and SMS, all for 110 UAH, less than £3.
Transport
There are a couple of official options for transport from the airport, busses, airport taxi and car rental. However, Uber also operate in Kiev so with our bargain SIM cards we booked an Uber.
30 minutes, 30km and 270 UAH (£7) later we were at the hotel.
Accomodation
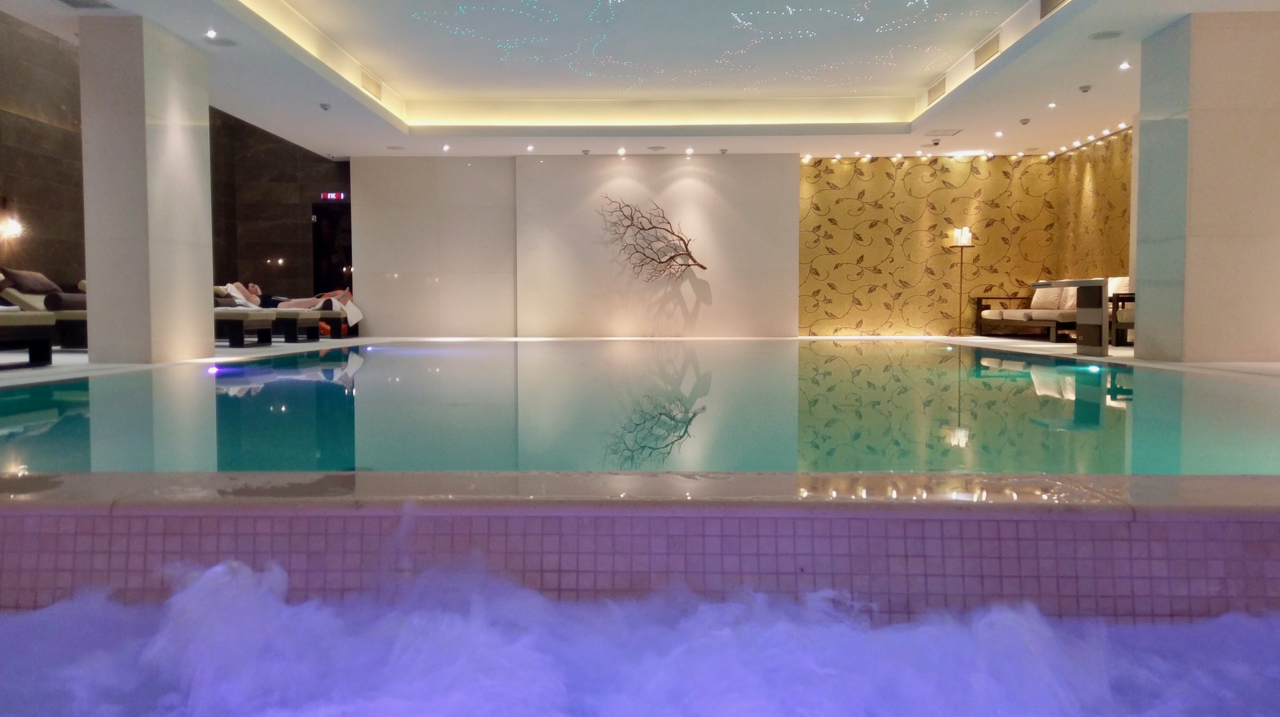
We had a few other things planned in Kiev and we wanted to be near Universytet Metro station and not too far from the Chernobyl tour pick up point which was at the railway station, so we stayed at the Hilton Kiev.
You can get a room whatever your budget in Kiev, there are national and international chains and dozens of independent hotels to choose from.
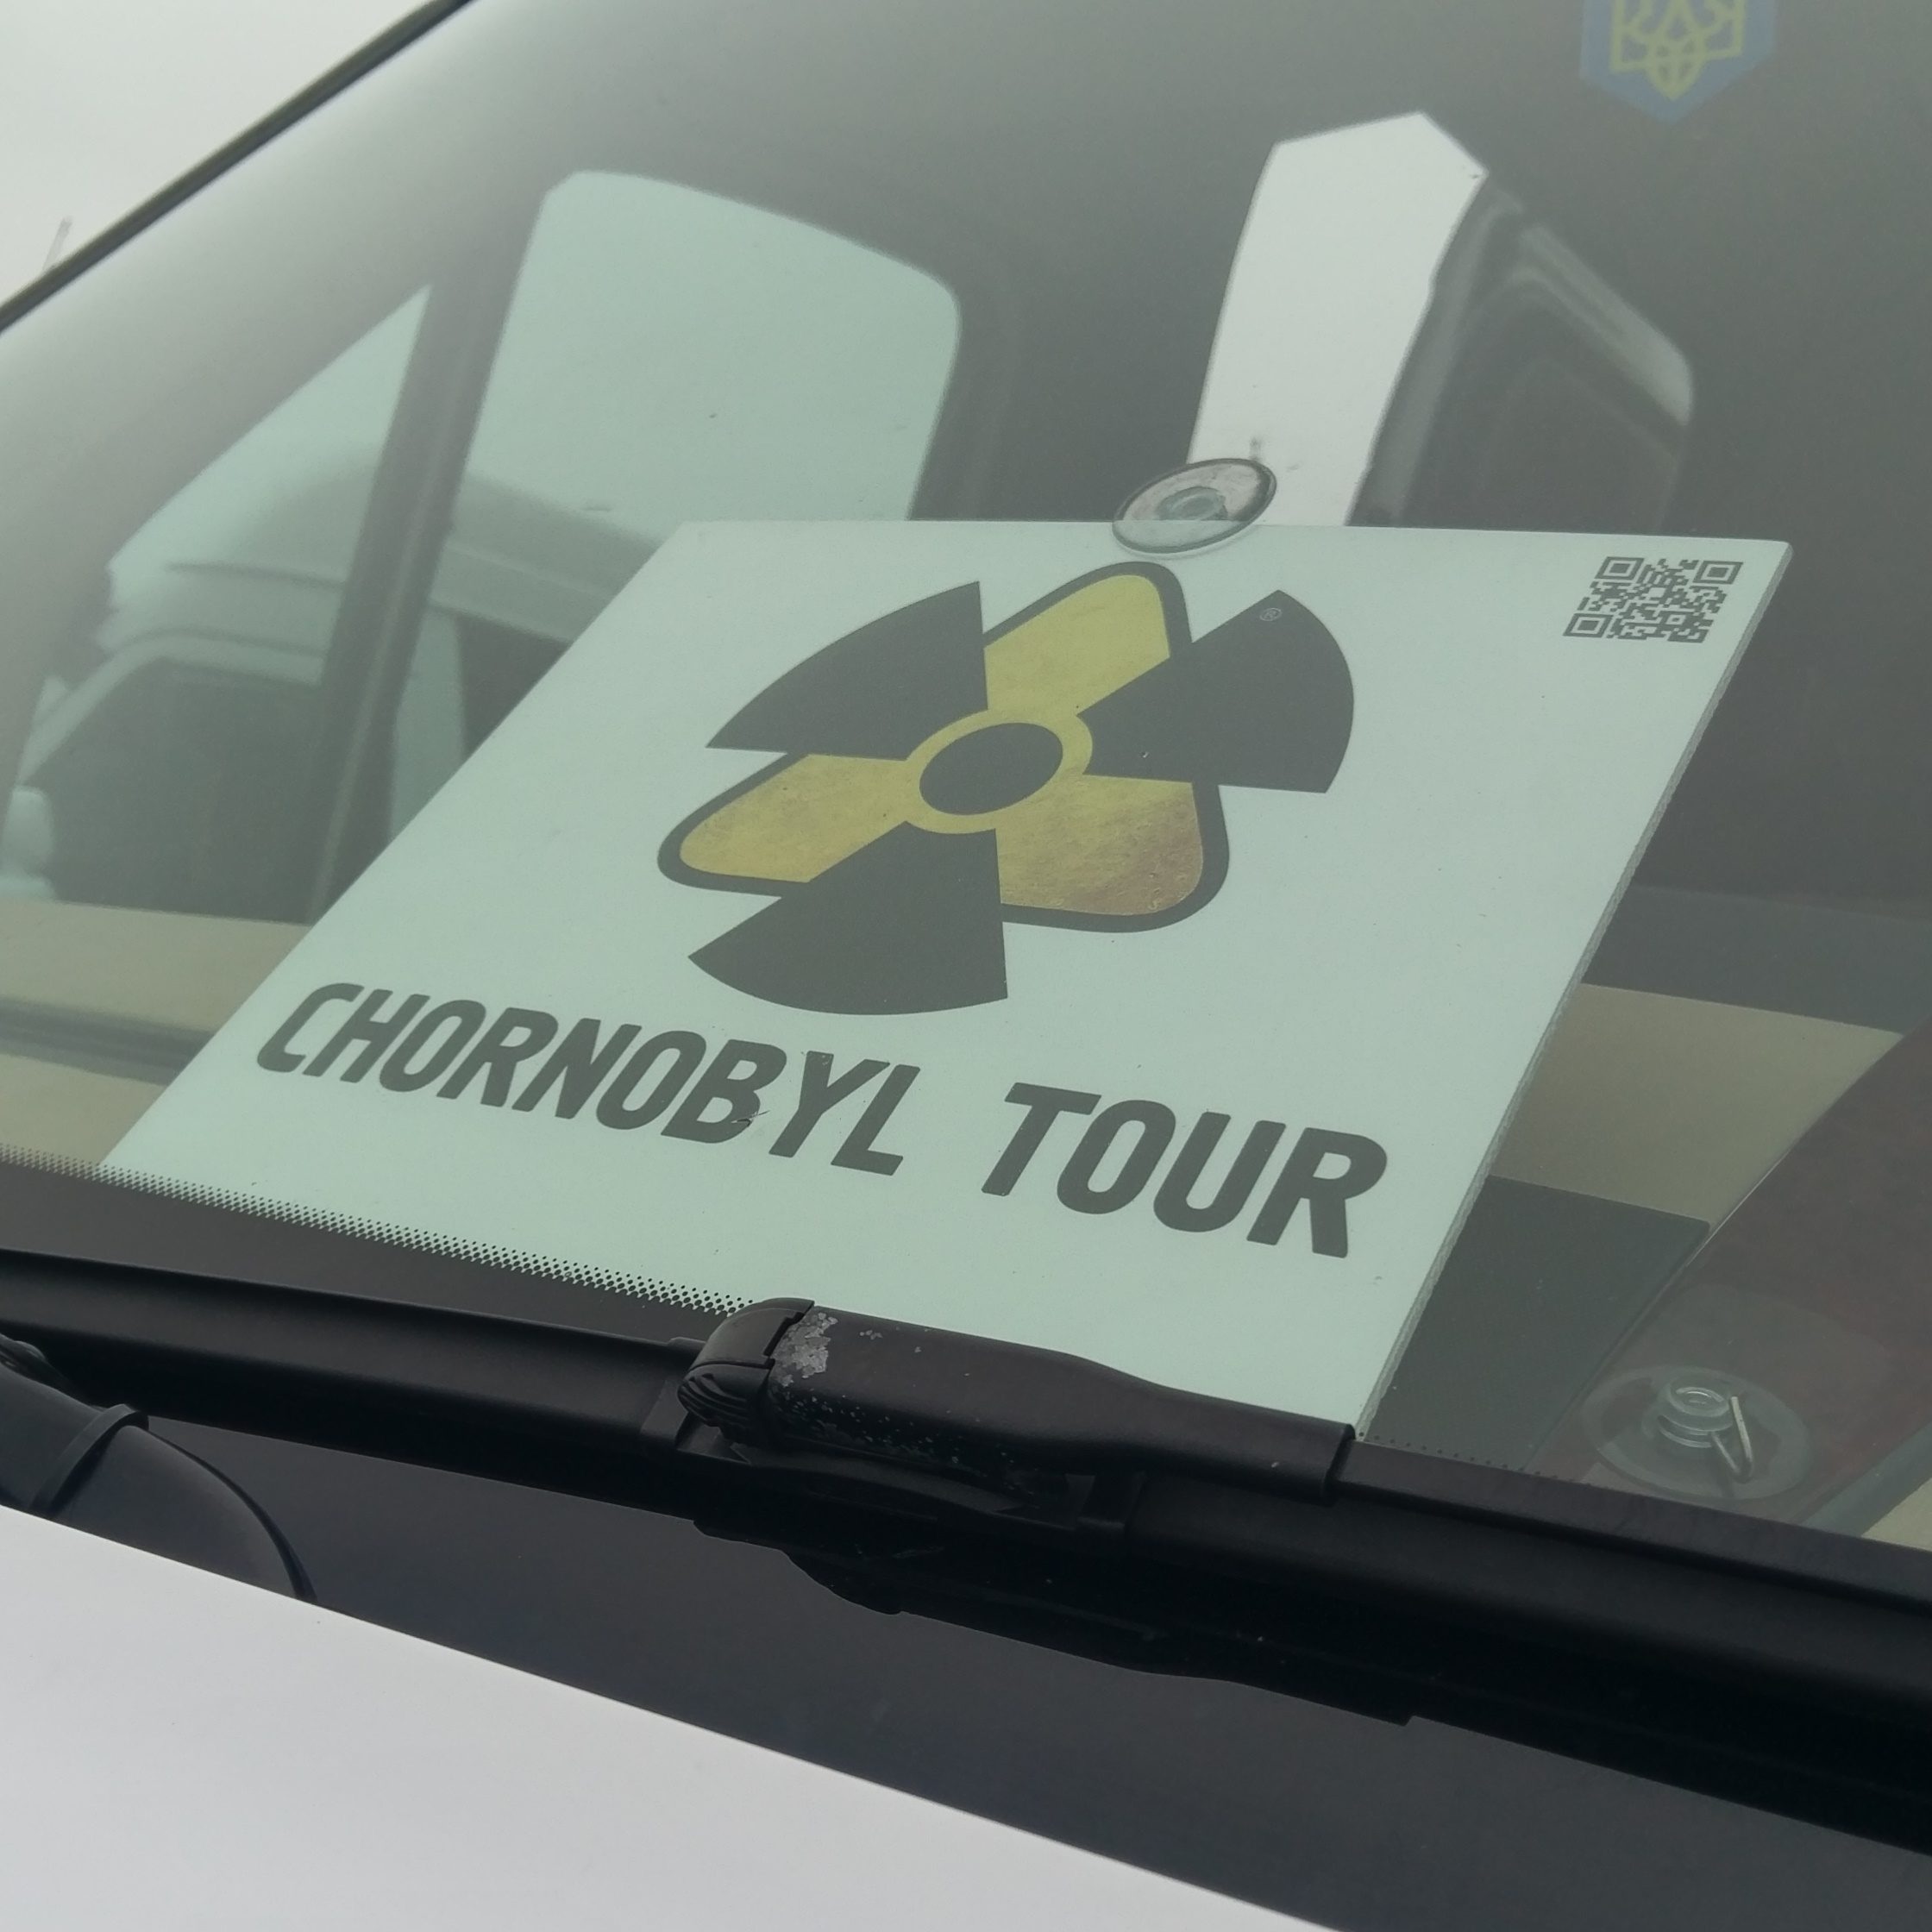
Chernobyl Tour
The exclusion zone has been open to tourists for a number of years, you can apply for a visit yourself, or you can use the services of a tour operator. We read reviews and dug through forums and decided on Chernobyl Tour. For about £100 each they would do all of the paperwork, pick us up, provide a guide and drive us around various places in the exclusion zone including abandoned villages, the Duga radar site, Chernobyl town, the Chernobyl Nuclear Power Plant and Pripyat.
We got picked up near the train station early in the morning to start the 120km journey to the first checkpoint. Three or four Chernobyl Tour vans set off towards Chernobyl, our guide talked about the explosion and subsequent events during the journey, interspersed with videos of what life was like in Pripyat pre evacuation and then the what happened during the cleanup.
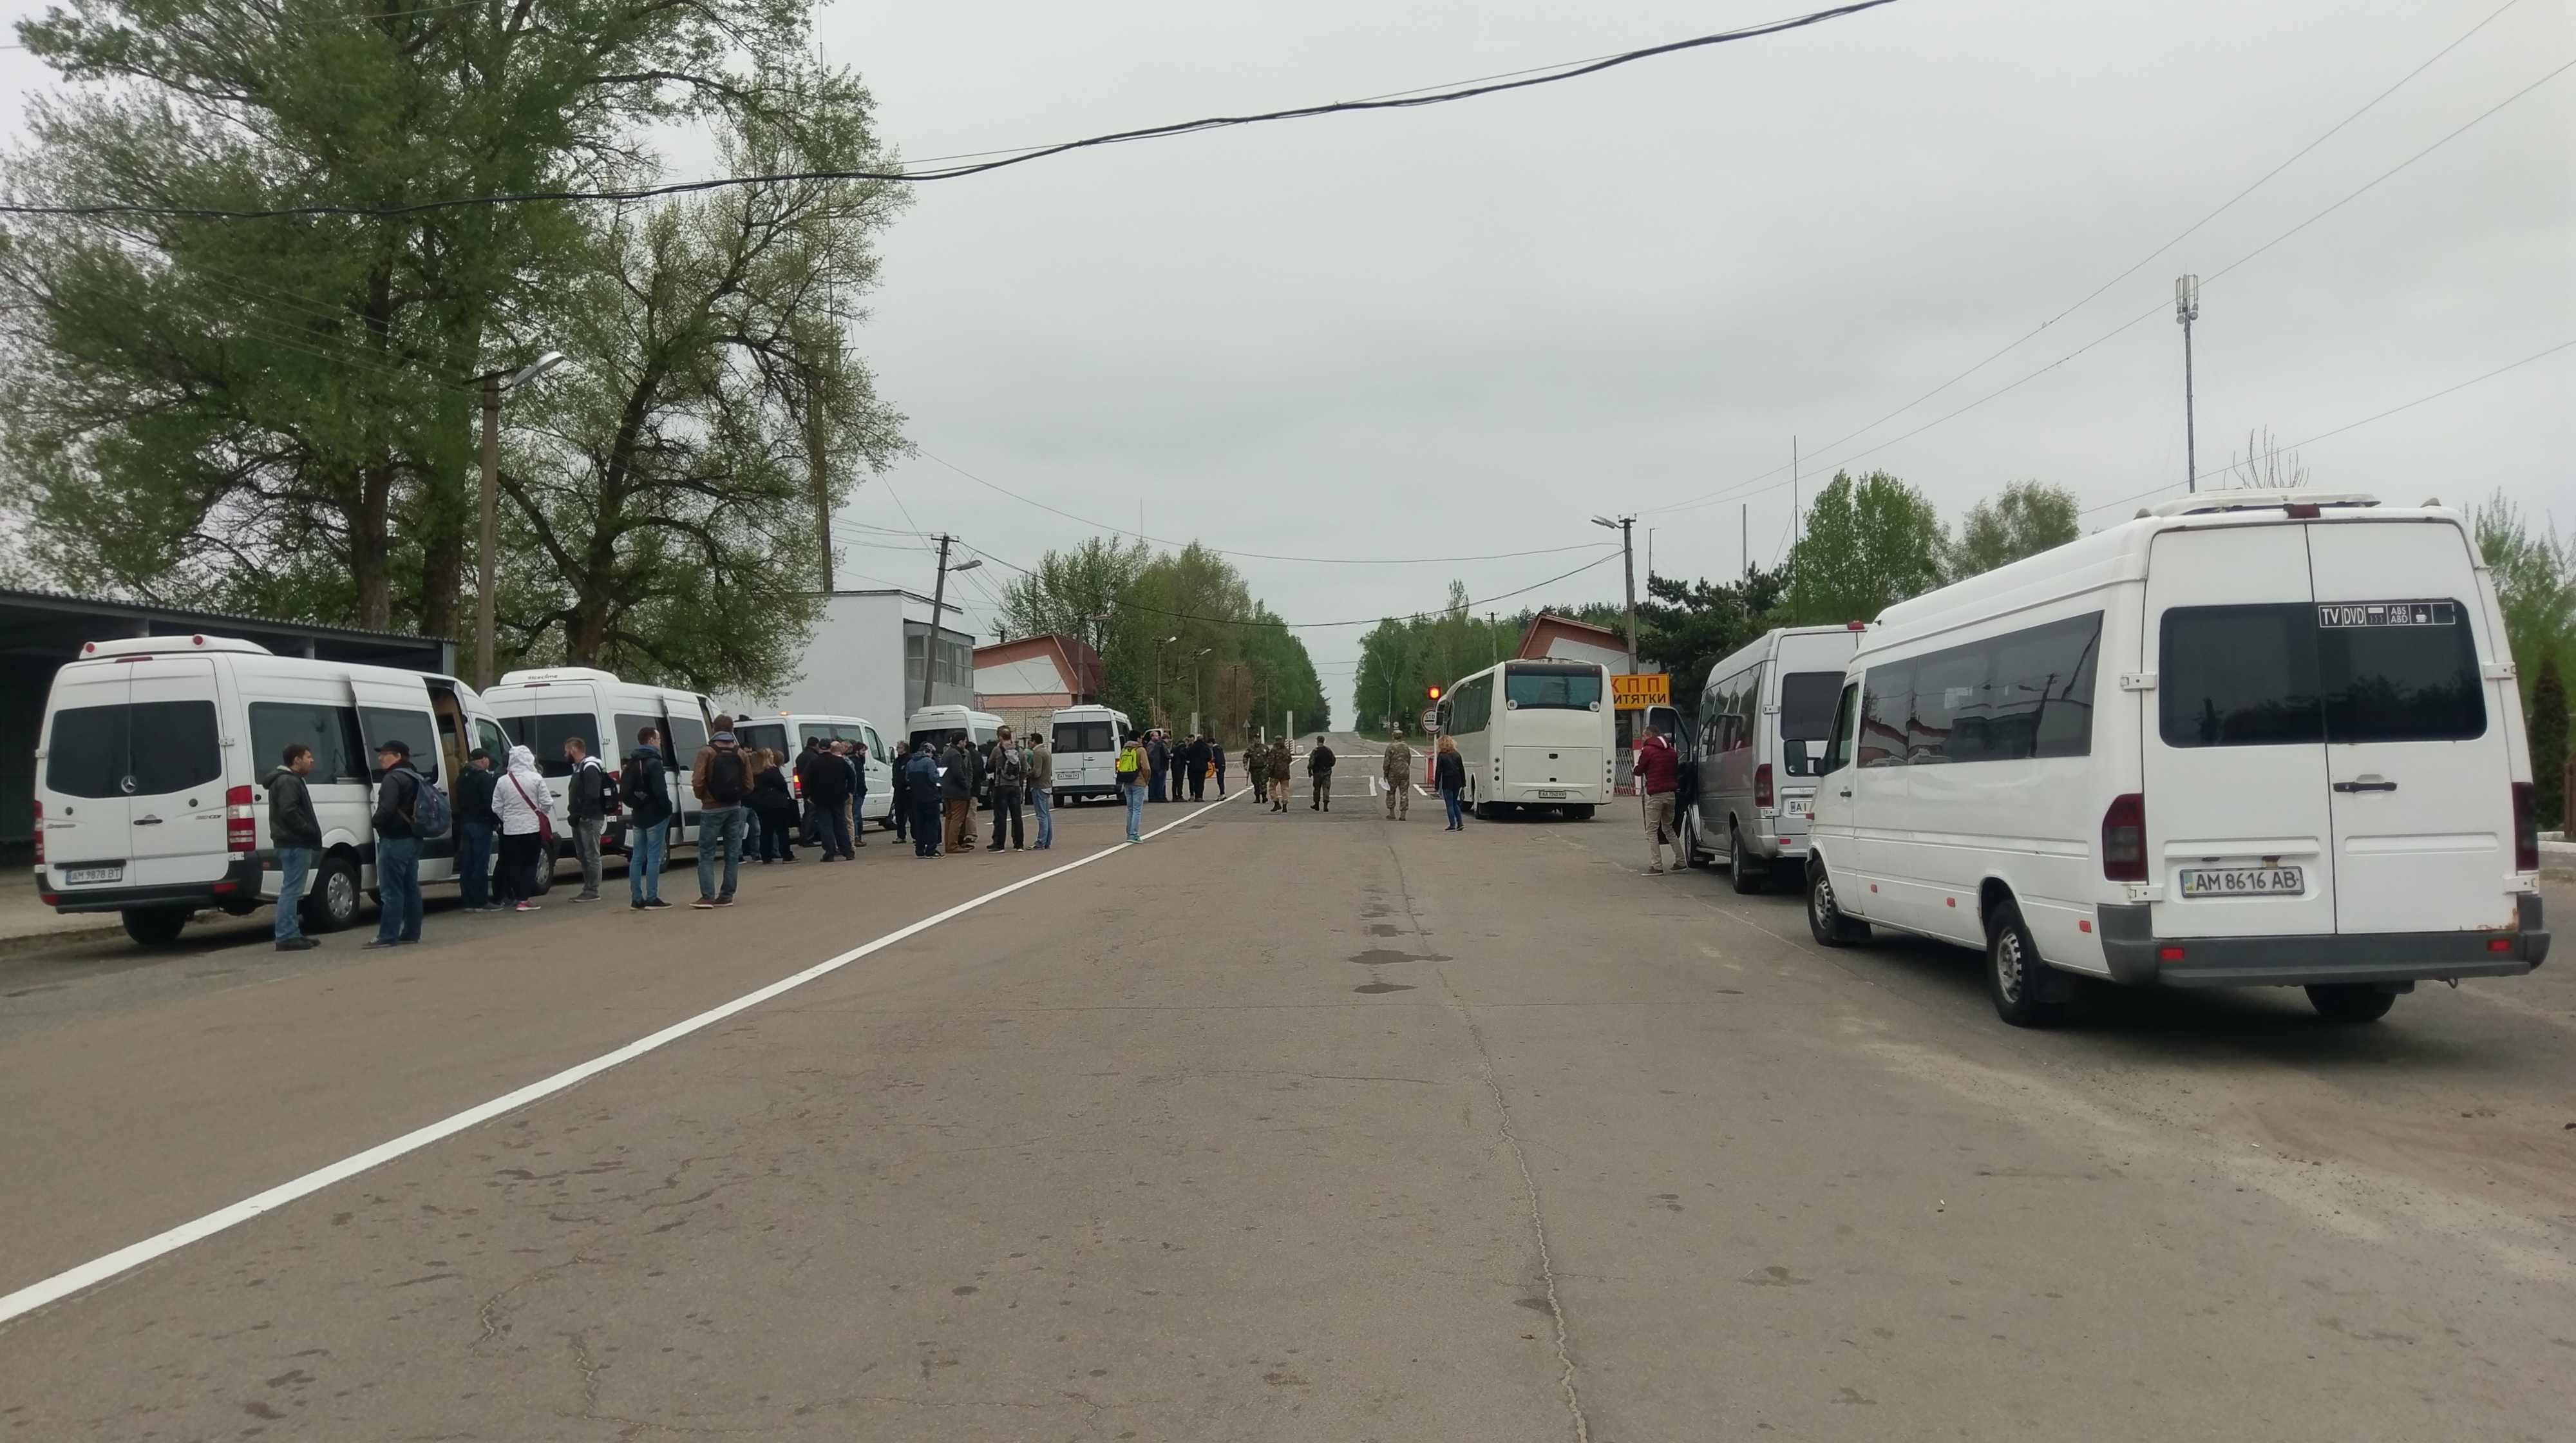
Background radiation level: 0.15 μSv/h
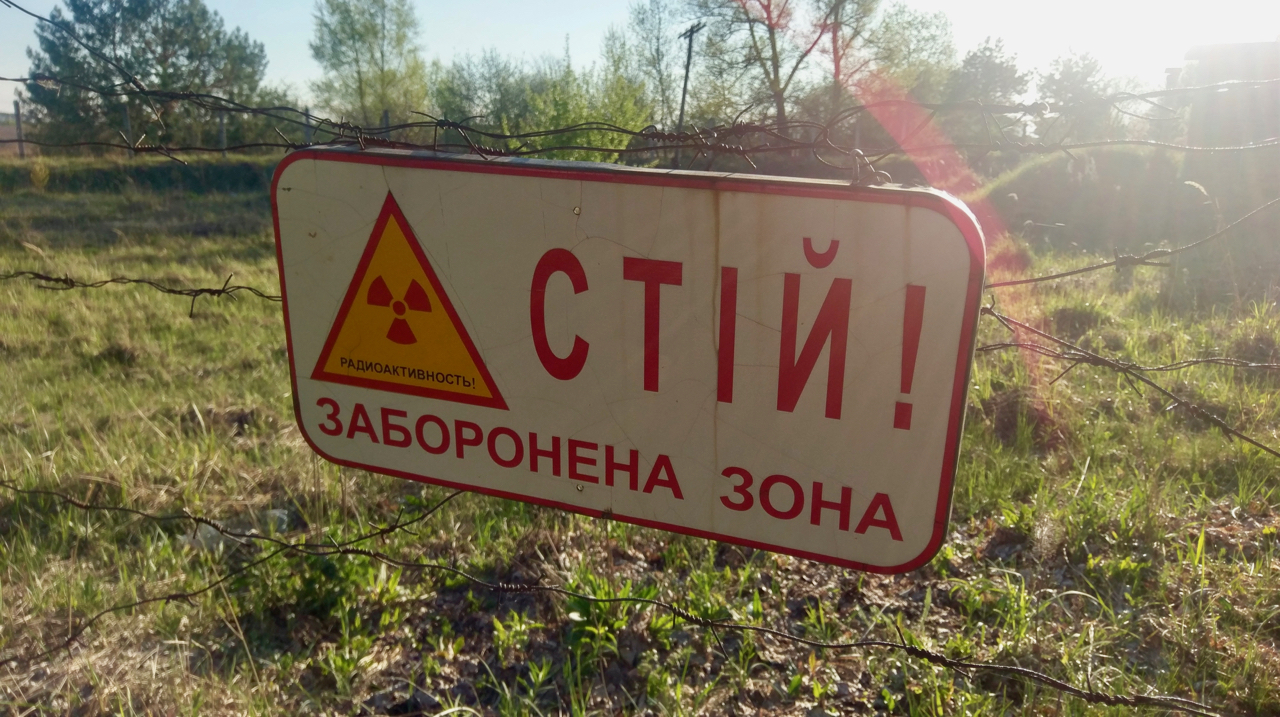
At the first checkpoint, we were slightly early, so along with the other tours we waited around, there are boards with information about the exclusion zone to one side of the checkpoint.
Each group was called one by one to have their passports checked and names ticked off a list, we boarded the vans and went through the checkpoint.
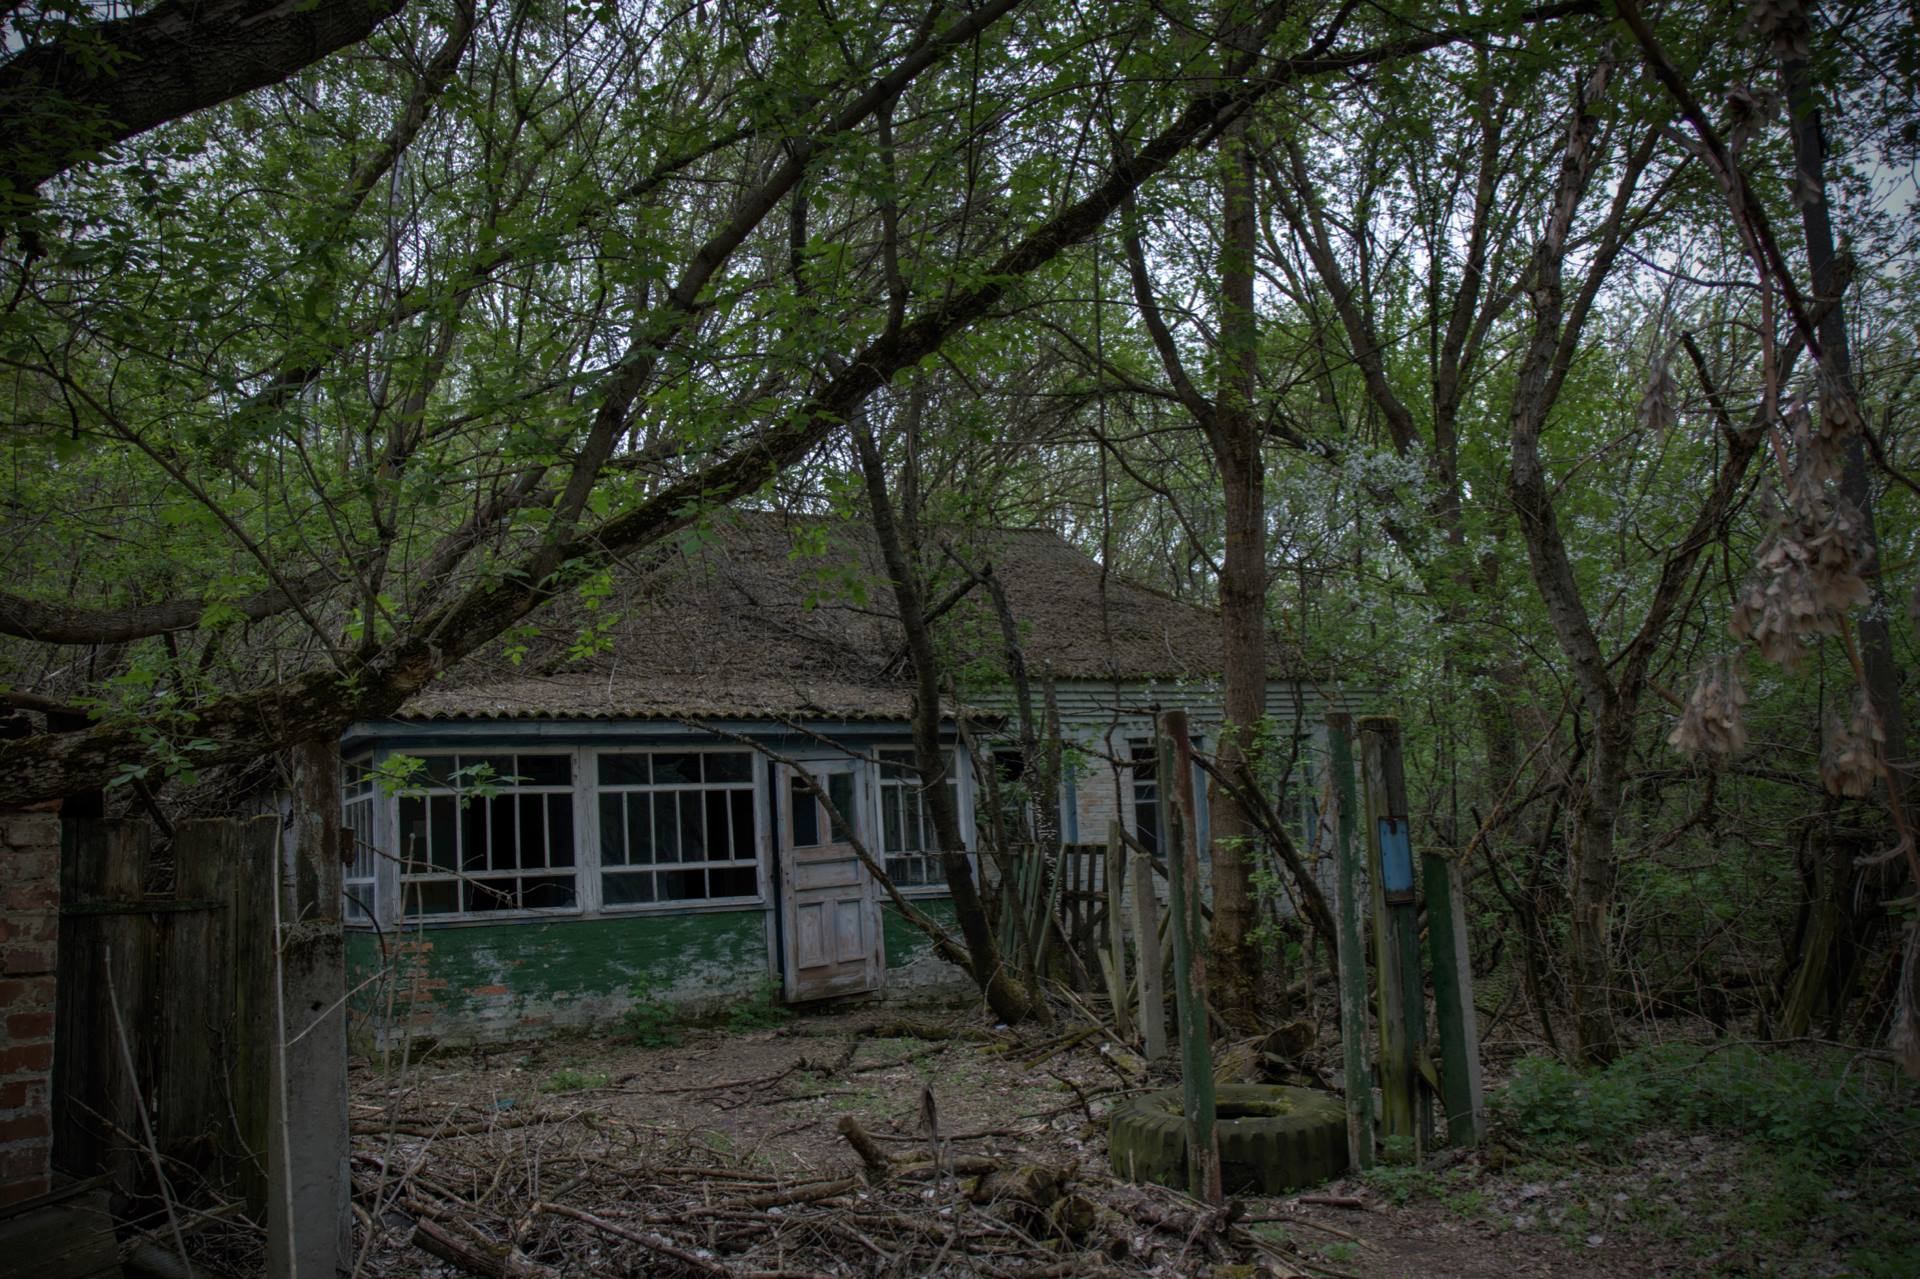
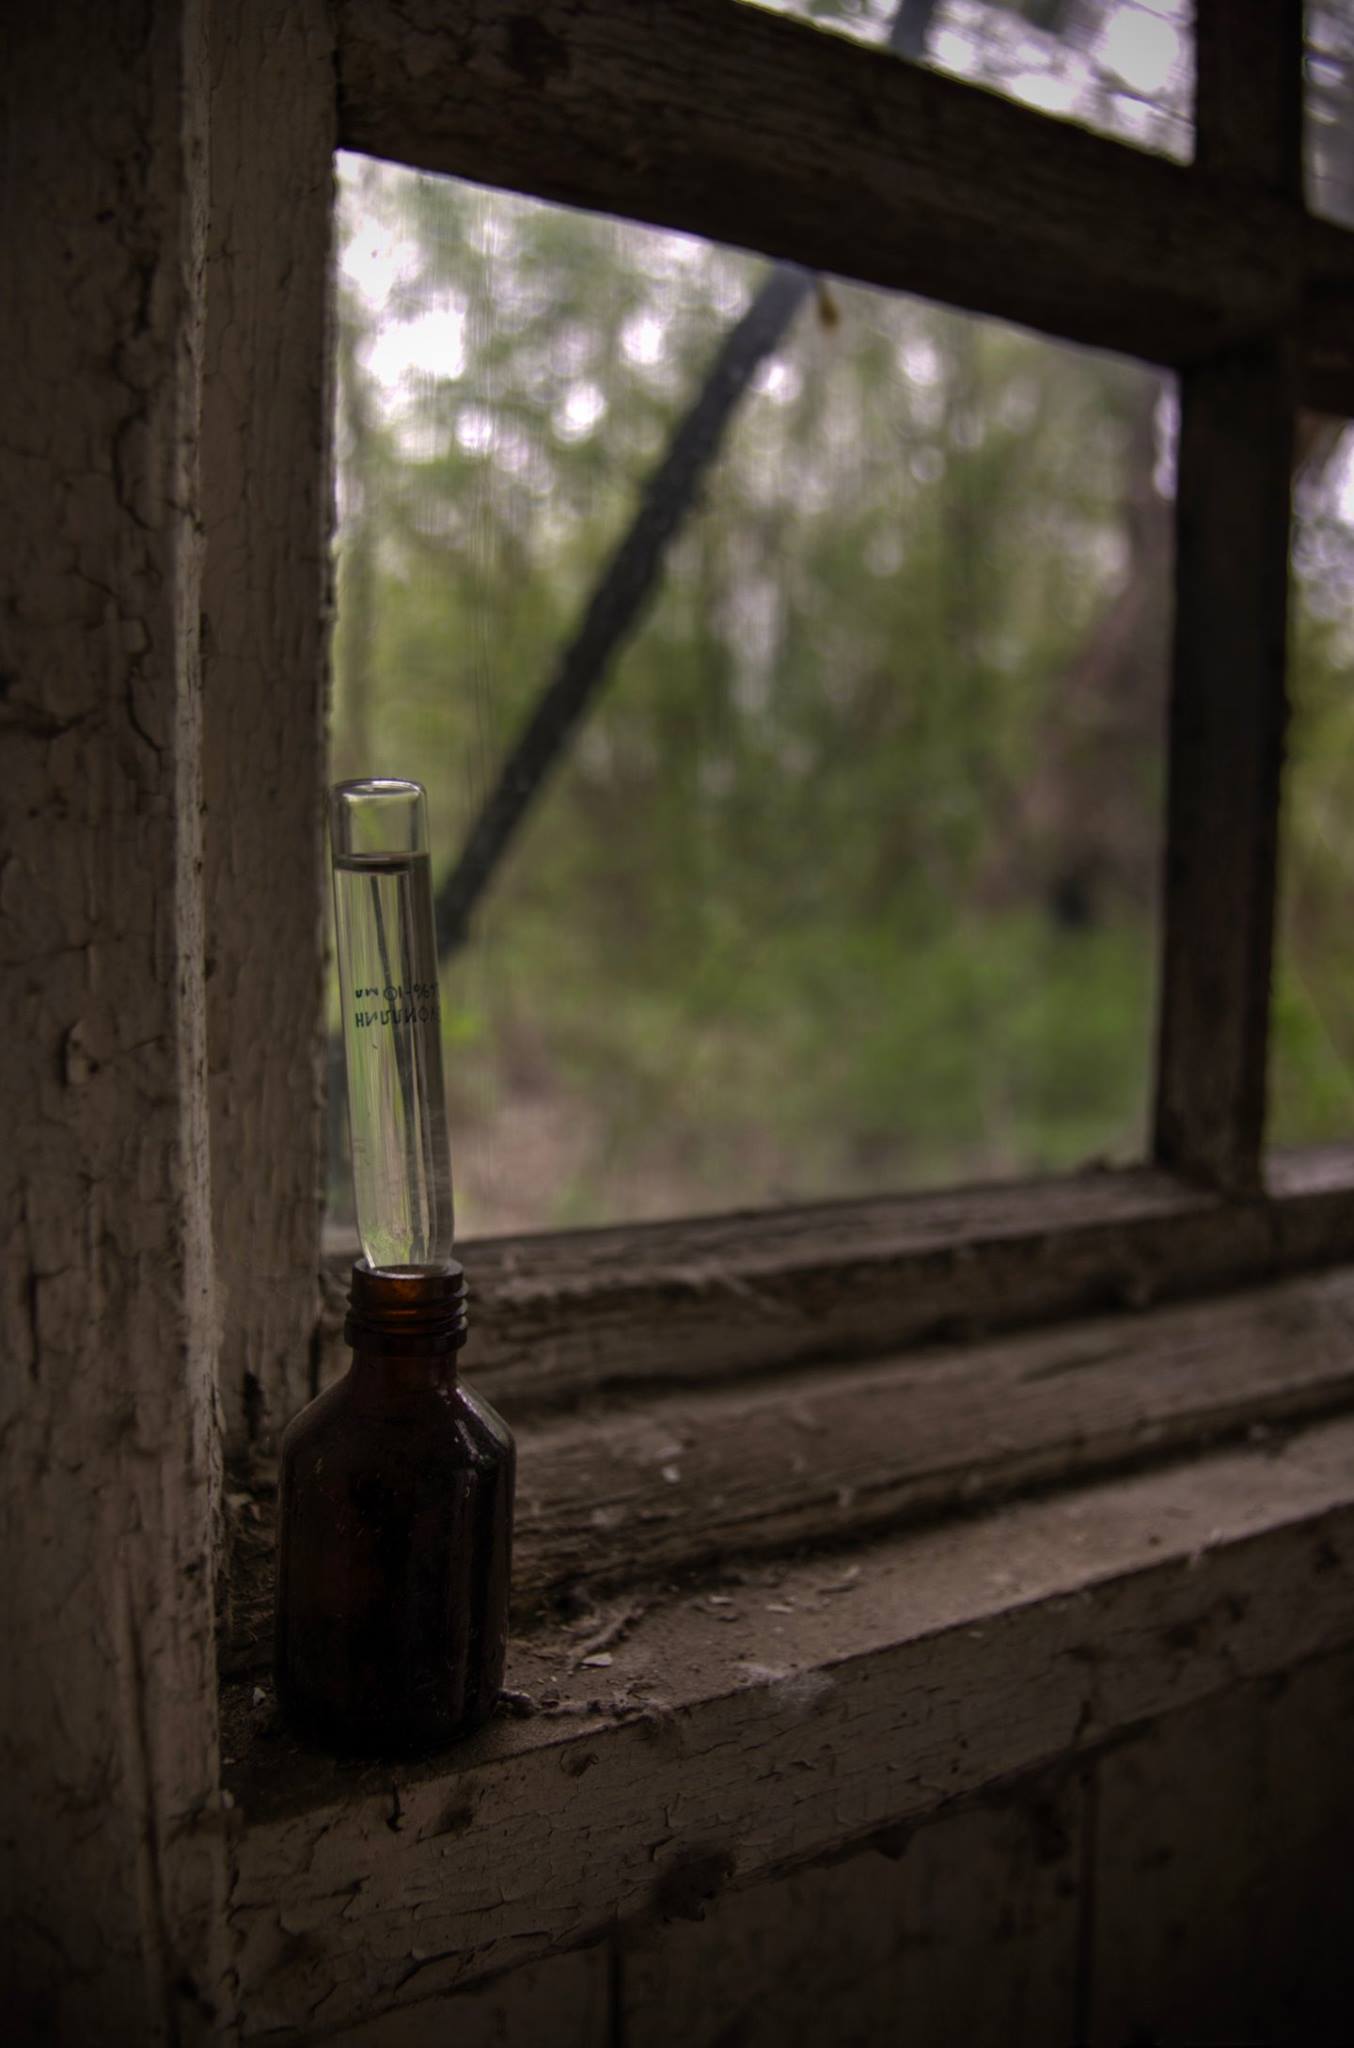
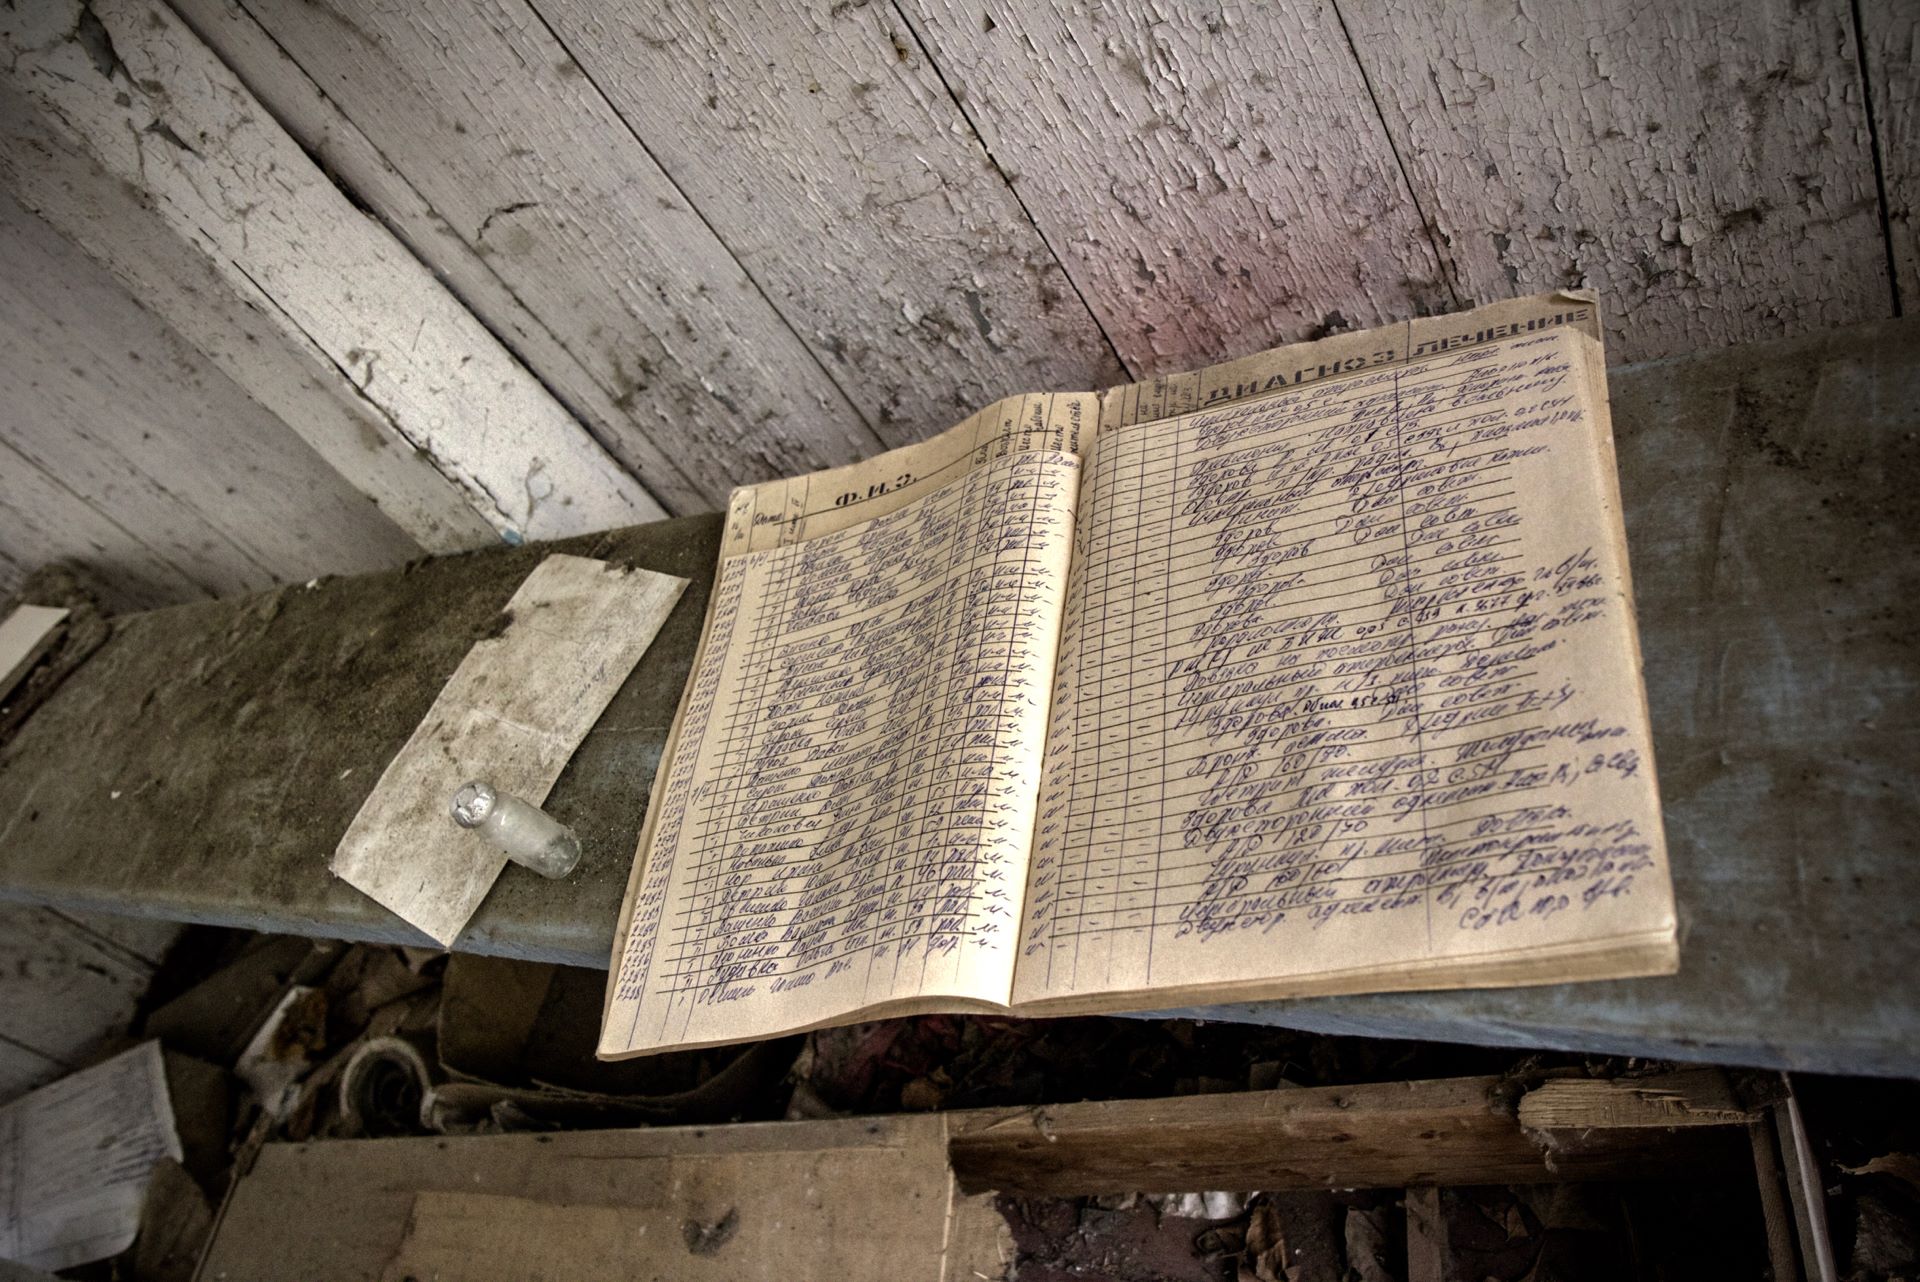
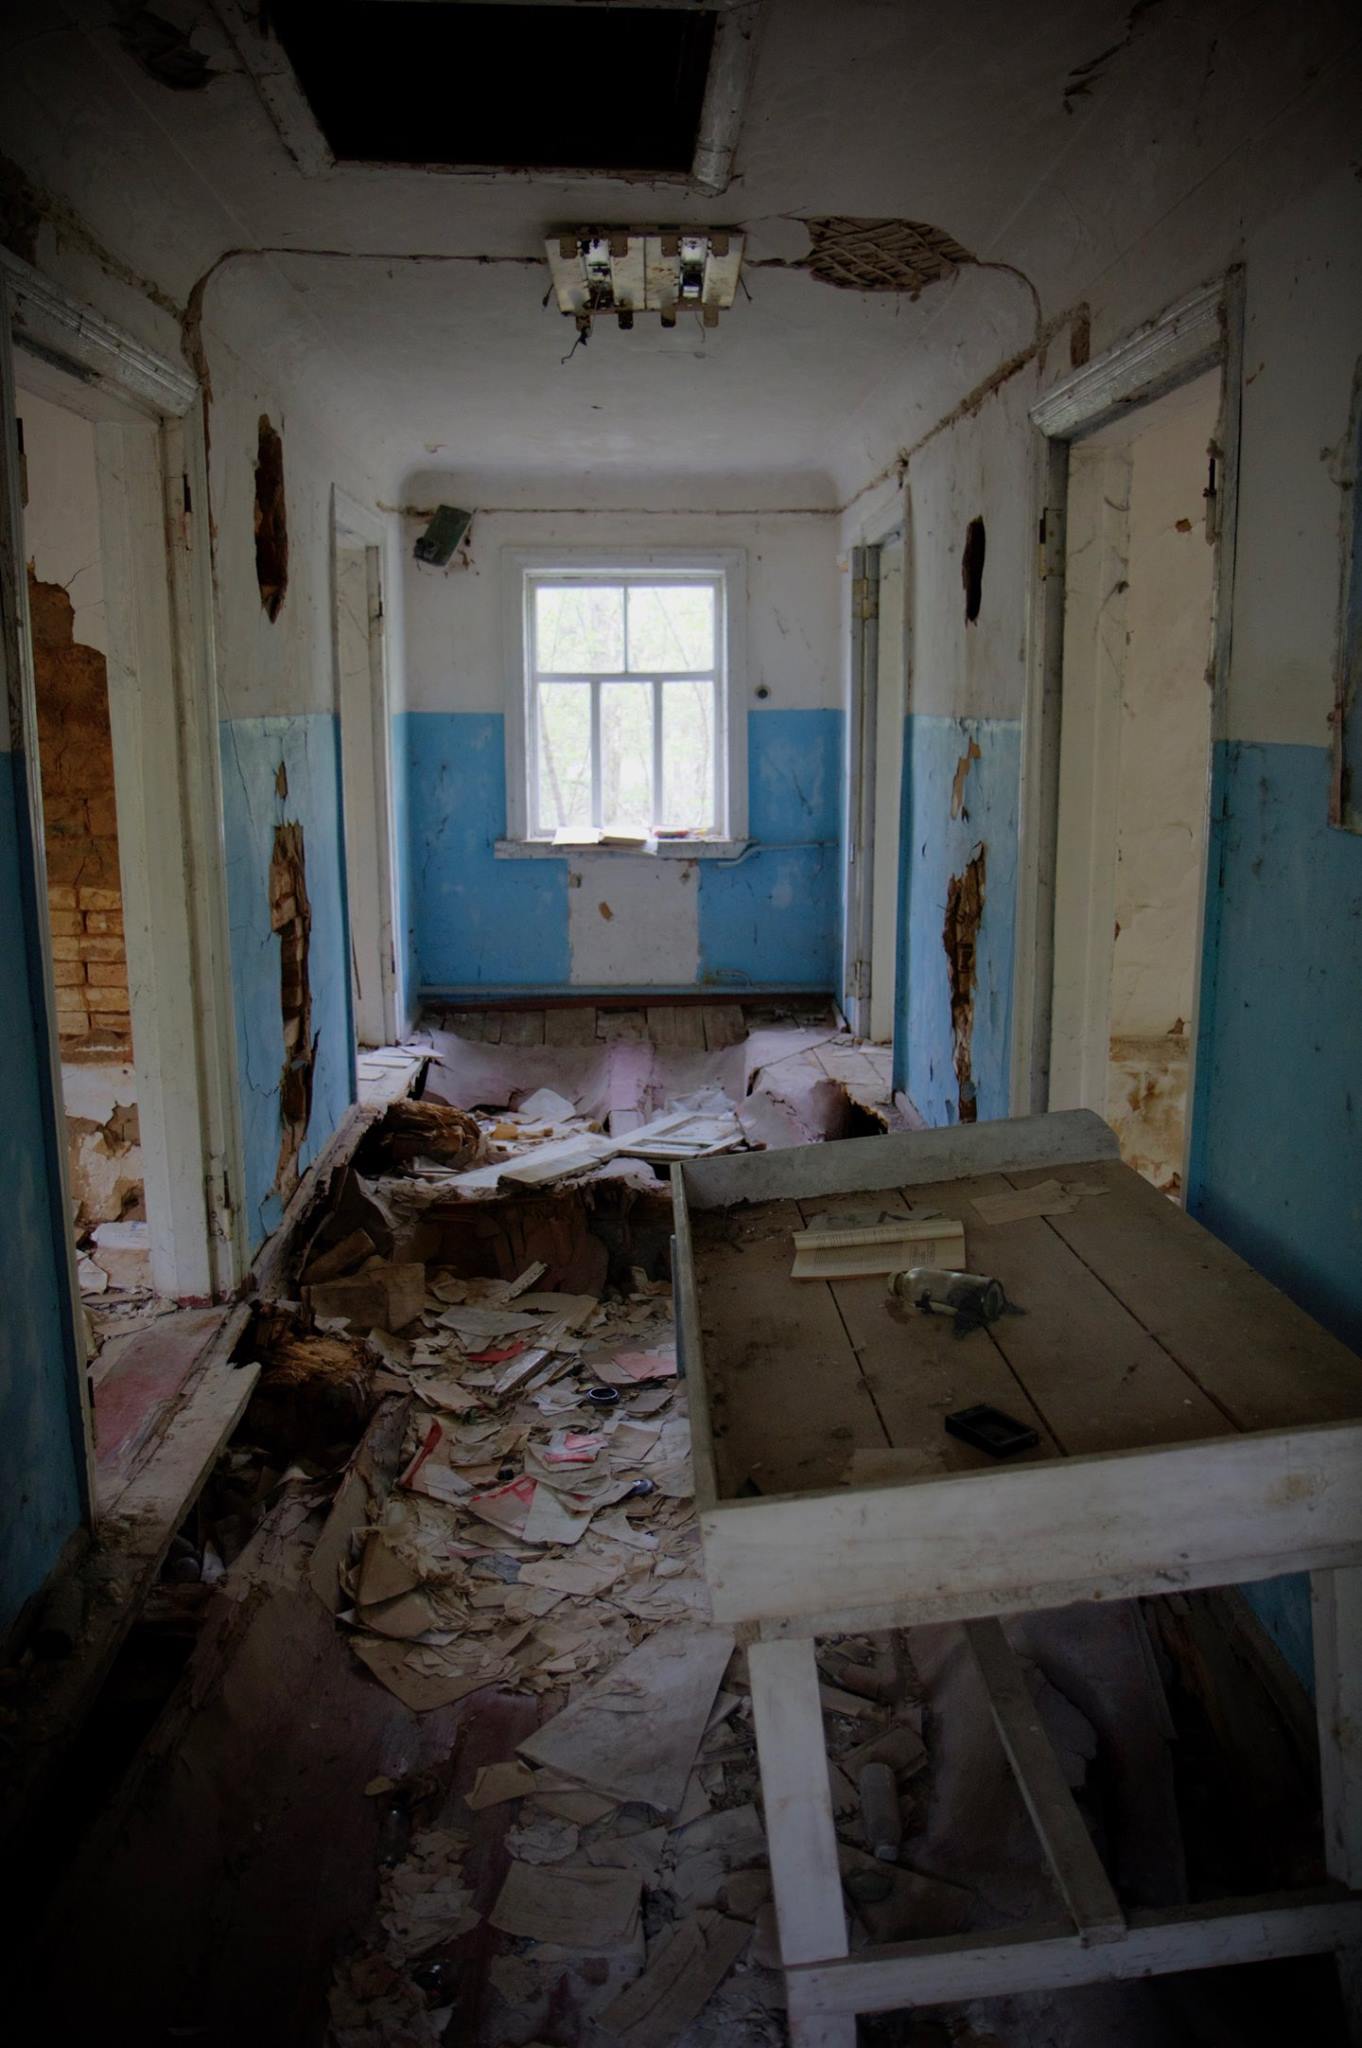
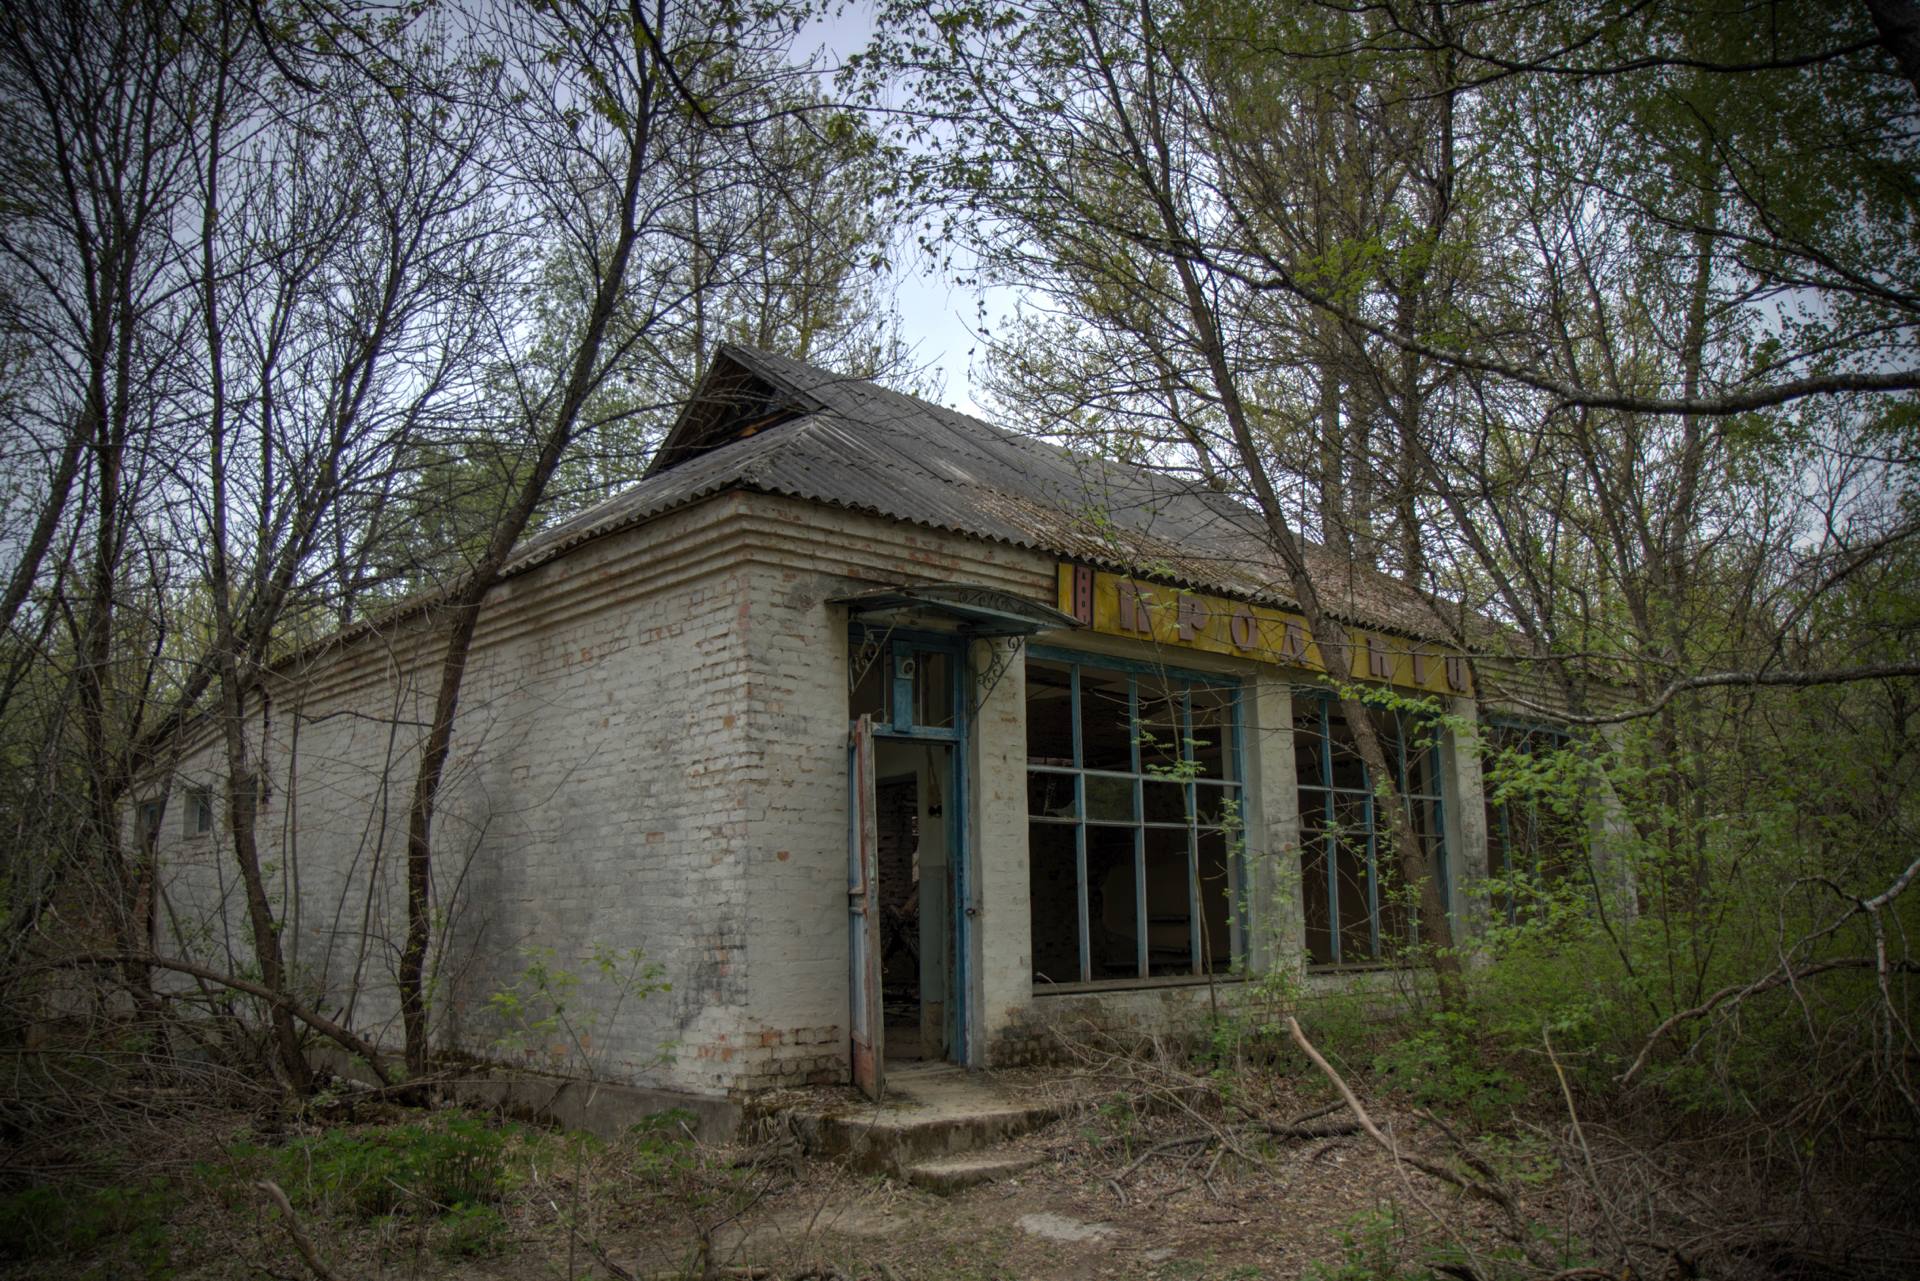
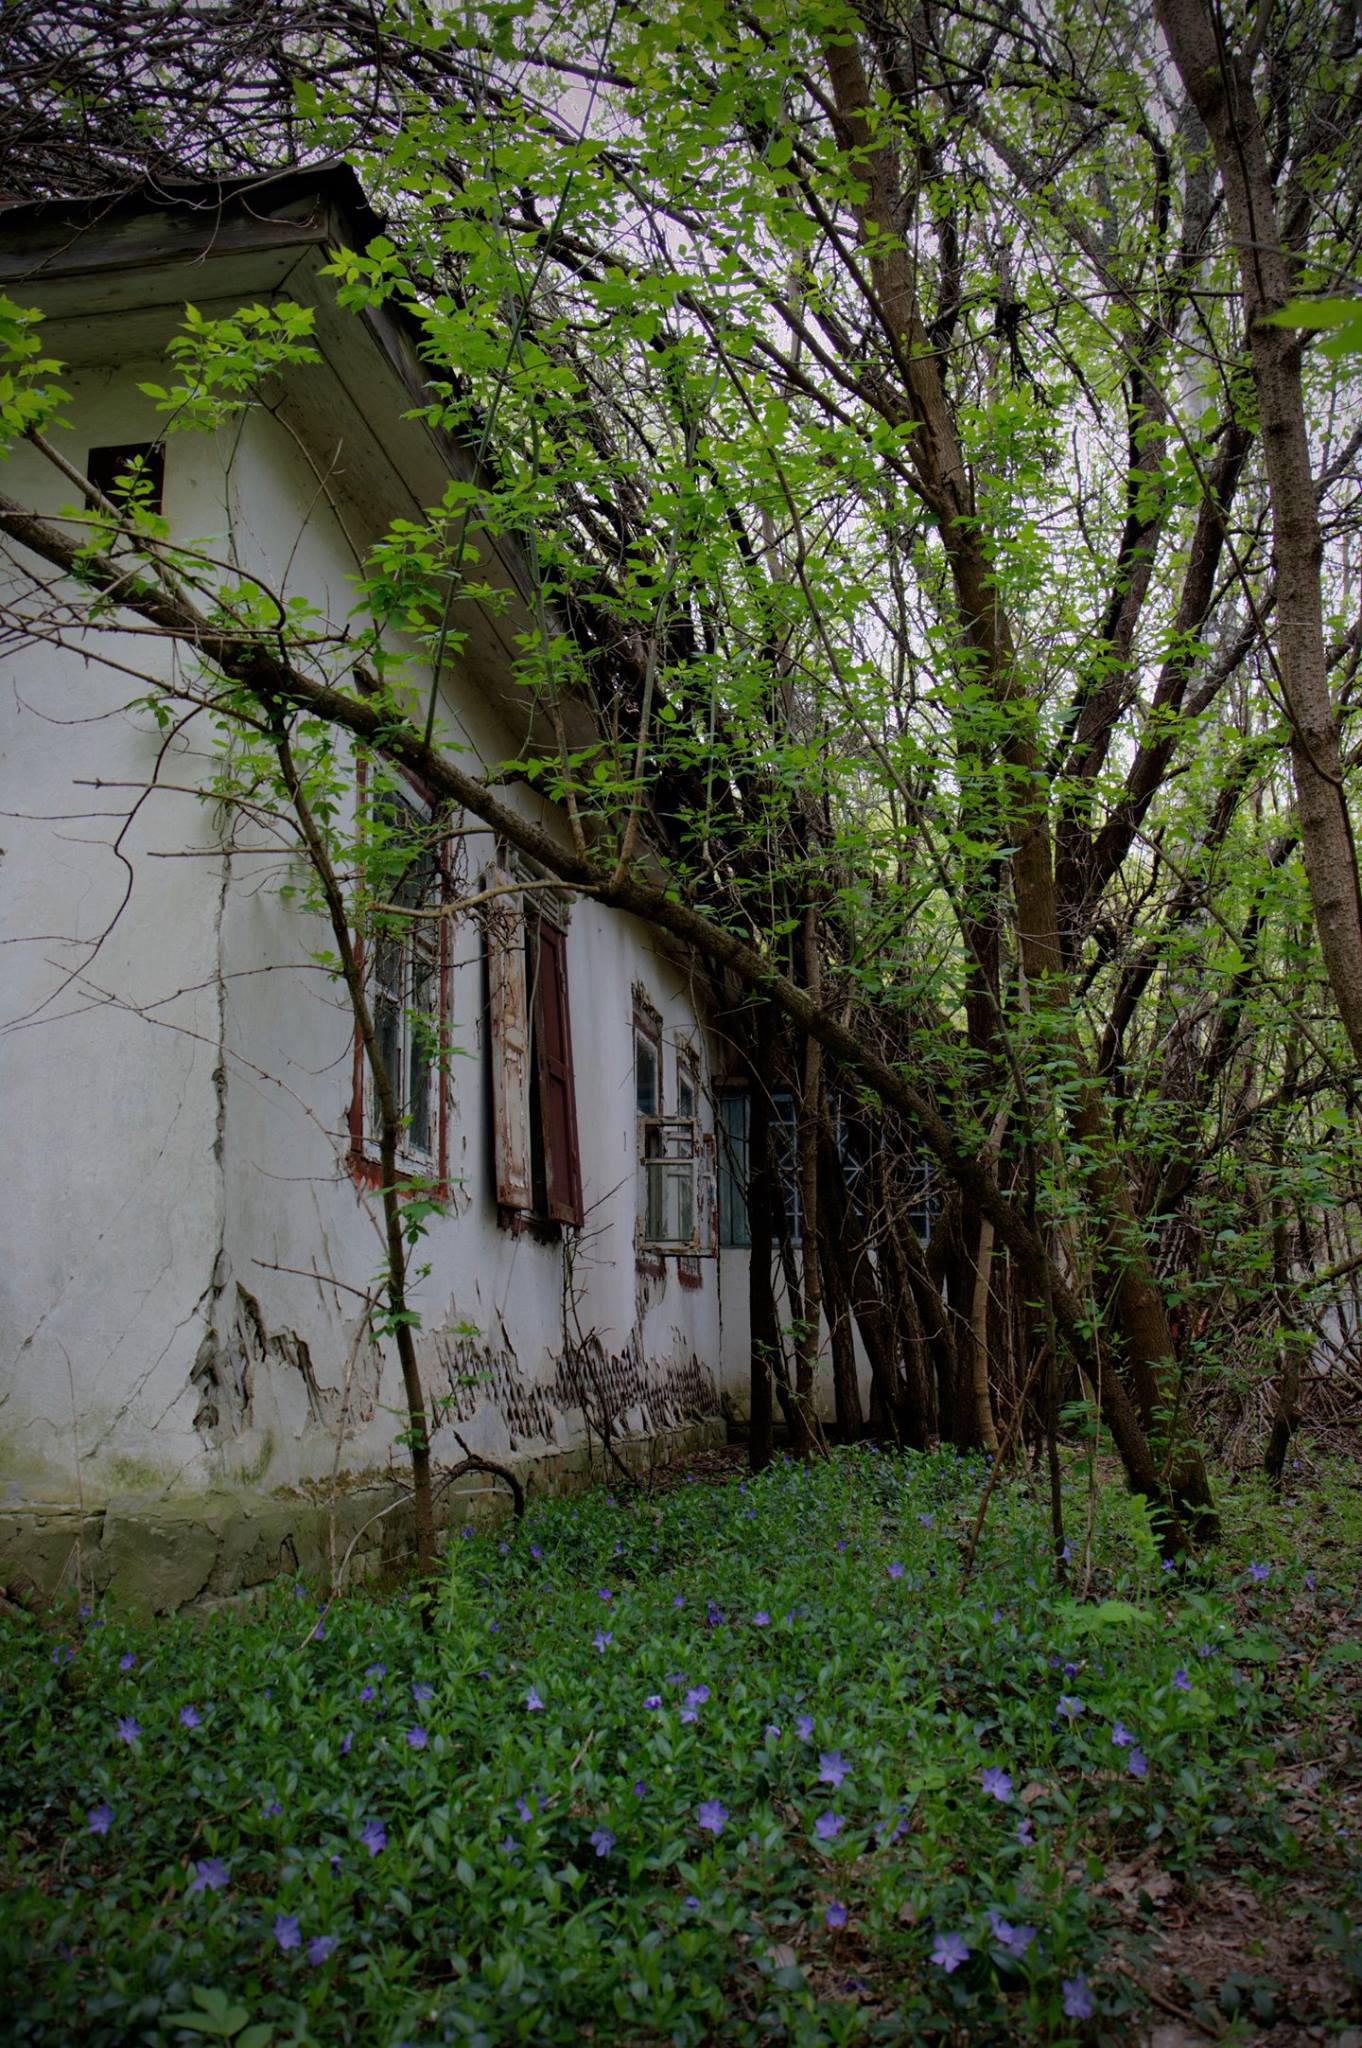
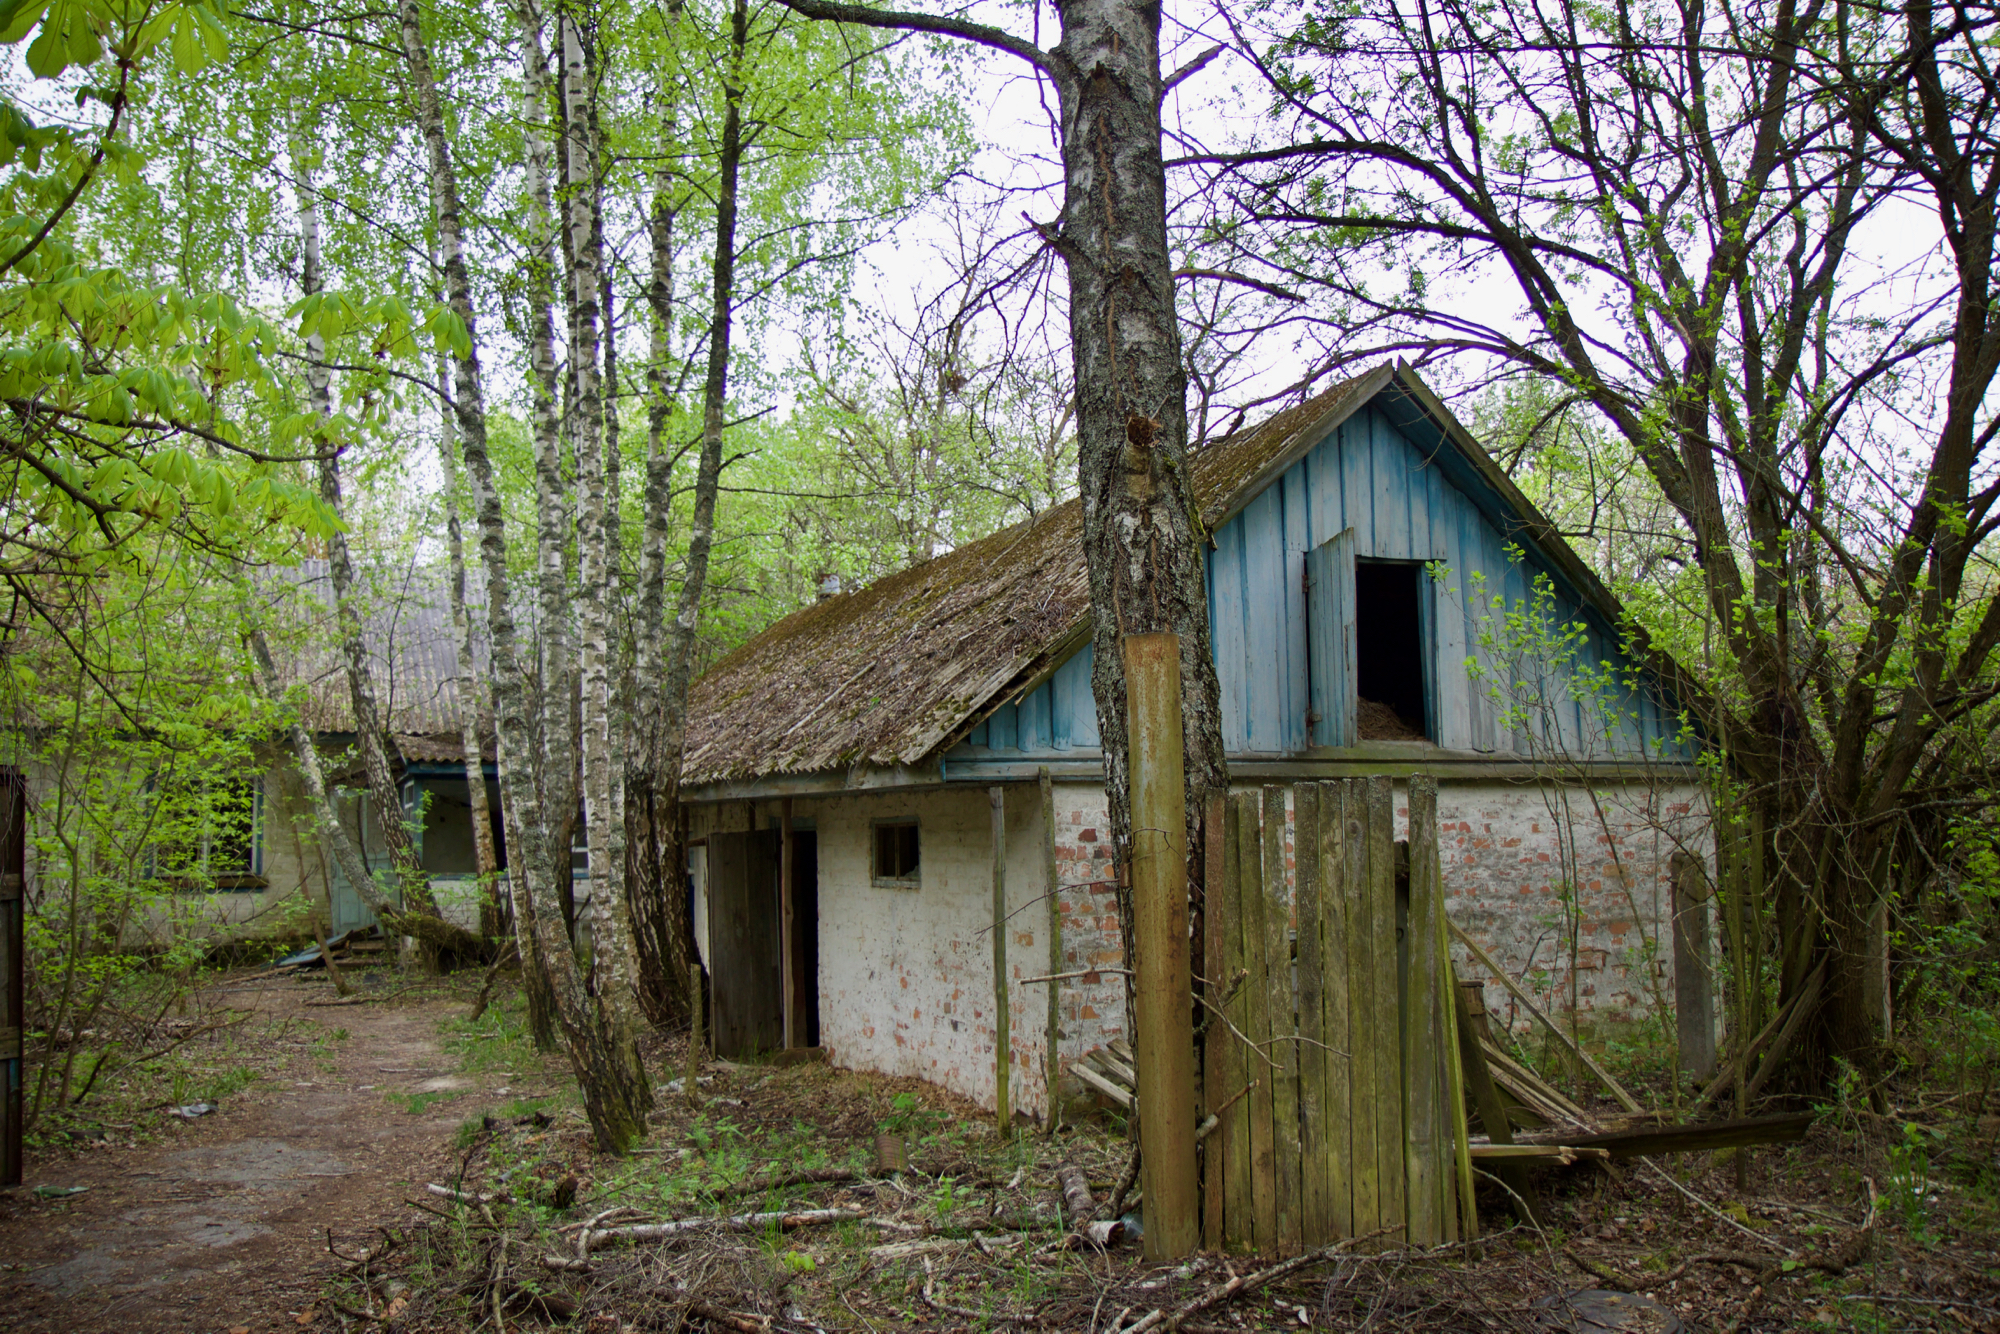
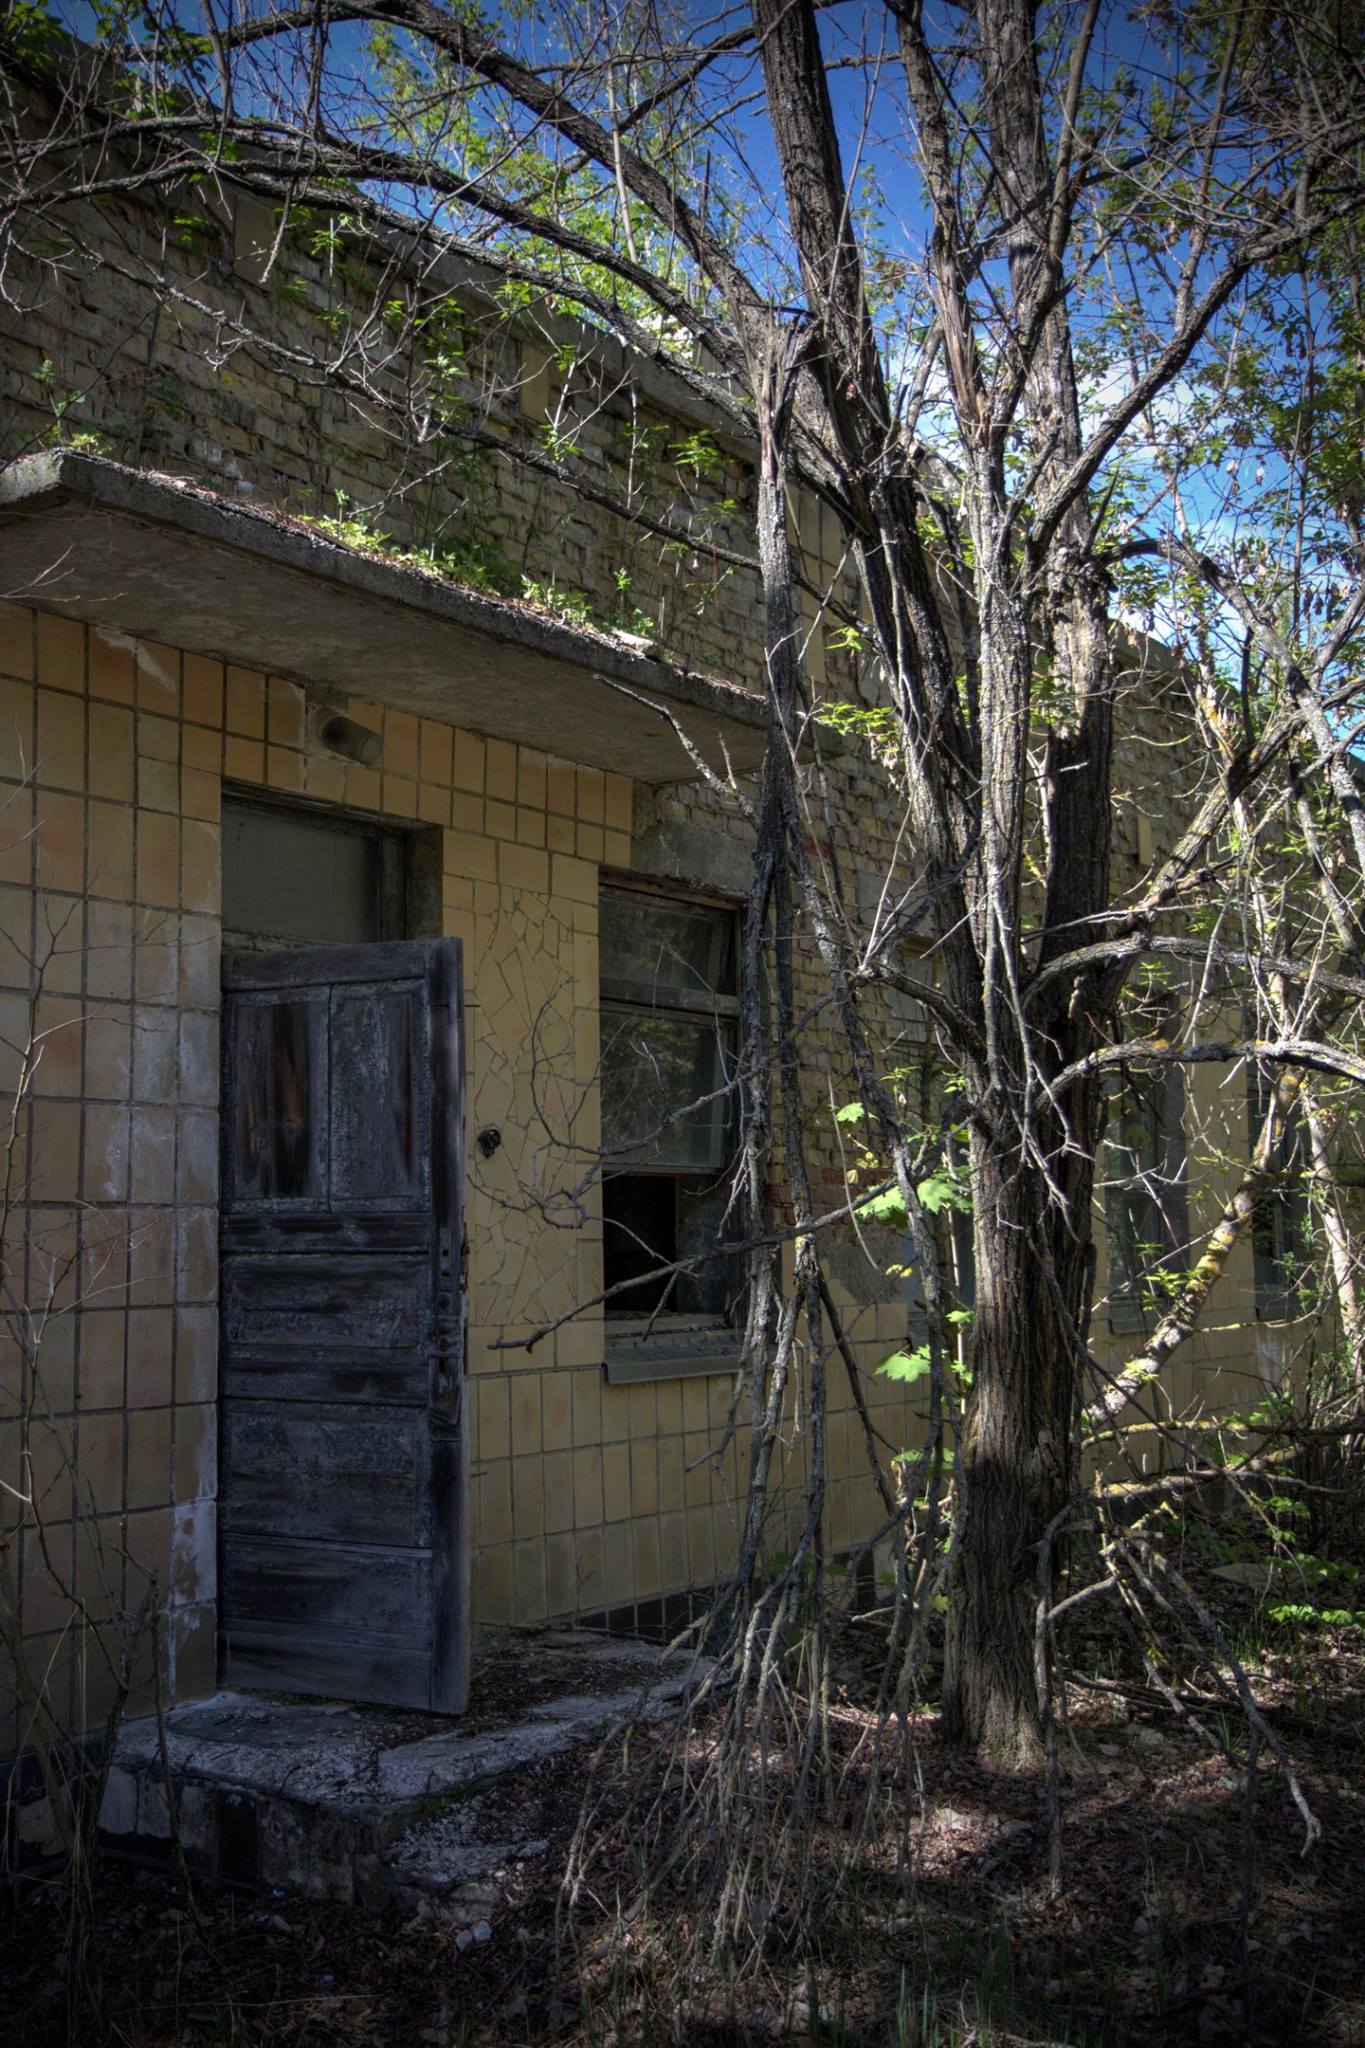
We drove towards our first stop inside the exclusion zone, the abandoned village of Zalissya. The van stopped by the road side and we walked up an overgrown lane with buildings either side, some still standing, some collapsed with sunken roofs and scattered bricks.
Background radiation level: 0.20 μSv/h
We walked around, investigating the buildings inside and out, a small medical clinic, homes and shops were among them.


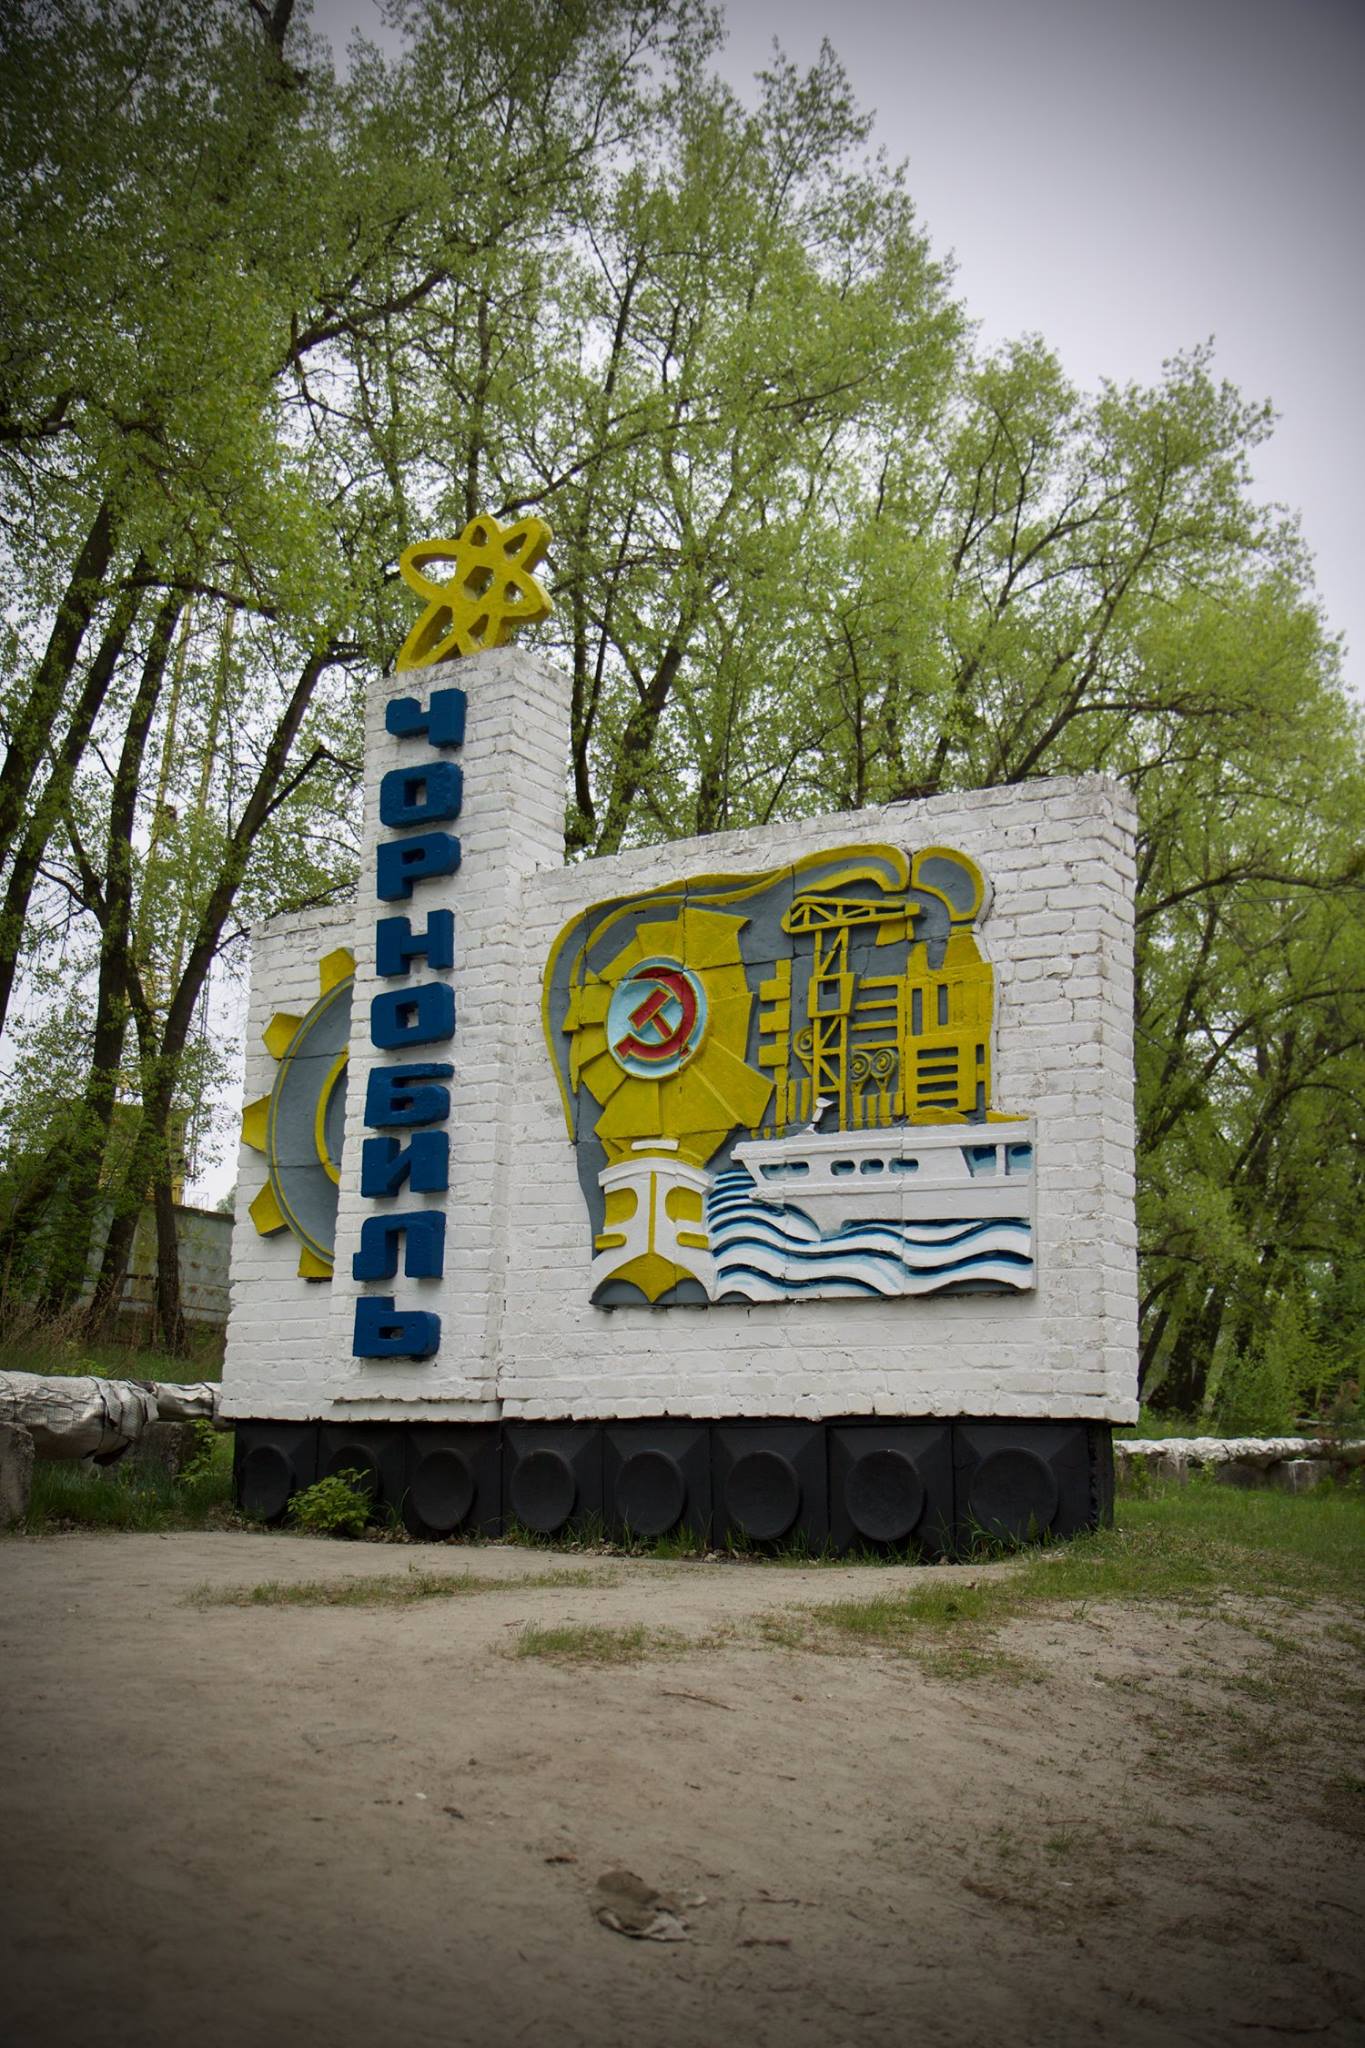
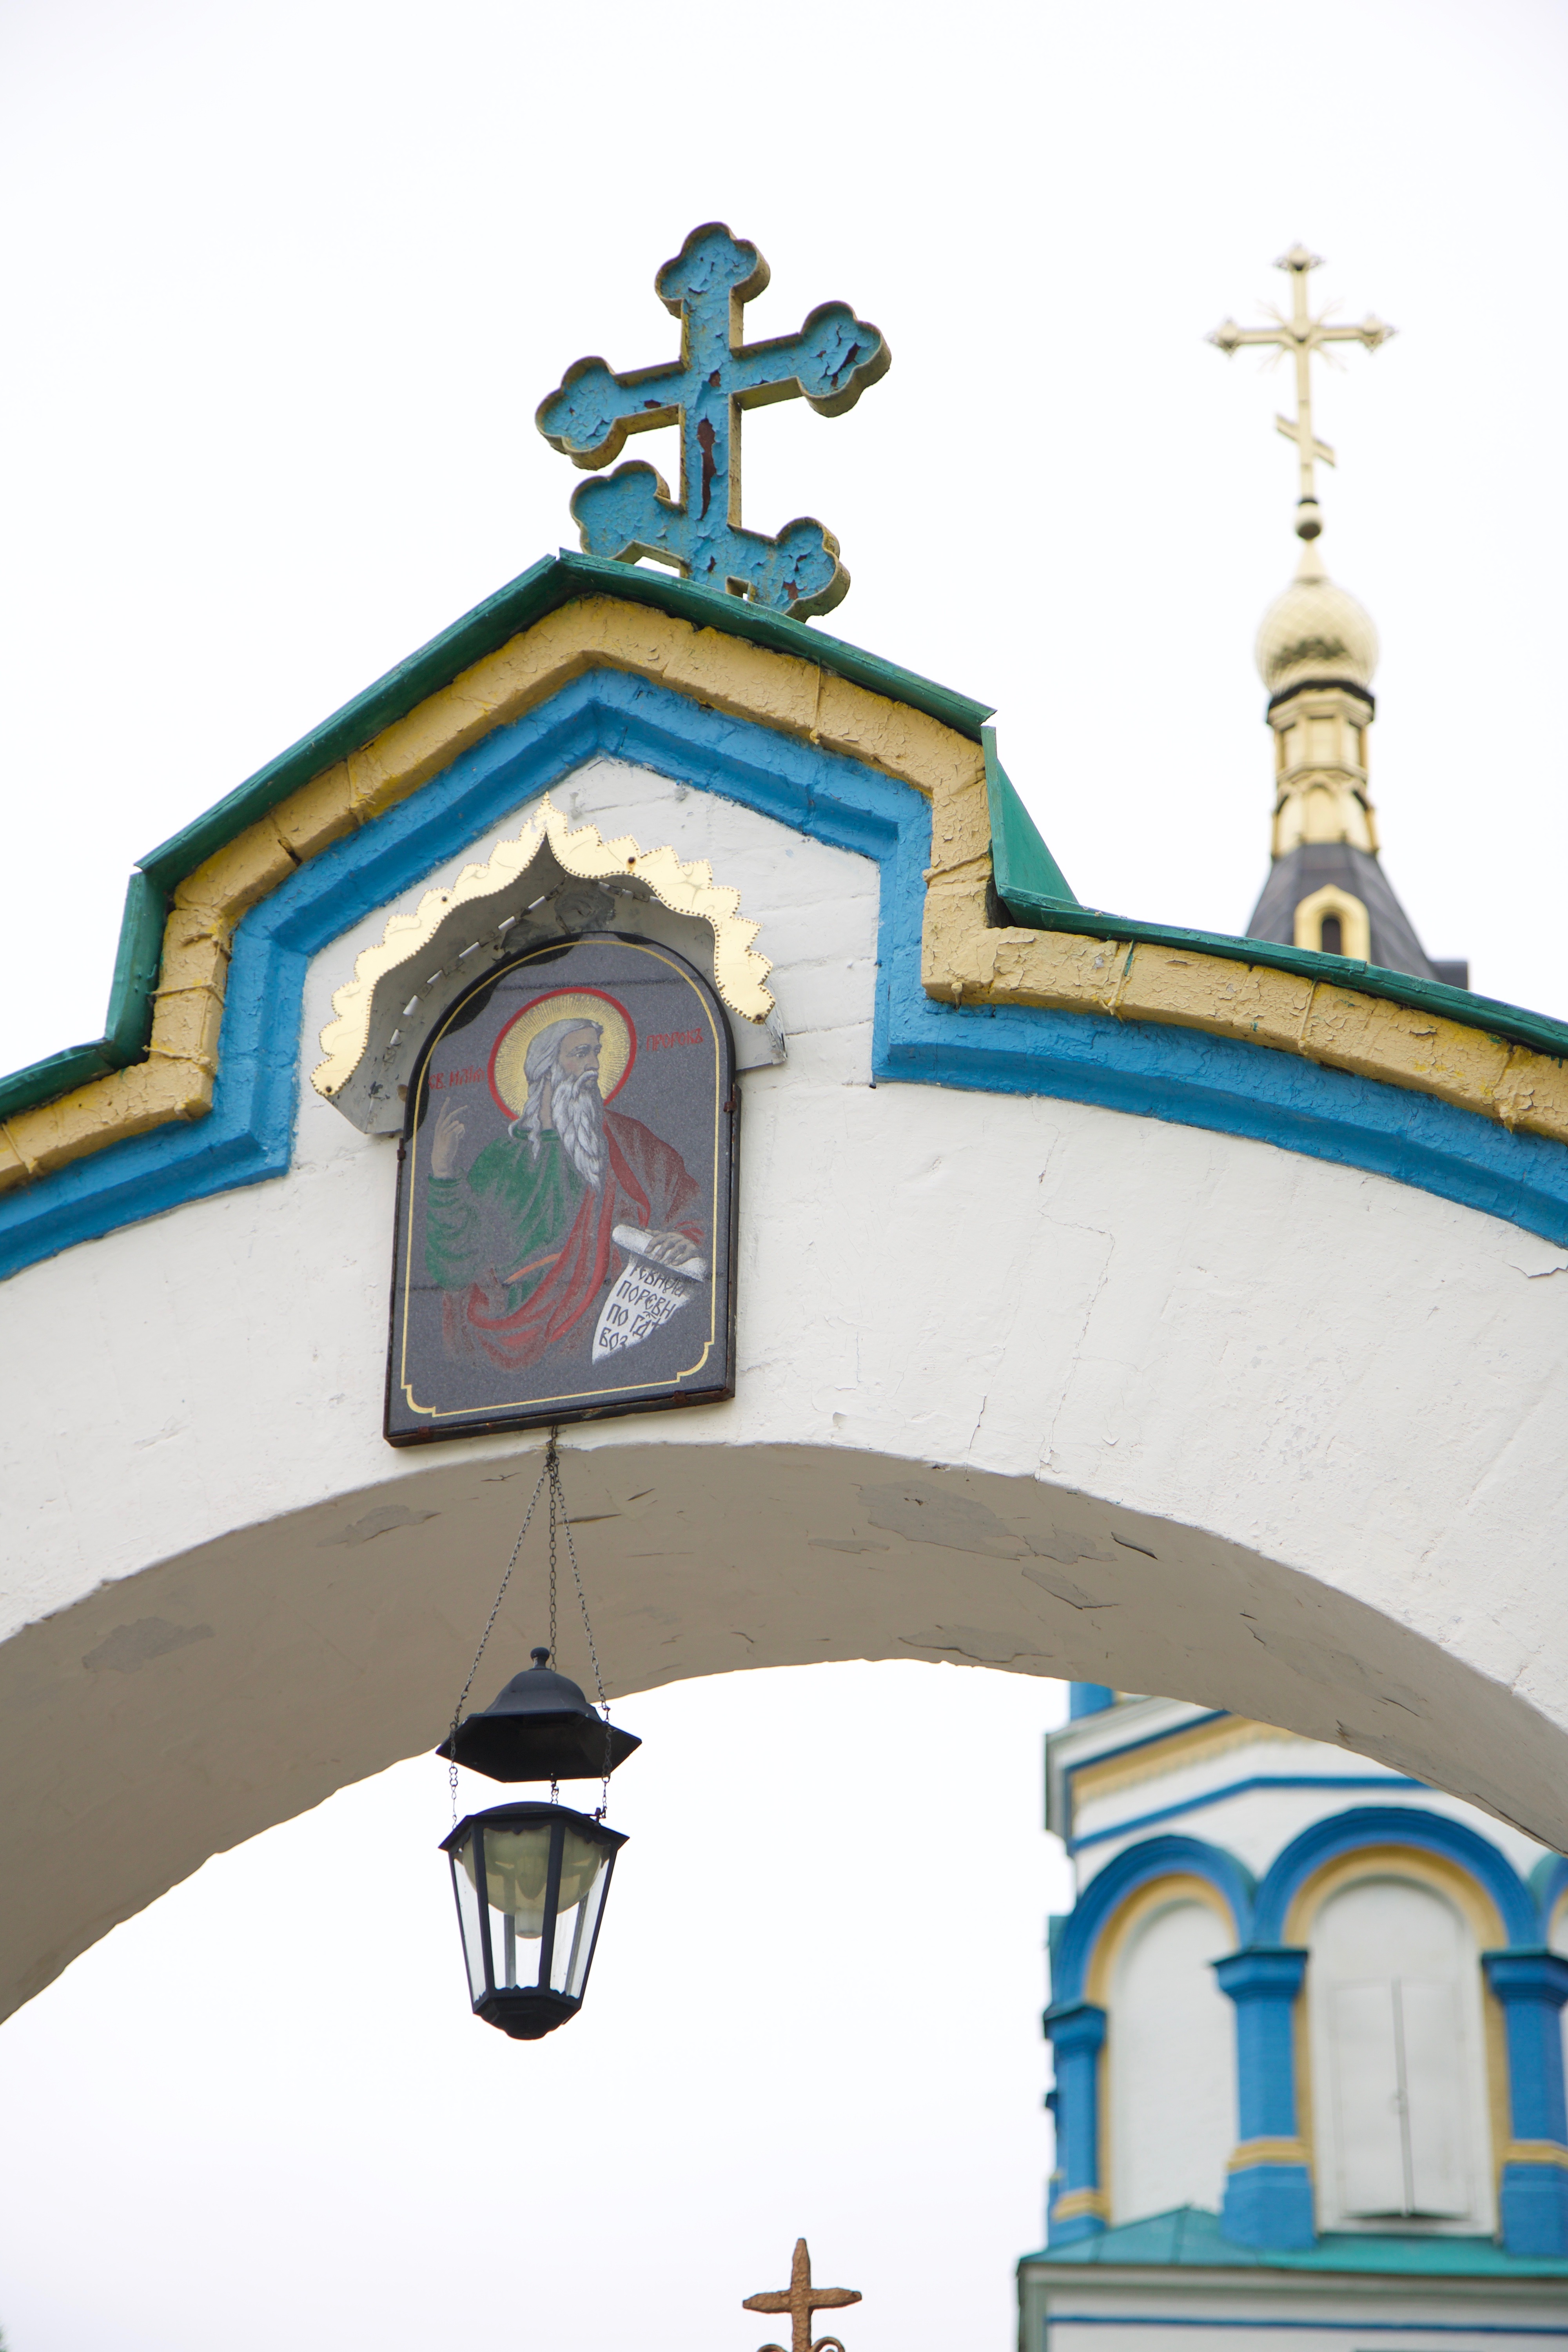
We got back on the van and travelled north towards Chernobyl town, a large number of buildings remain in use in Chernobyl, there are hotels tourists can stay at but it mainly plays host to administrative buildings and workshops.
Background radiation level: 0.20 μSv/h
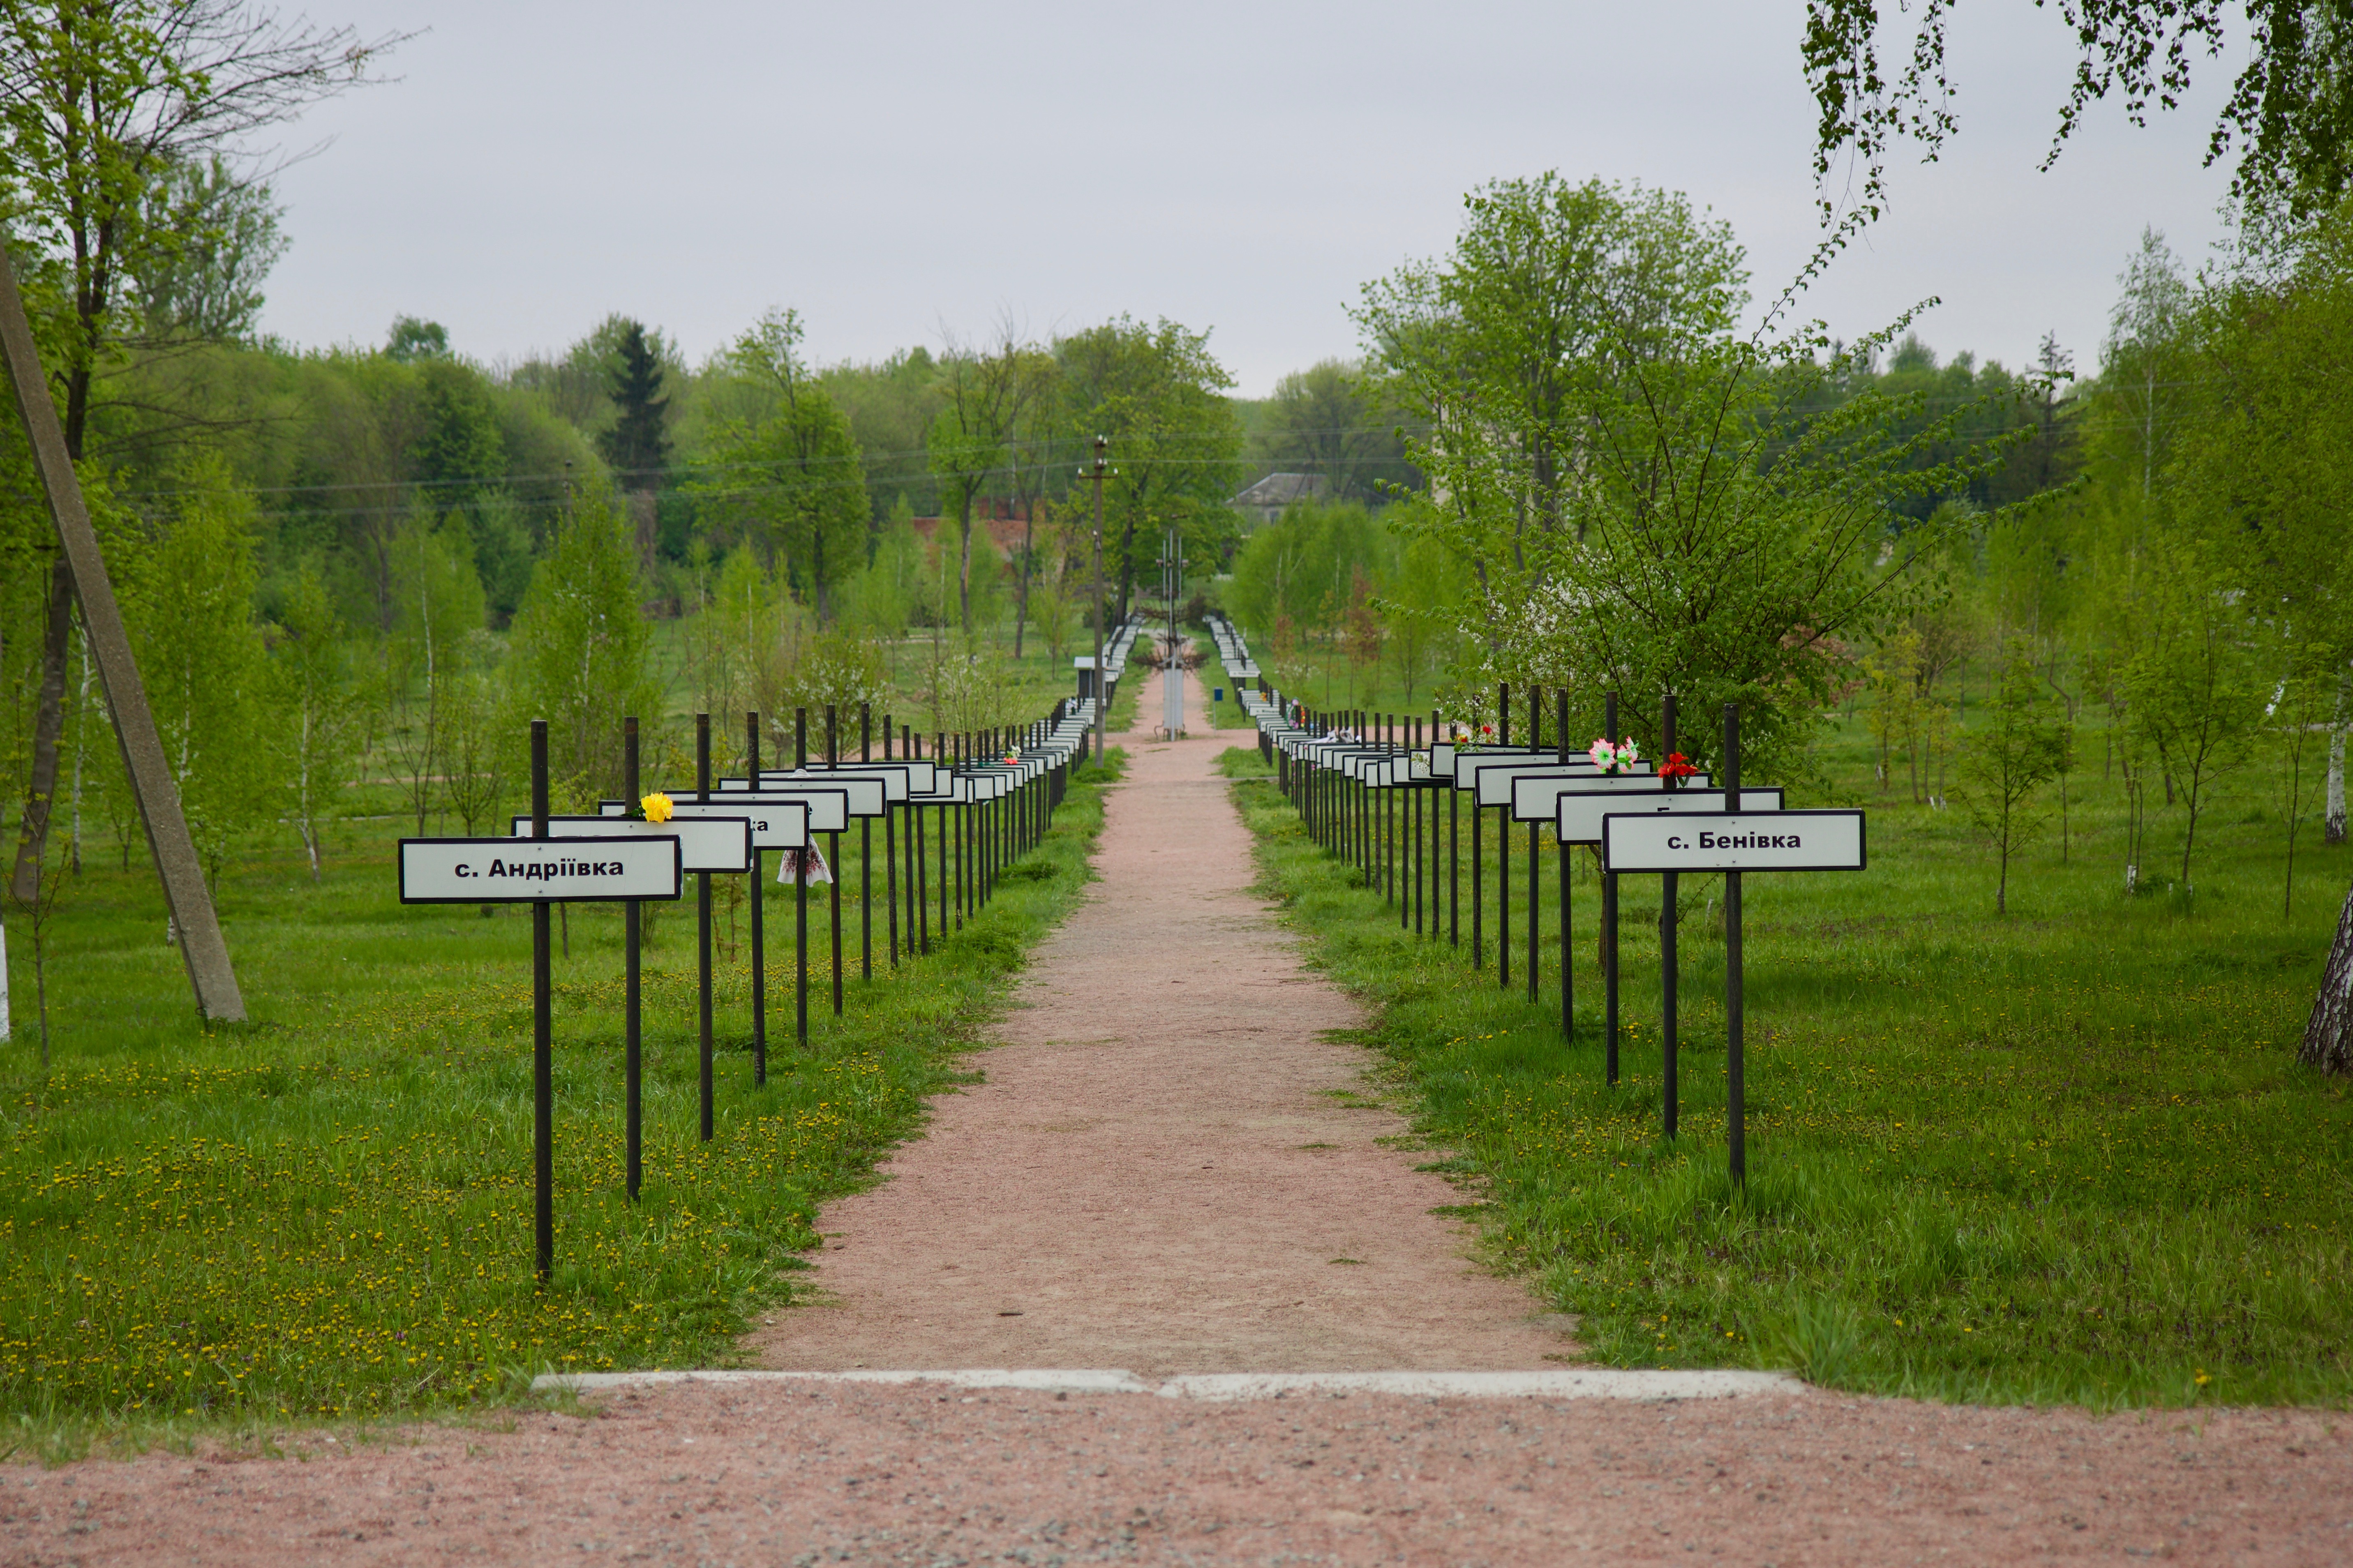
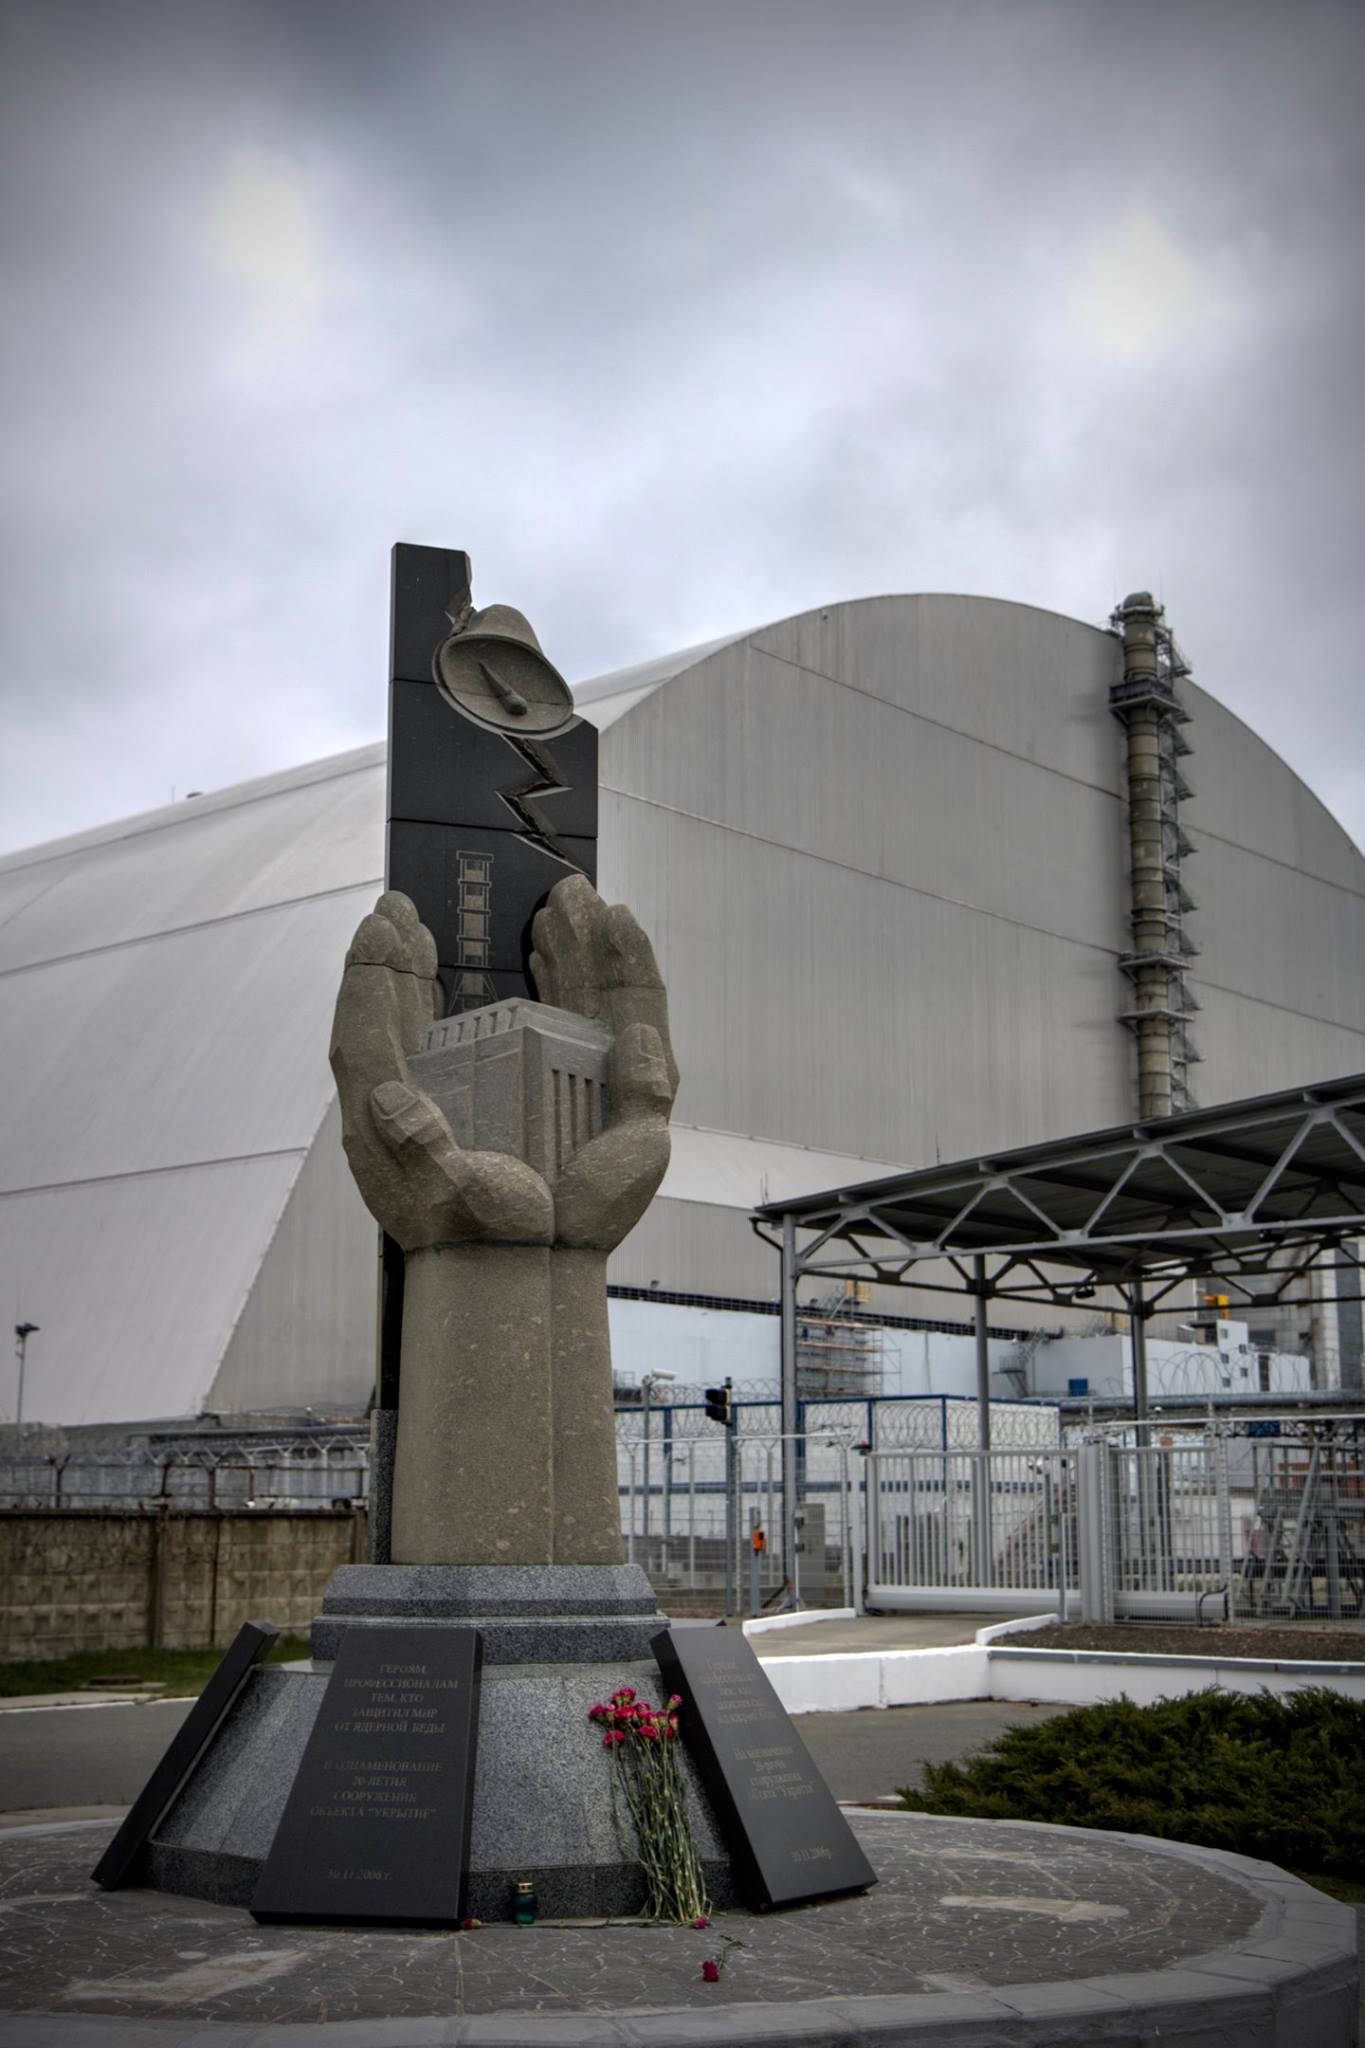
Whilst the guide took some paperwork to get checked we got off the van to look around St. Elijah Church and the Chernobyl Memorial.
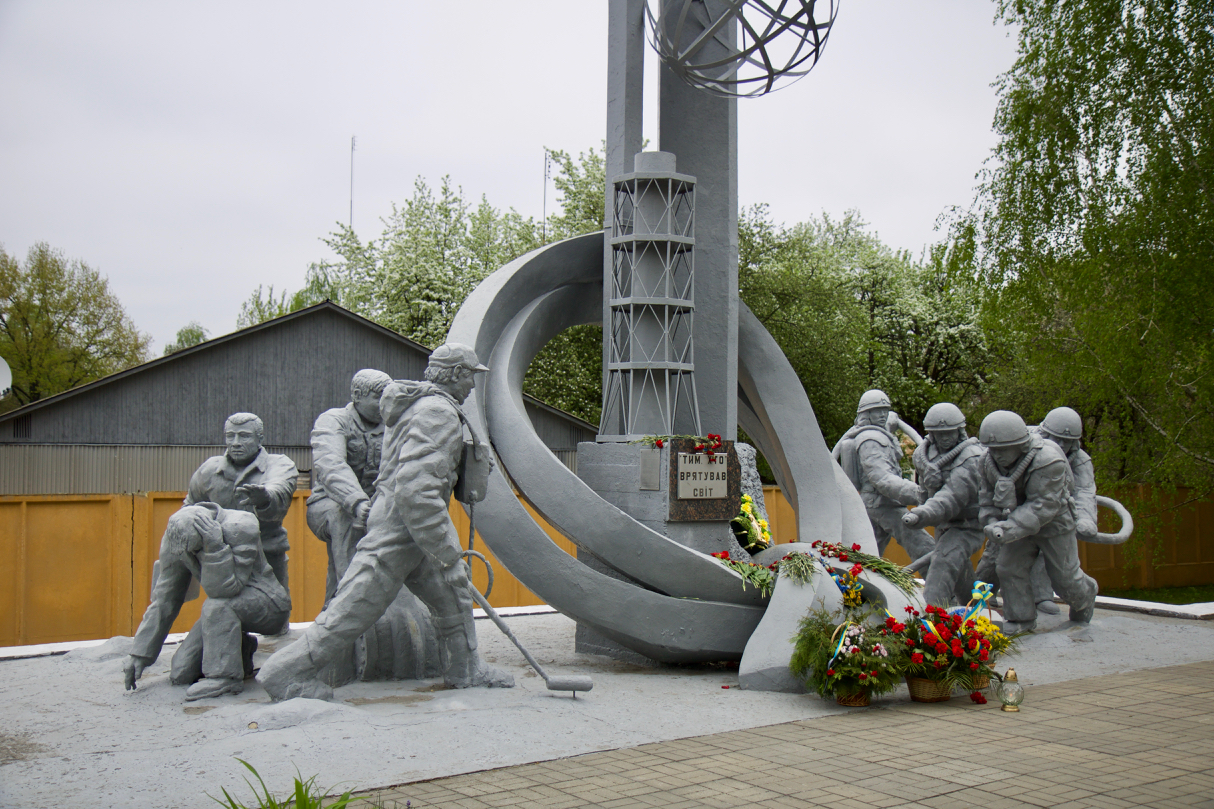
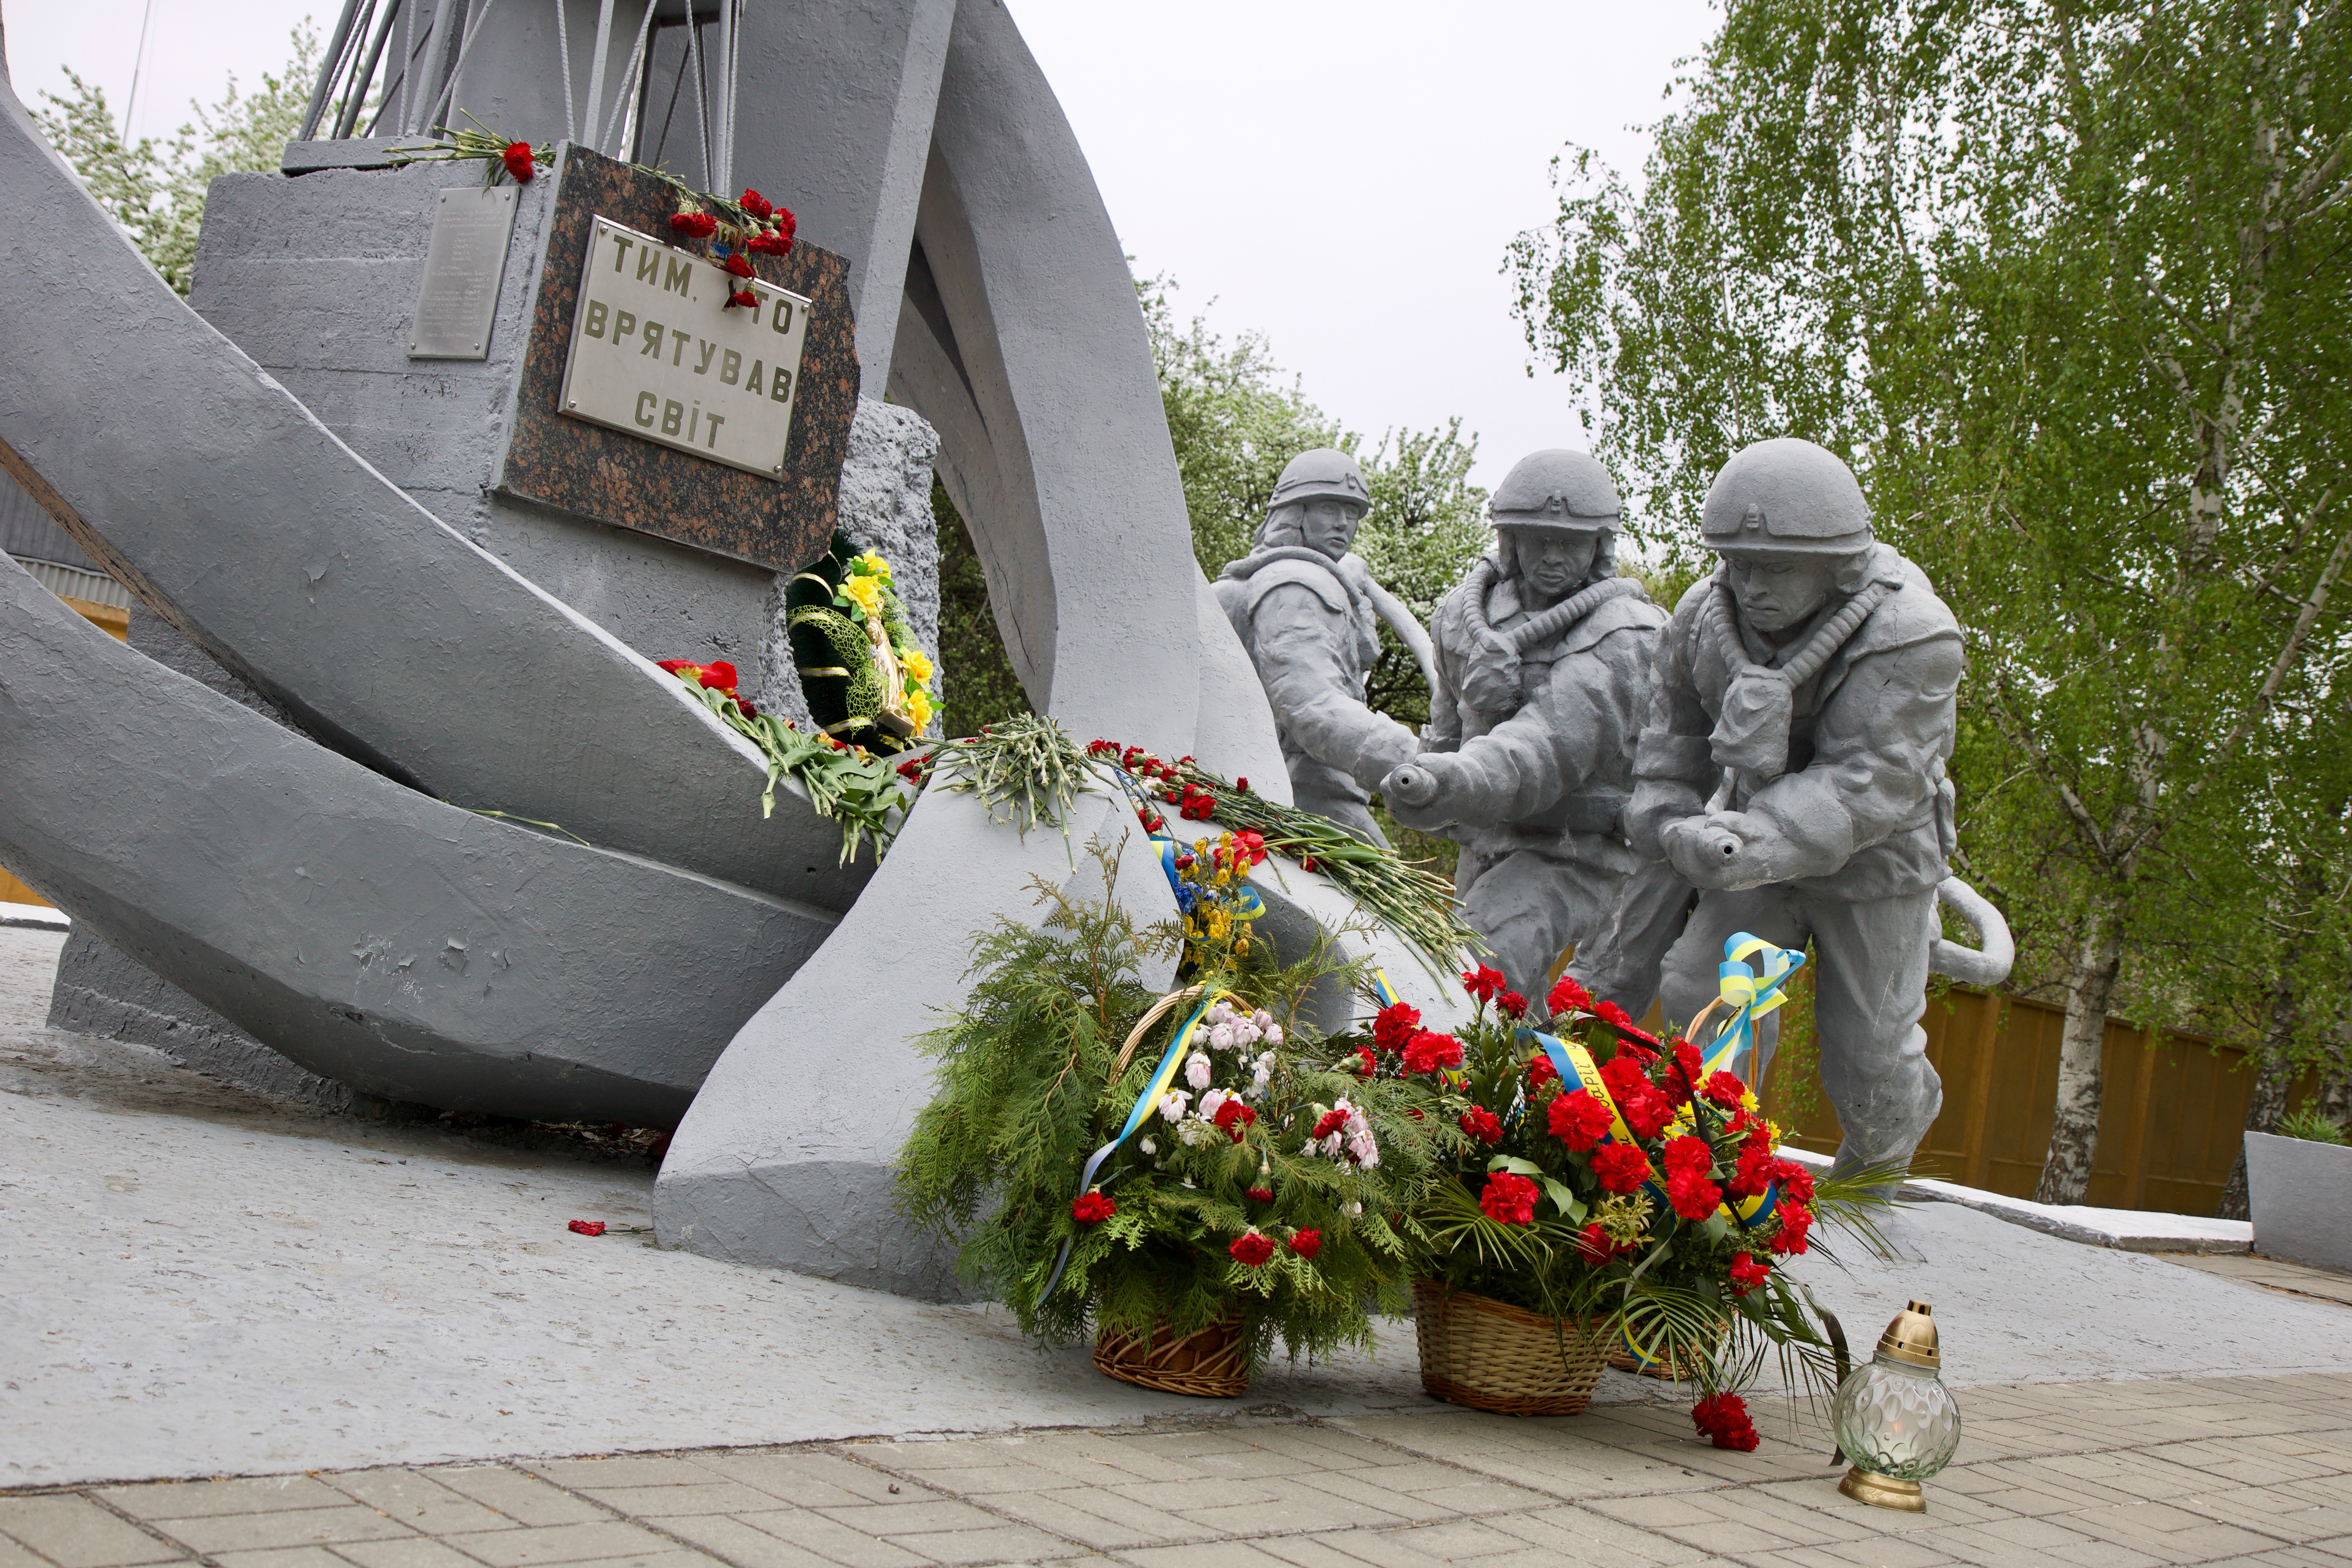
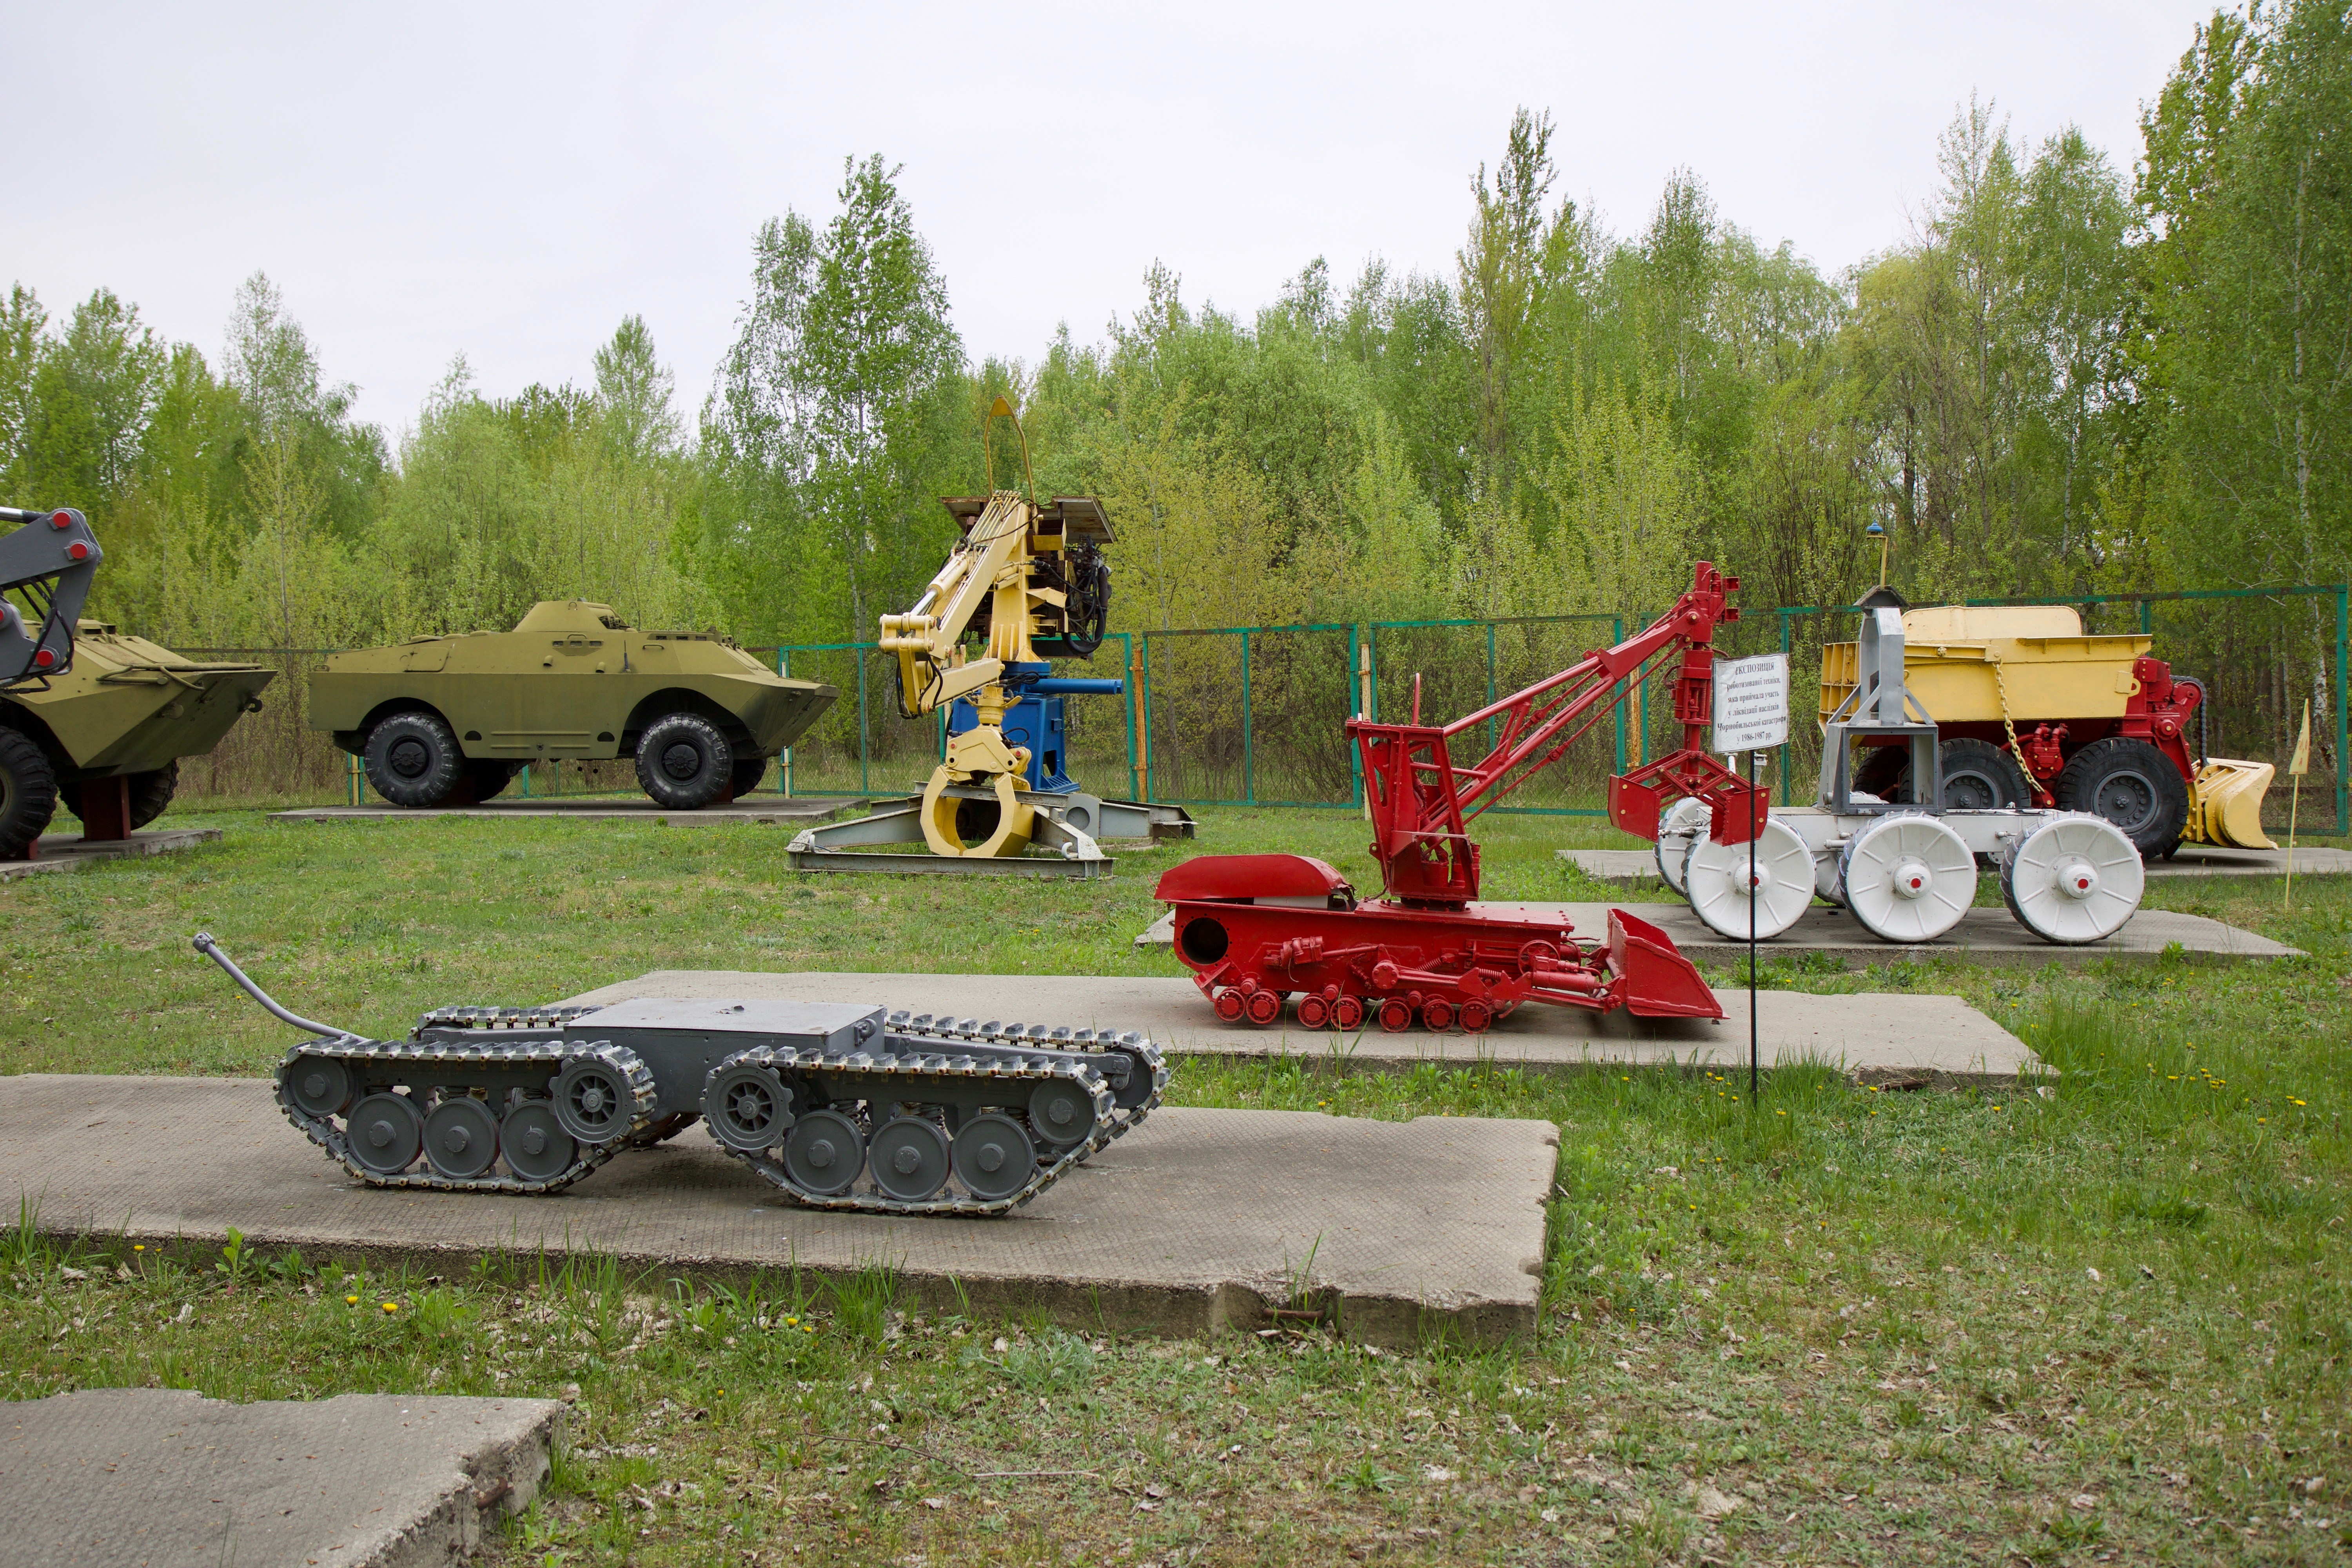
On the way out of Chernobyl we stopped at the Liquidator Memorial and an area set aside to show the remote controlled vehicles that were used in the cleanup.
Our next stop was the Duga radar site, an early warning system that the Soviet Union operated until 1989. On our way we pass through the 10km checkpoint at Leliv.
Background radiation level: 0.50 μSv/h
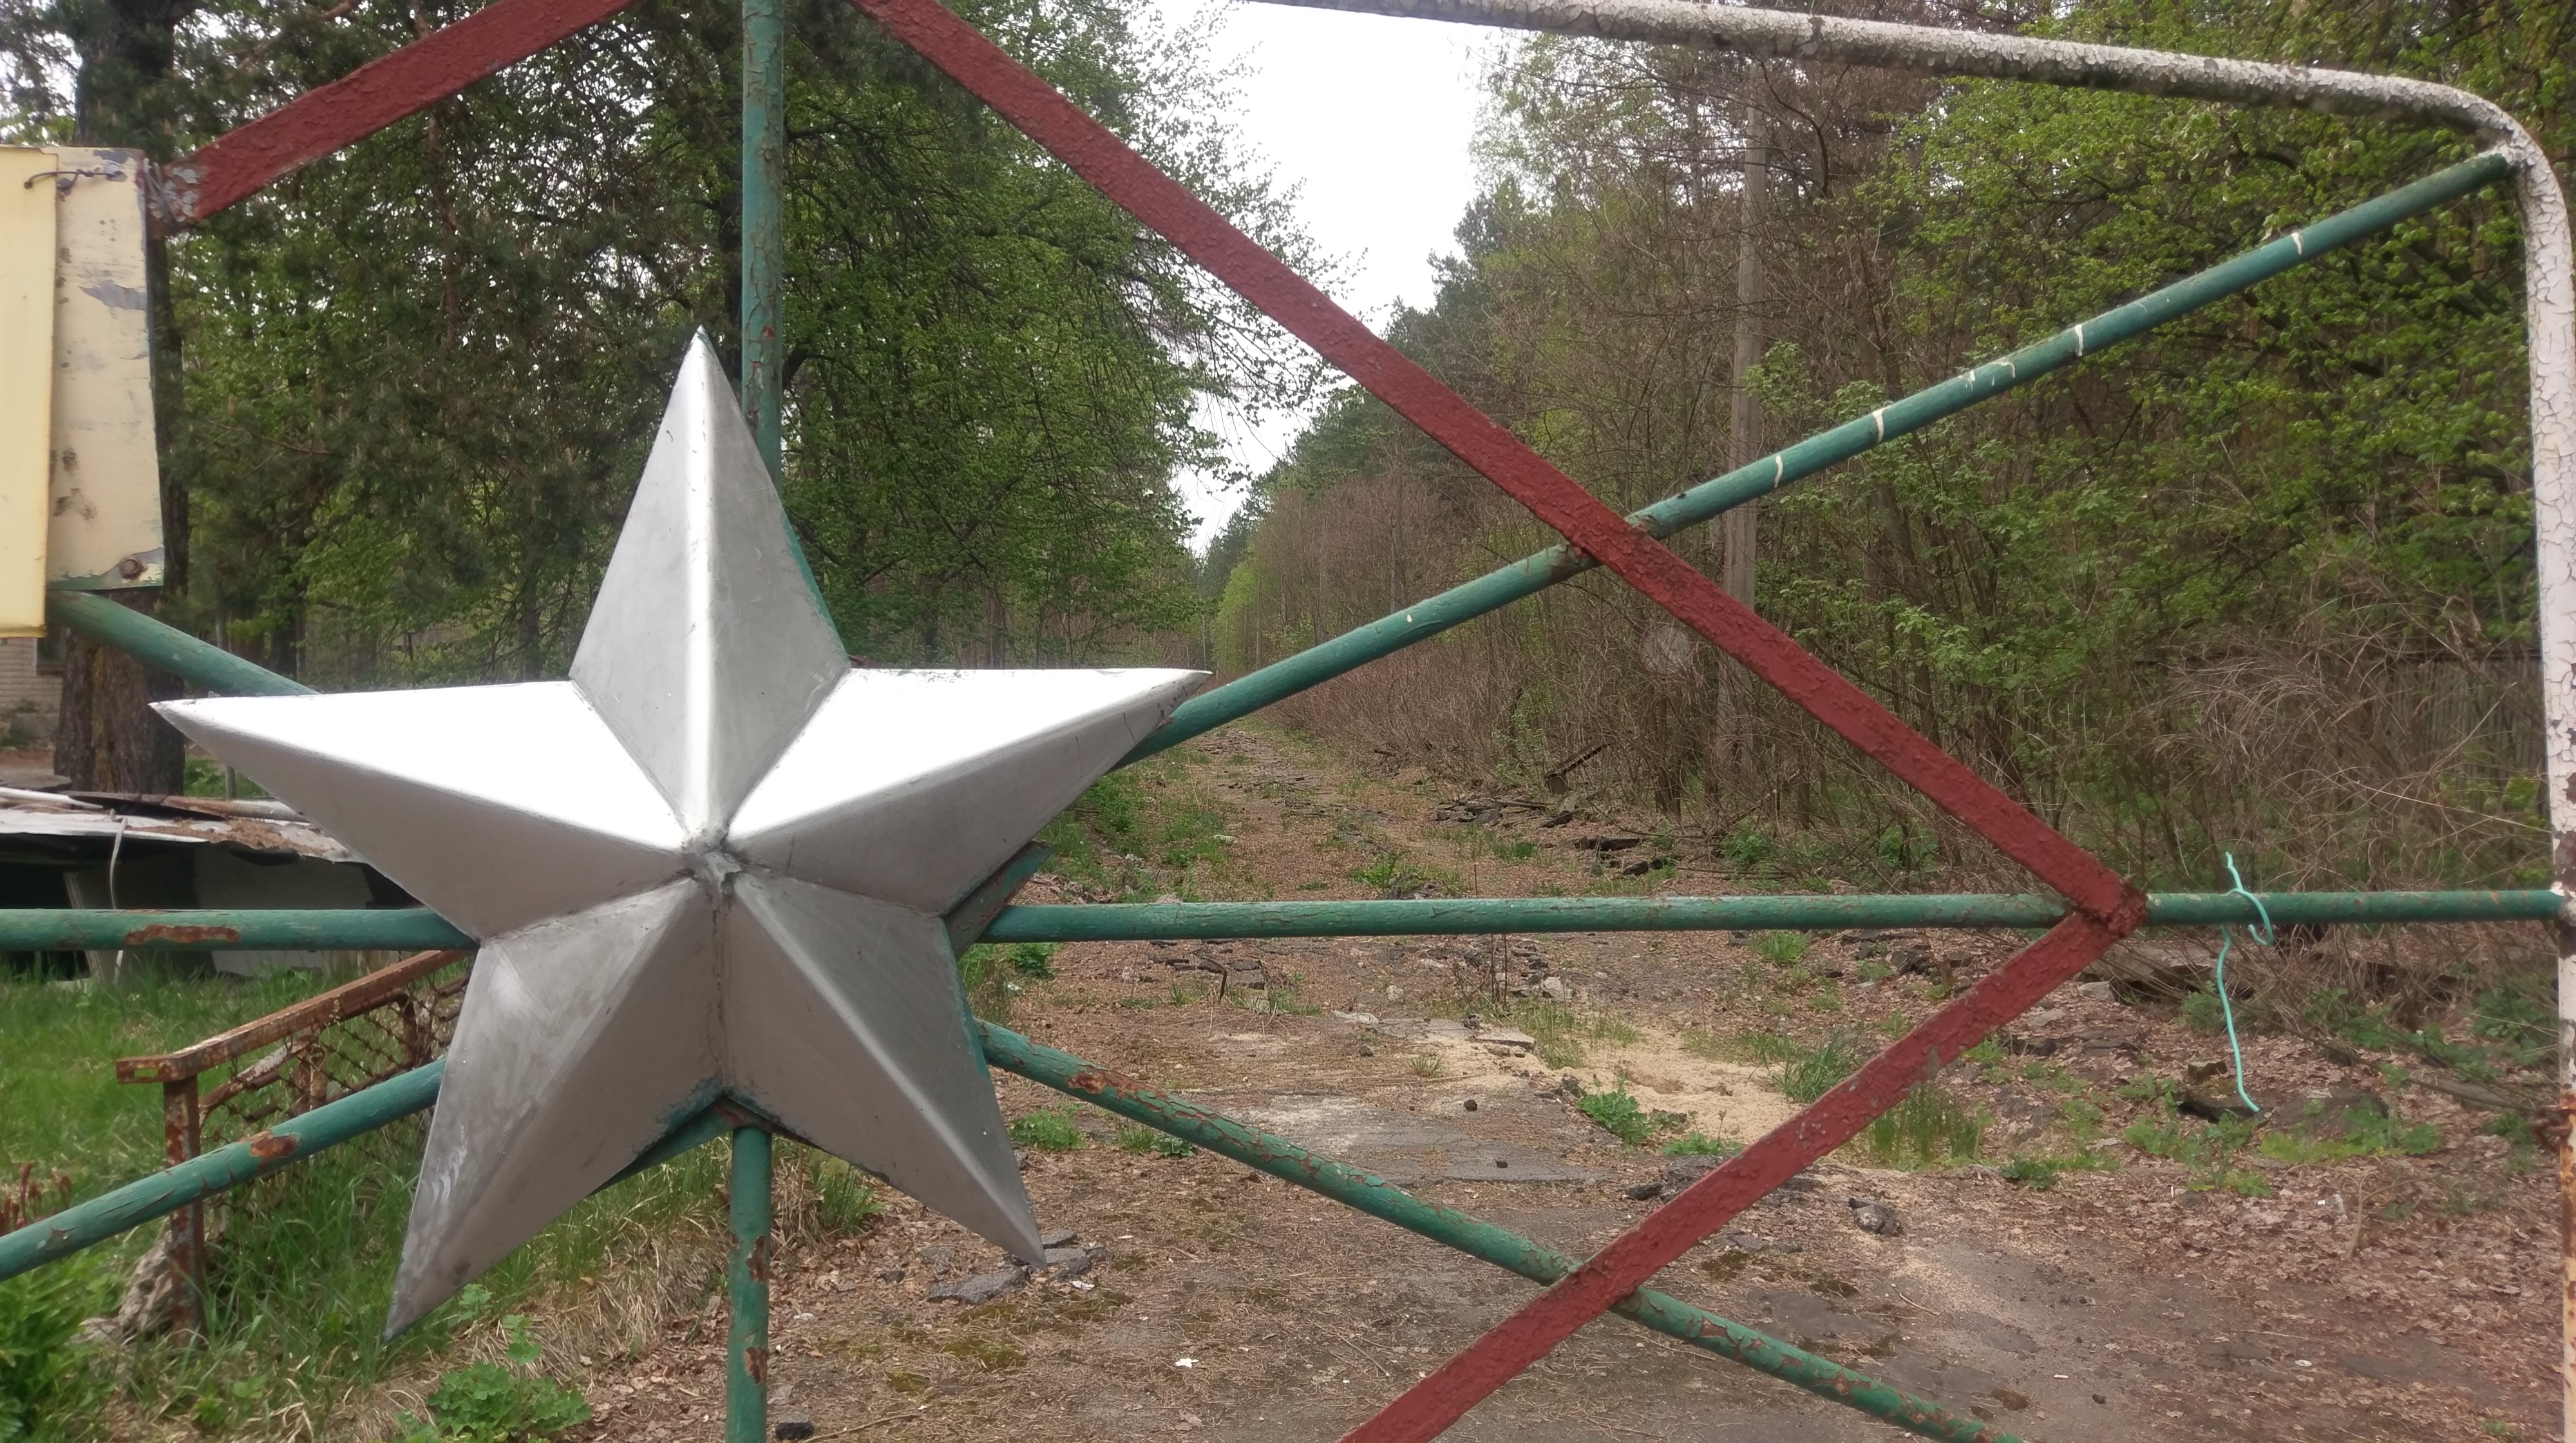
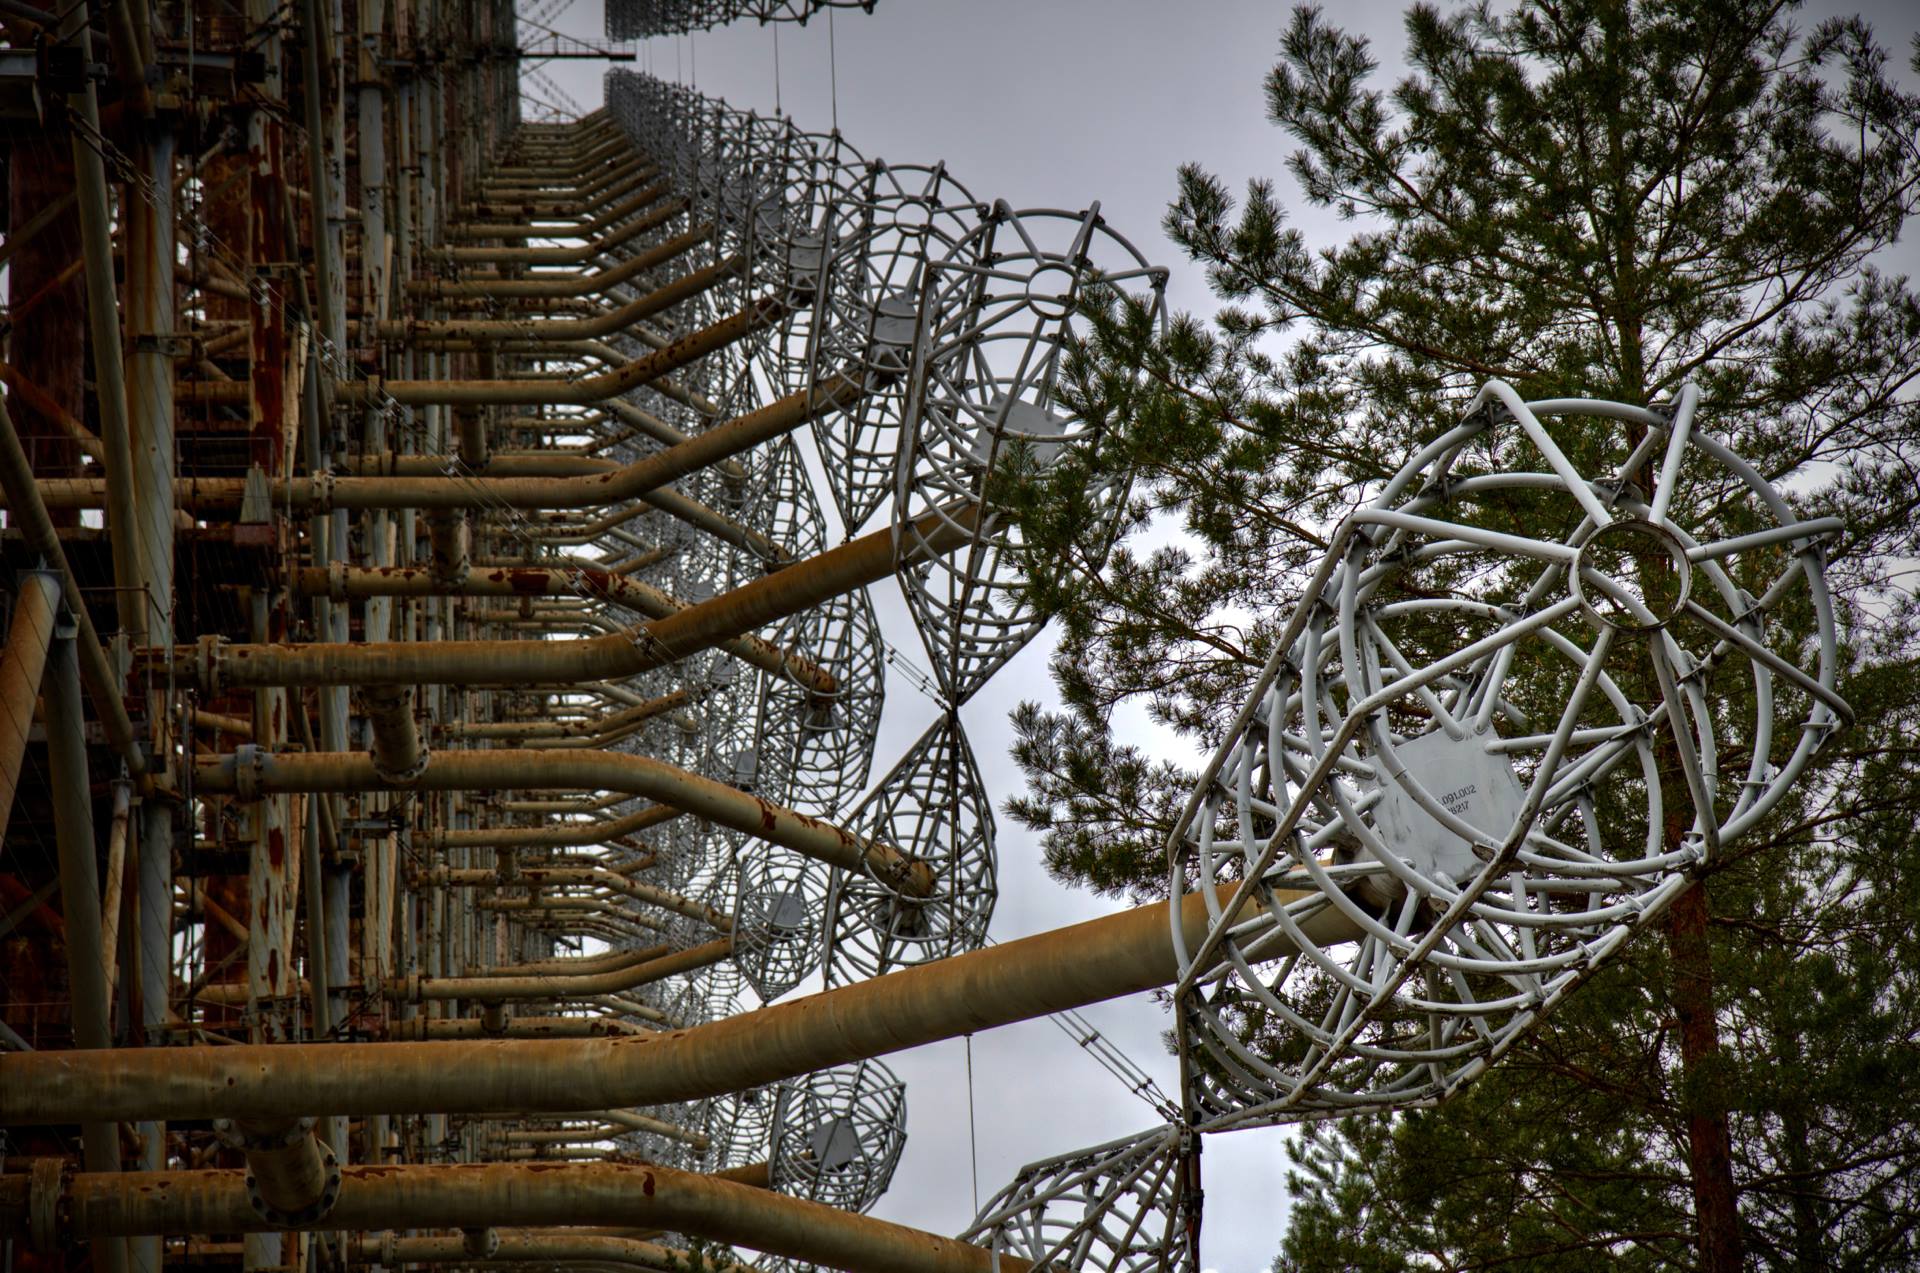
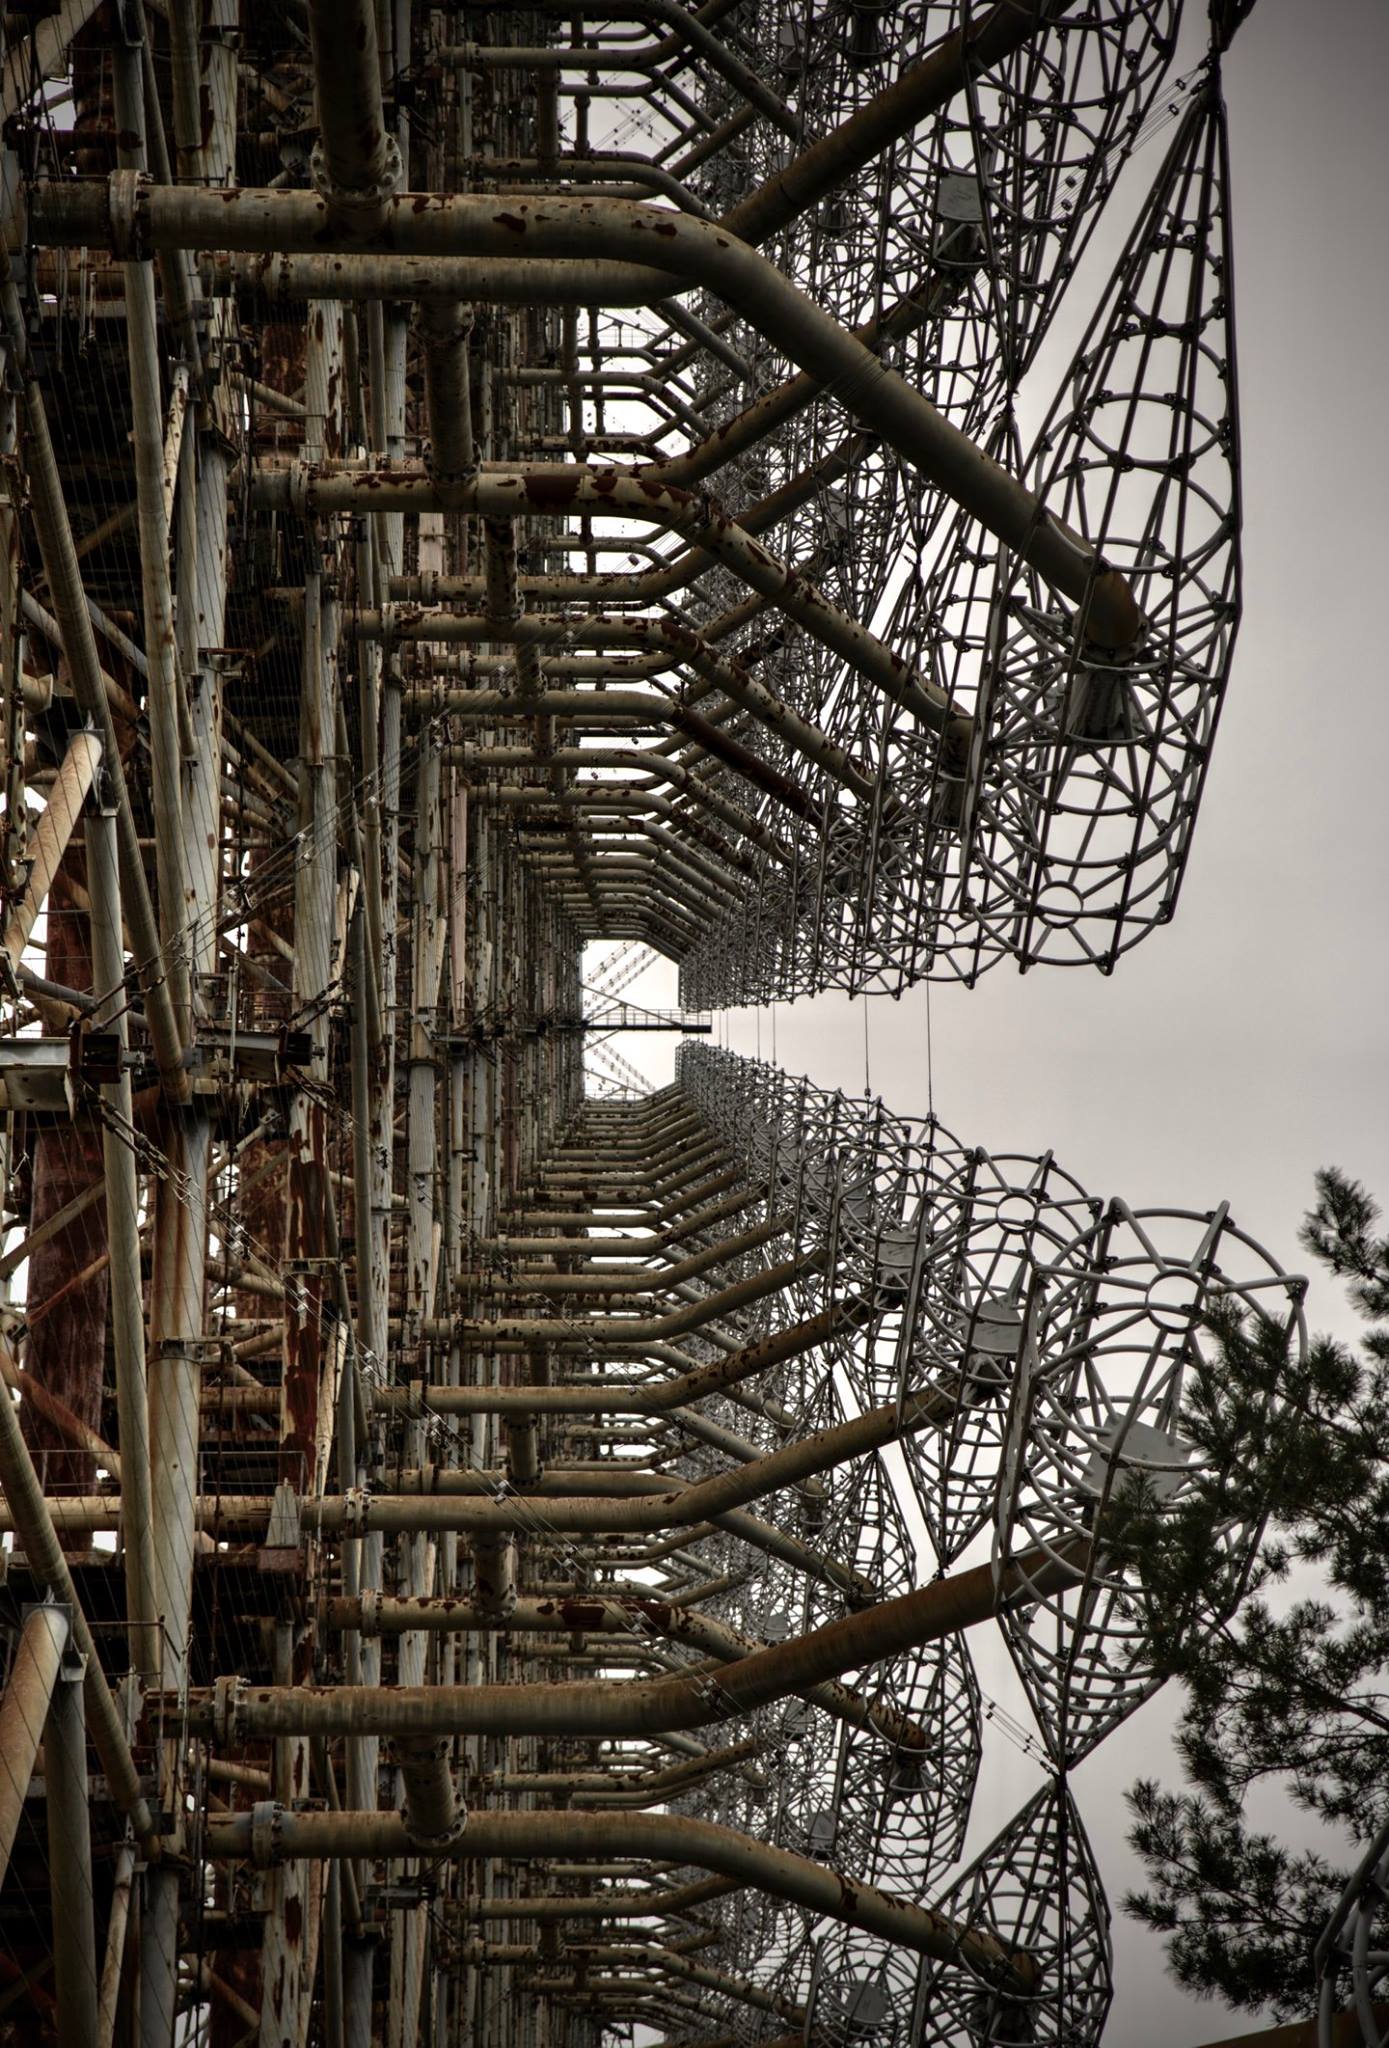
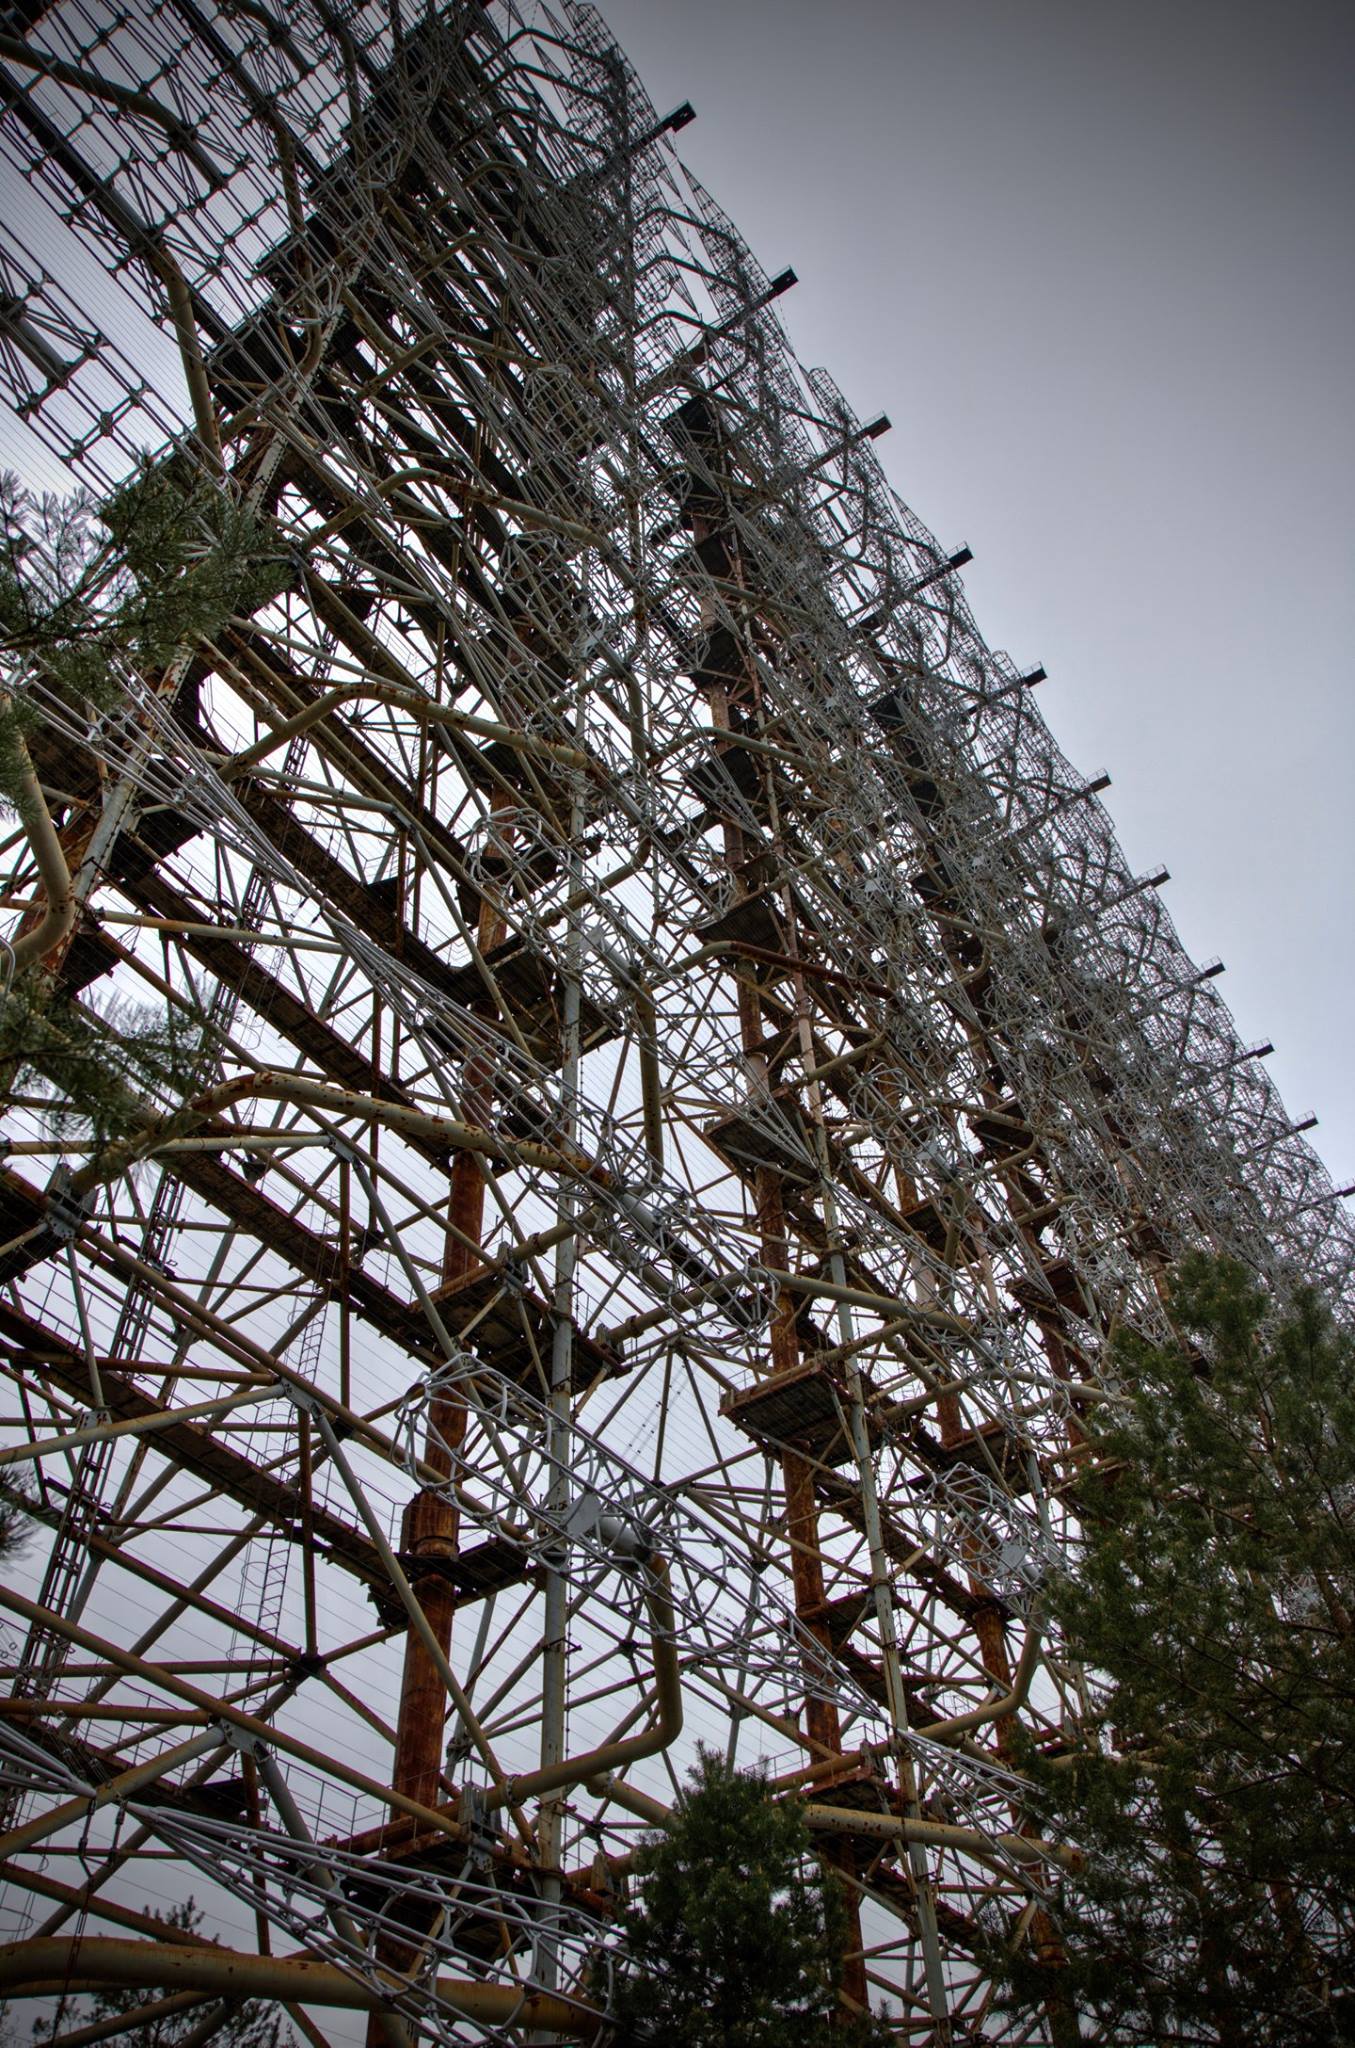
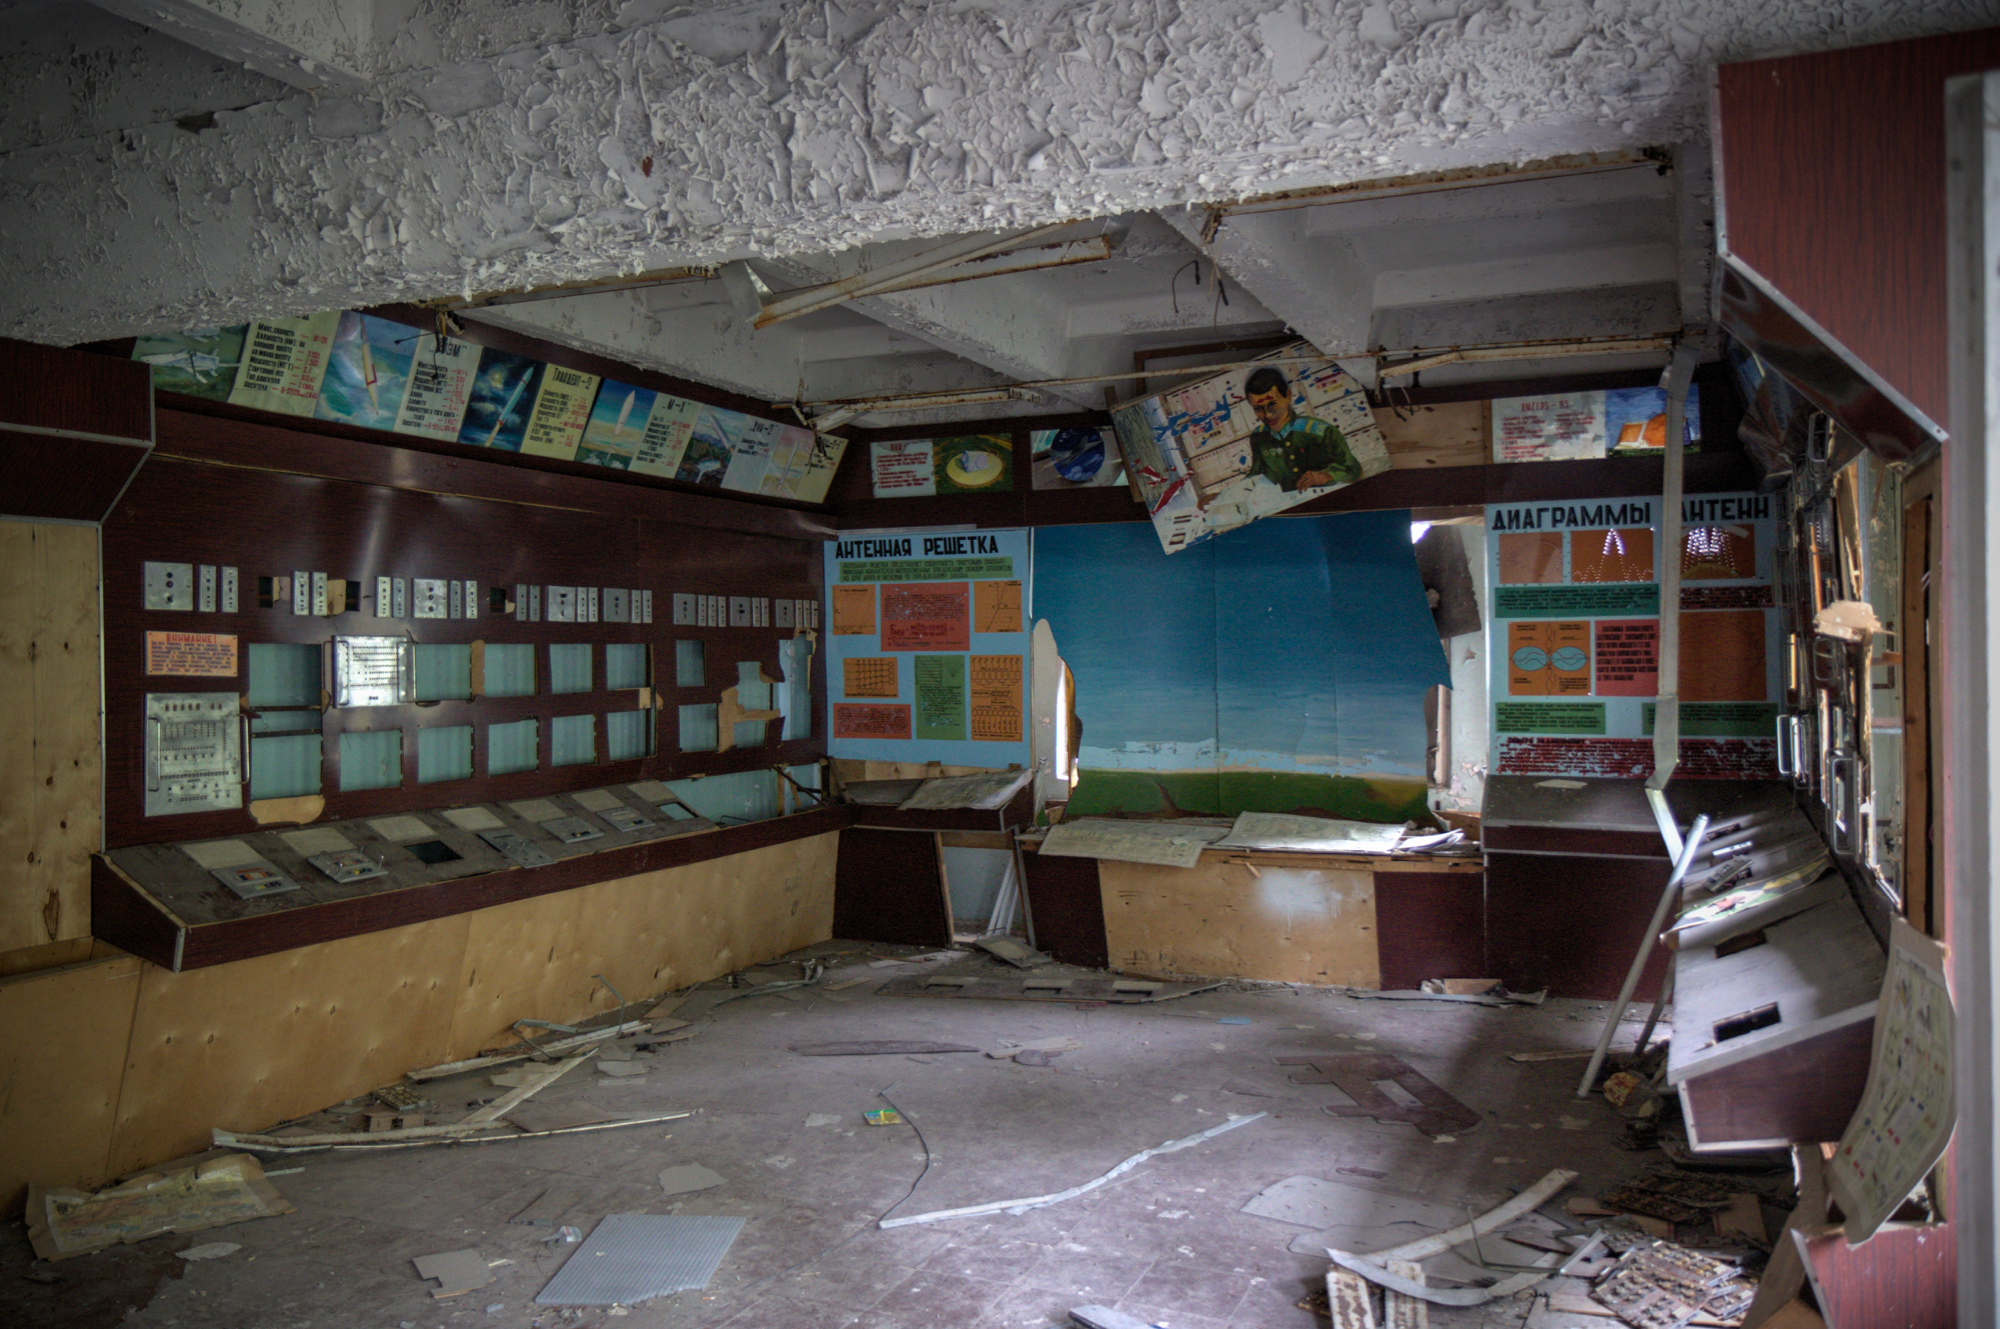
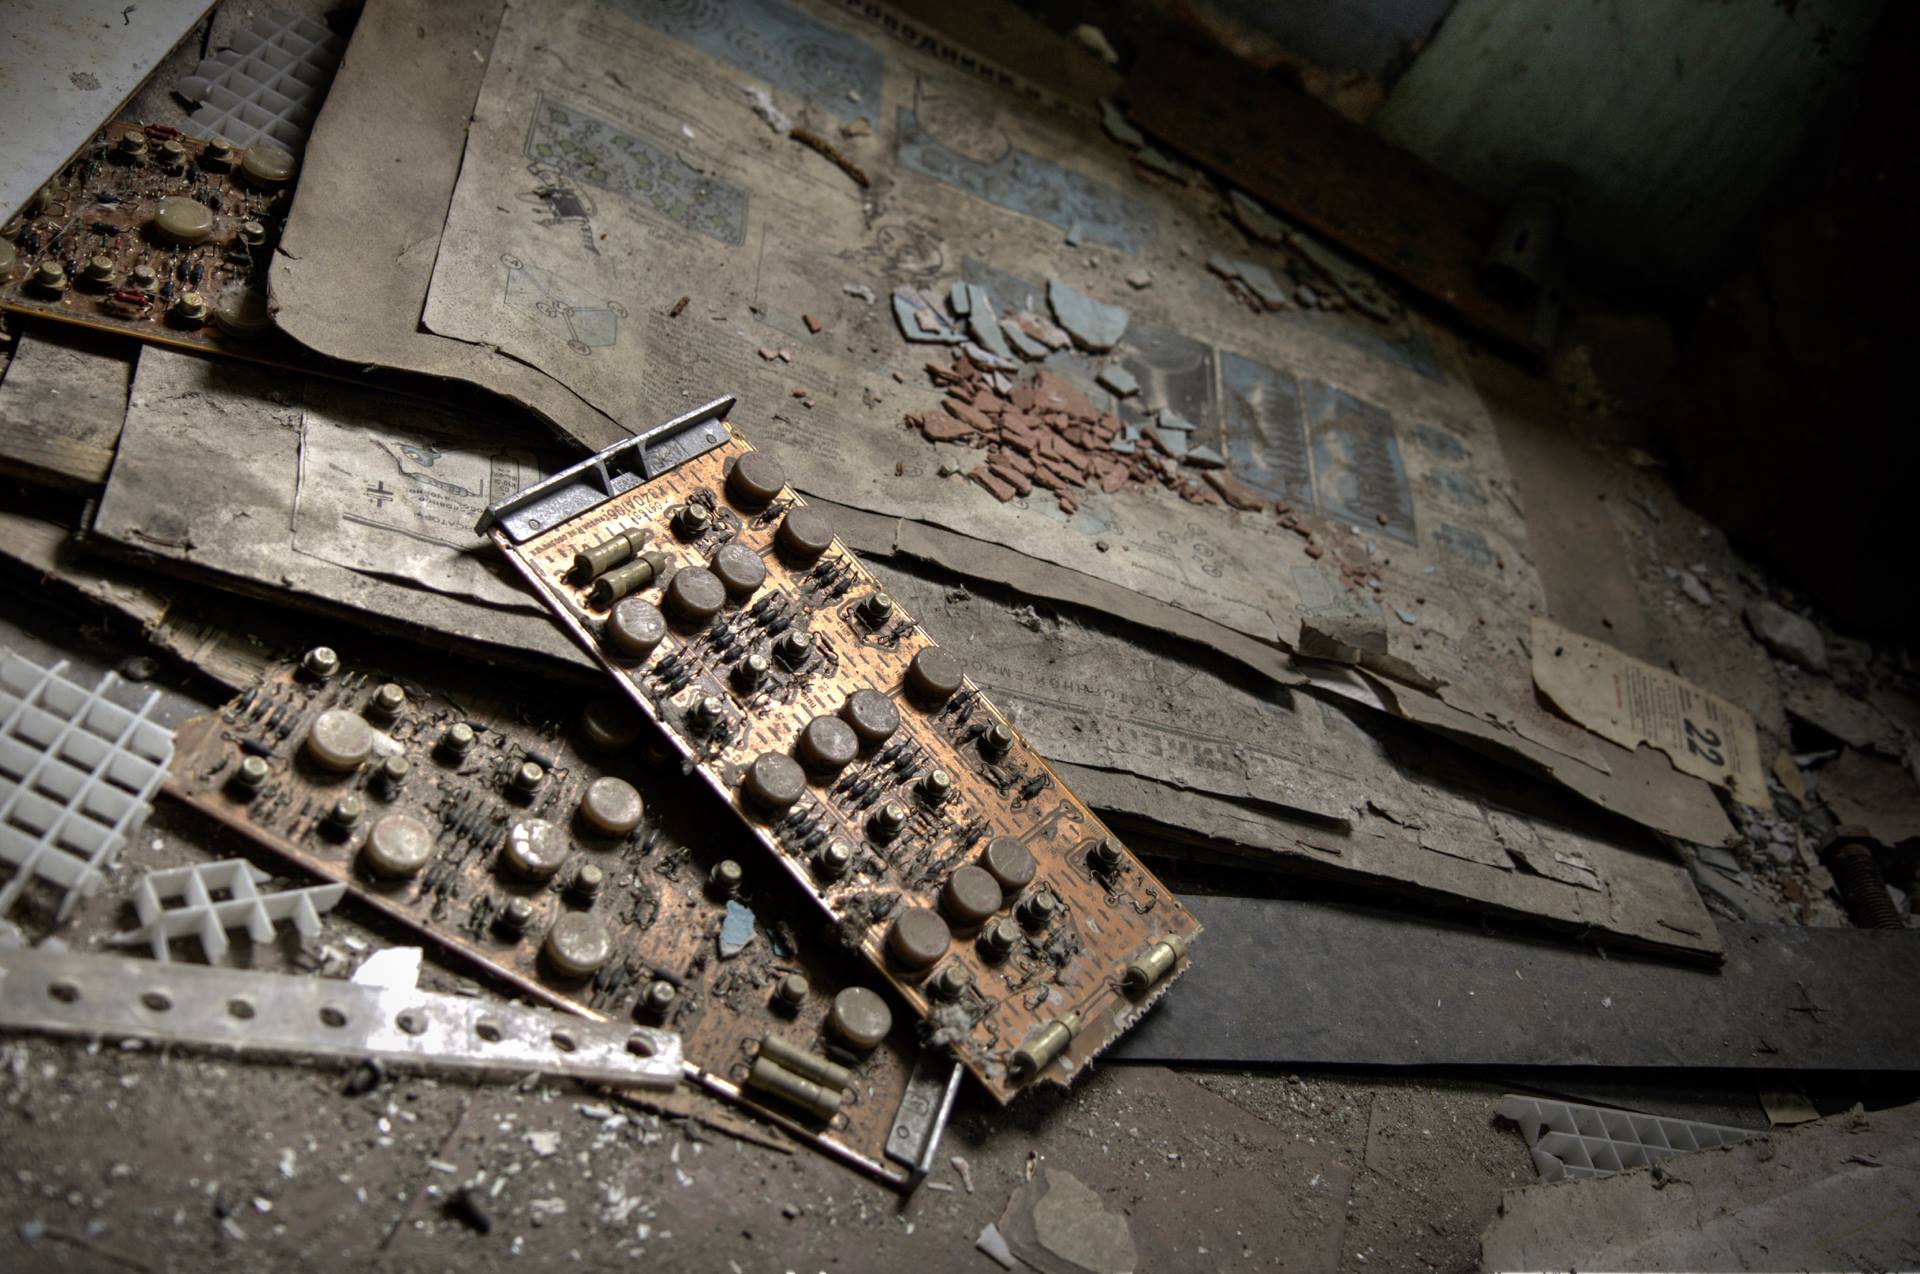
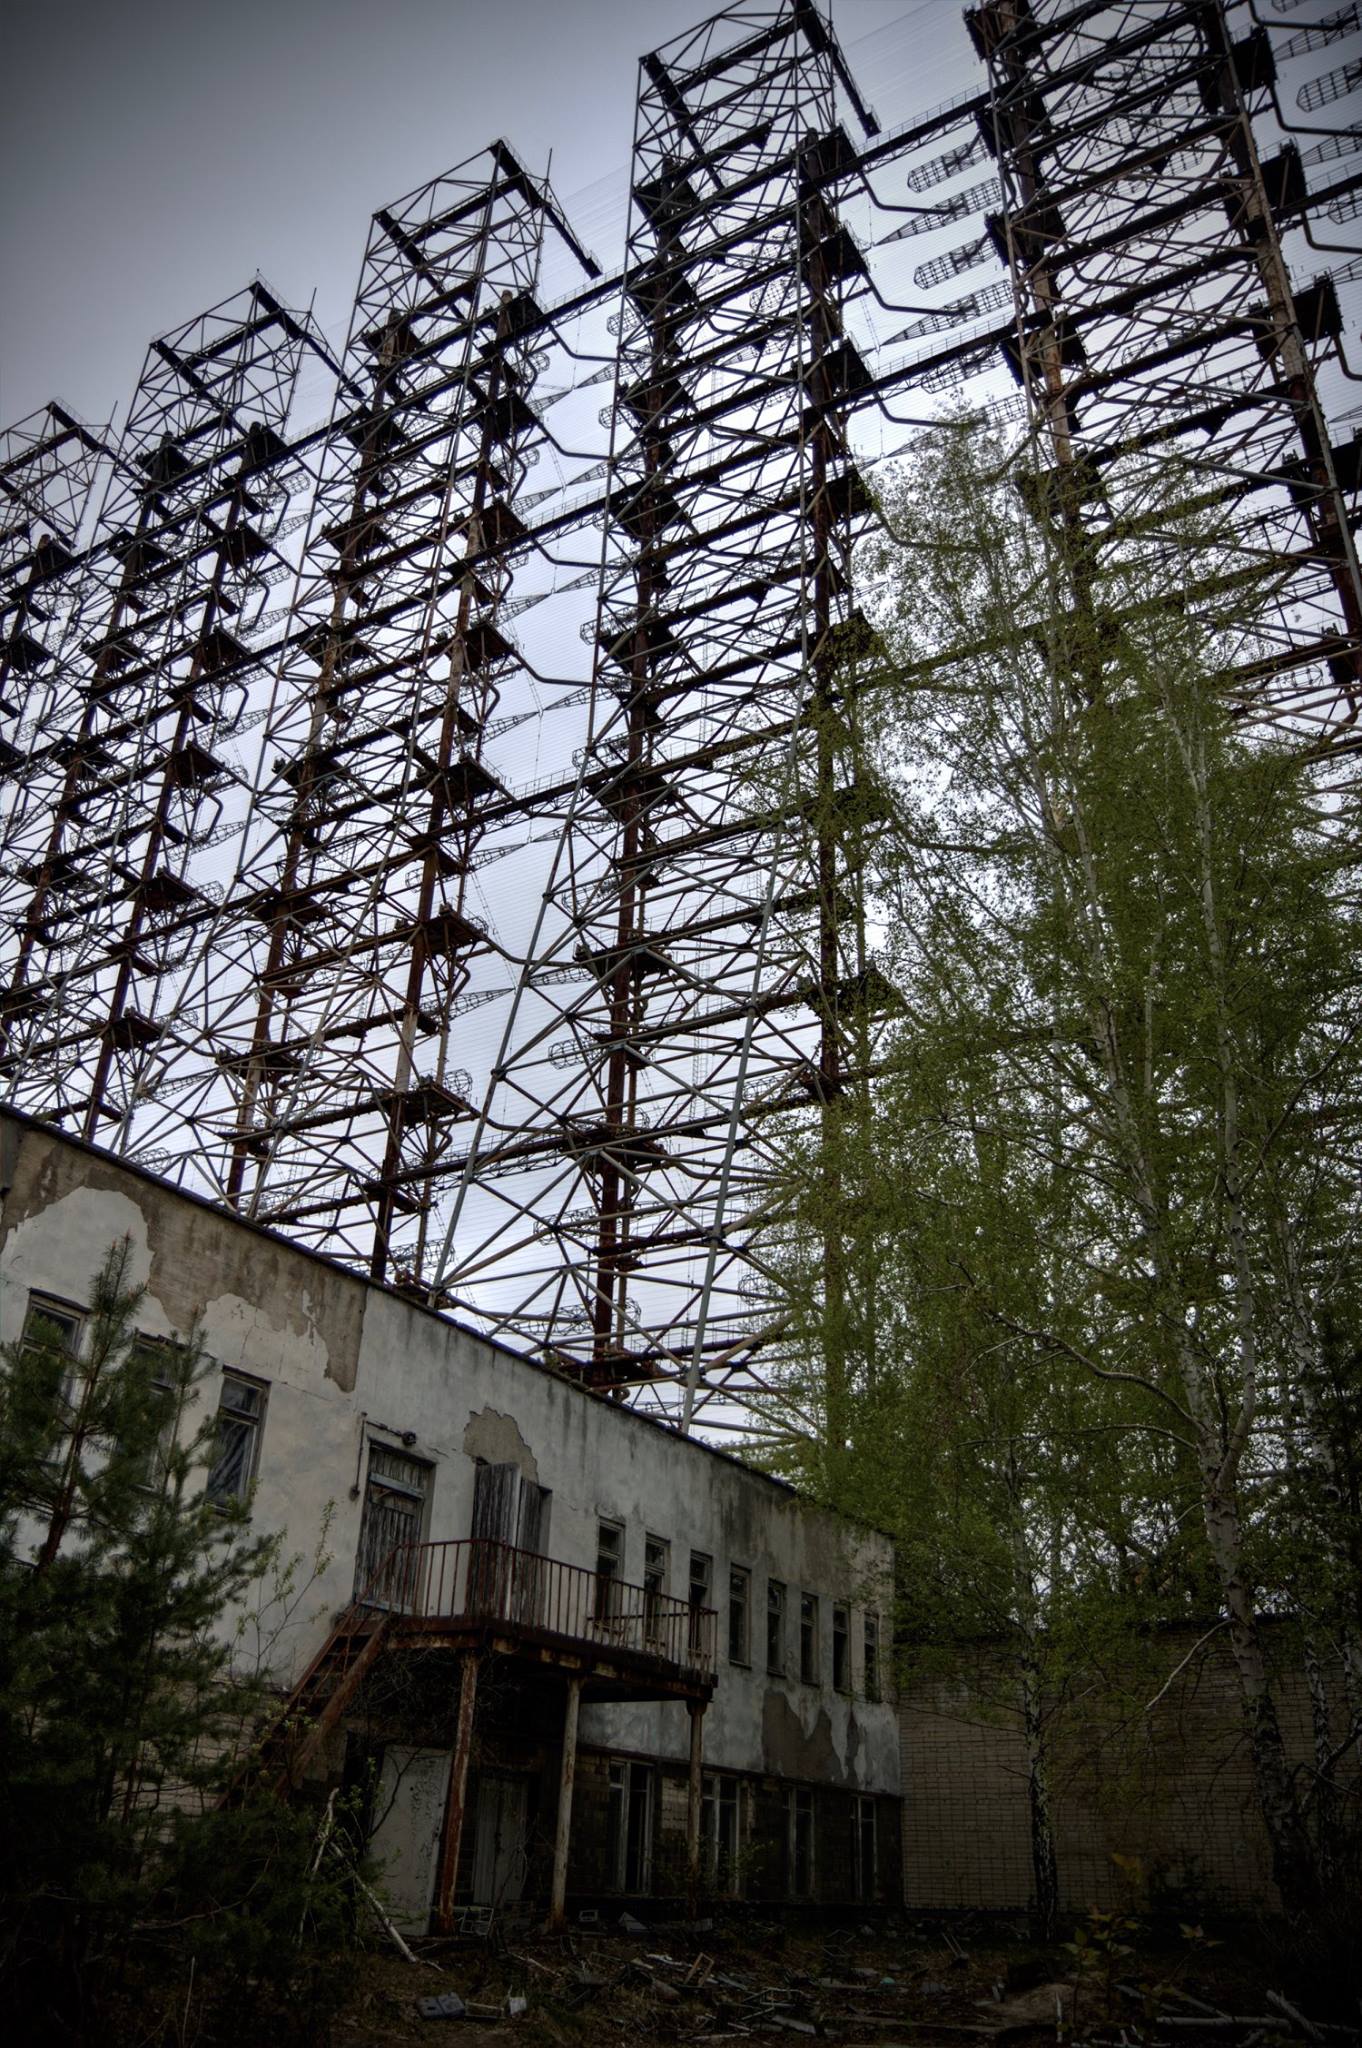
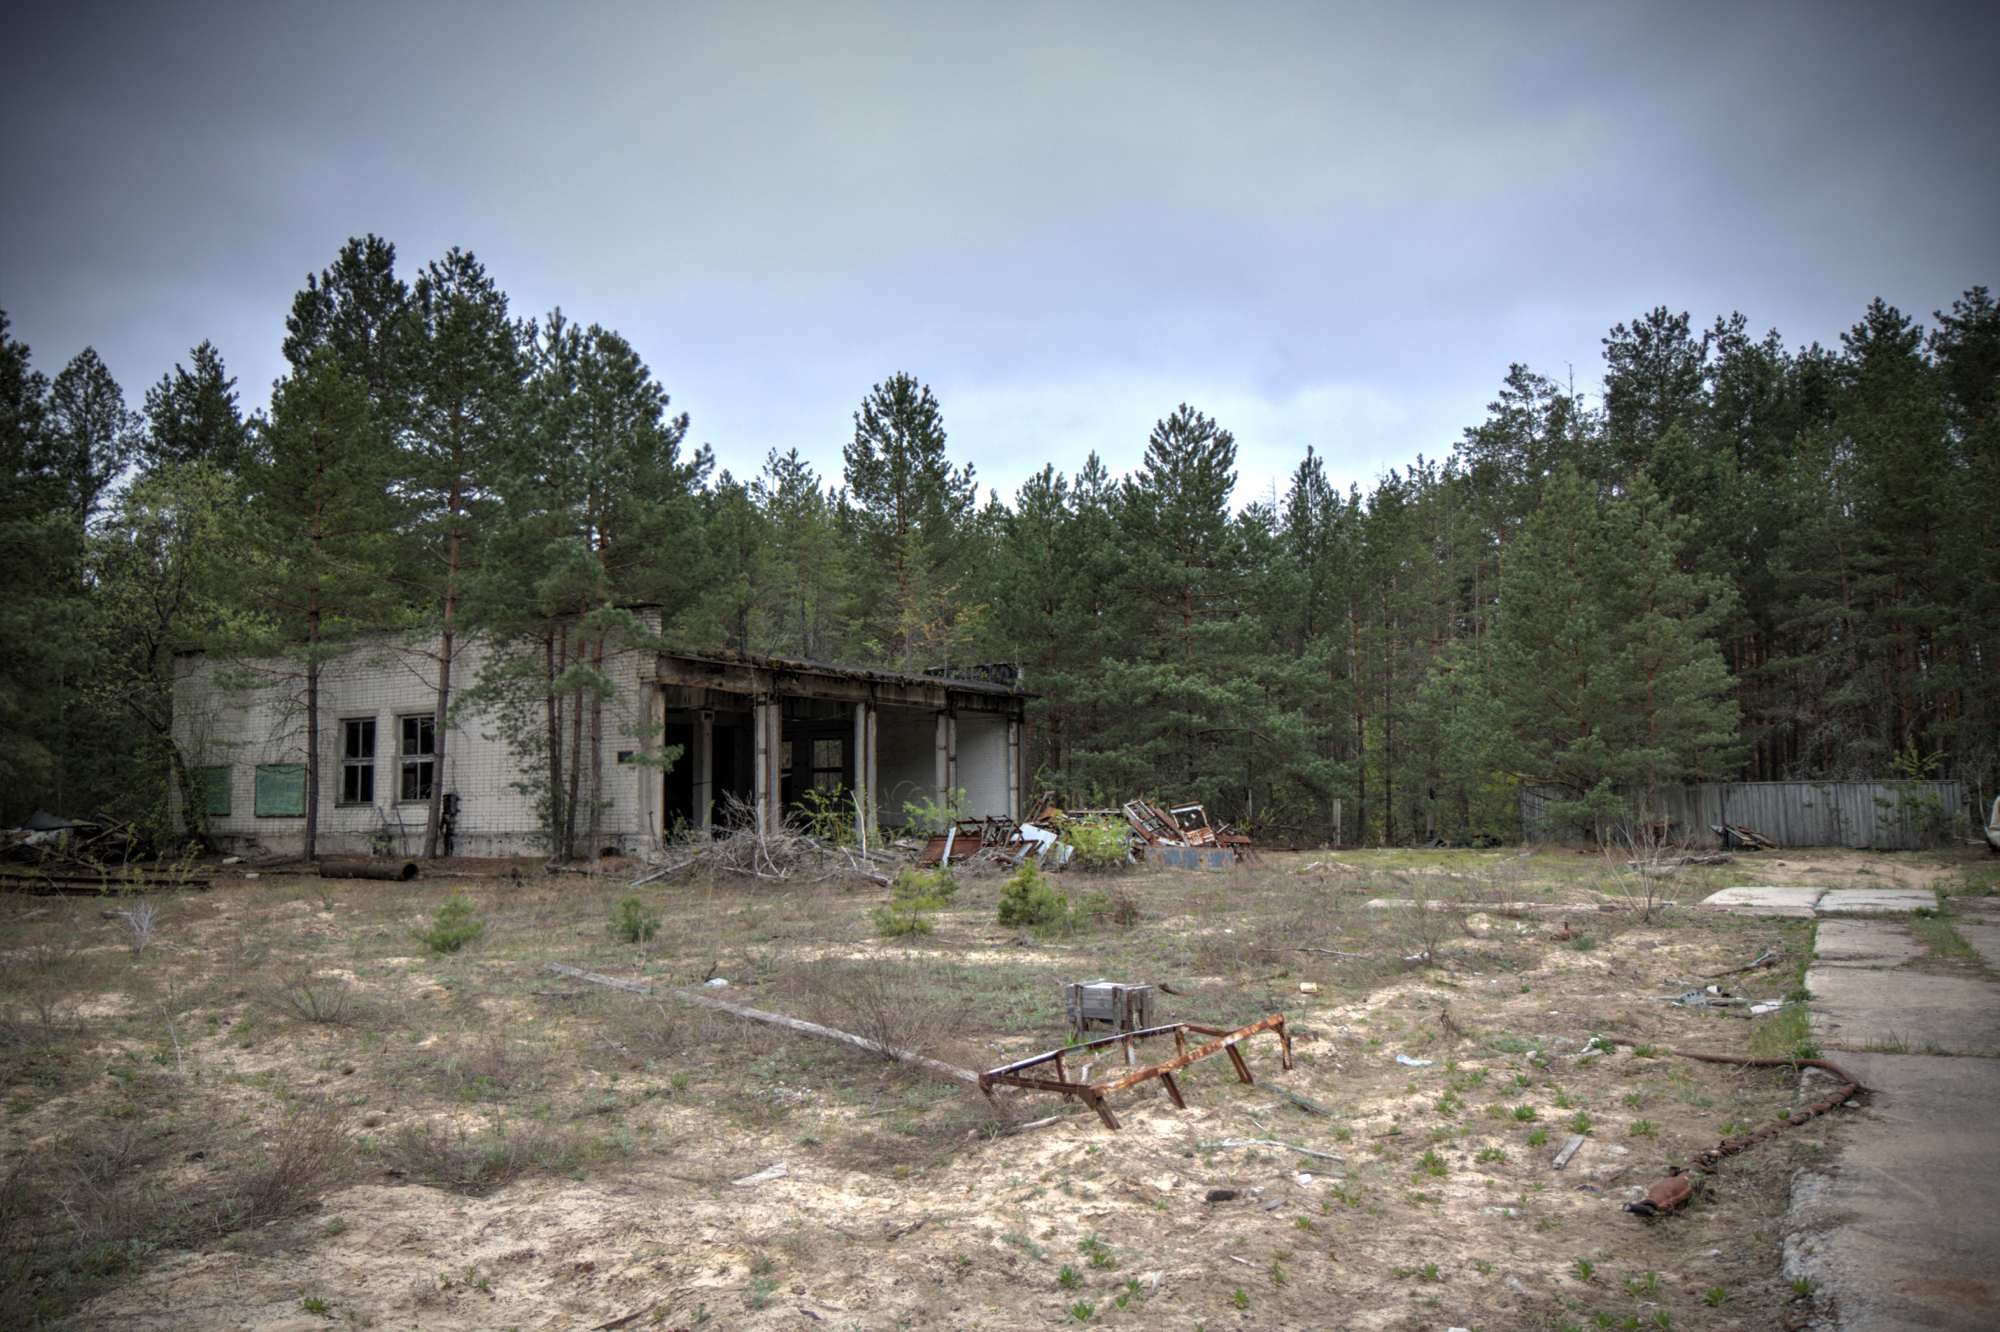
We walked around the base of the radar array and through the abandoned buildings and control rooms. All of the equipment and cabling had been stripped from every room, with debris littering the floors. Heading out of the site we walked through workshops and barracks, past long since used vehicles and back towards the van.
As we headed towards the power plant we stopped at what used to be the village of Kopachi, after the village was evacuated the houses were torn down and buried as an experiment to see if it lowered the radiation levels. It made it worse, the soil and water surrounding the village remained radioactive and drove radioactive material down into the aquifer, polluting water supplies.
Background radiation level: 0.75 μSv/h
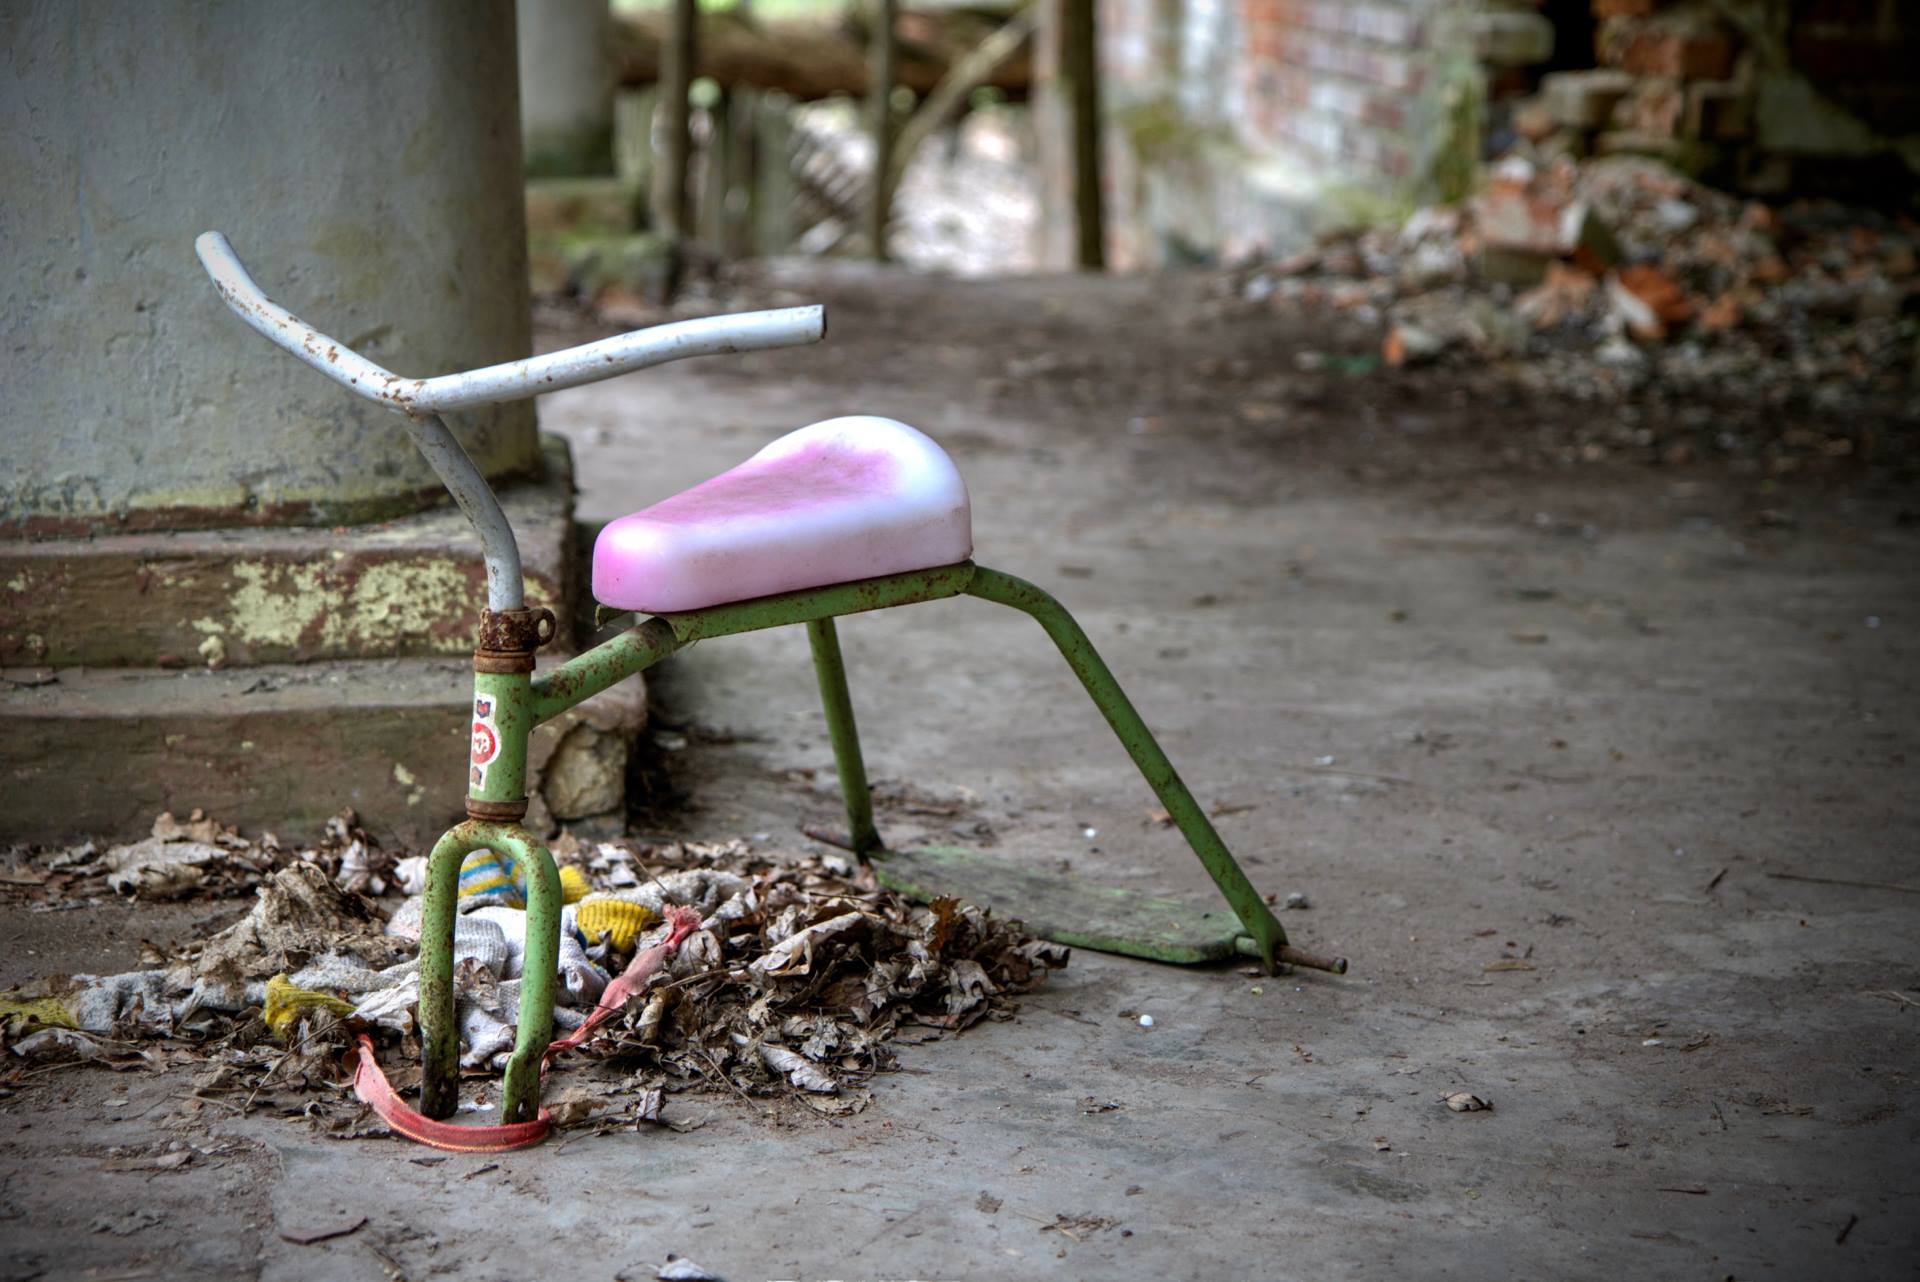
Two brick buildings remain in Kopachi, we stopped at one of them, the Kindergarten and we explored inside. Kopachi sits right next to the Chernobyl Nuclear Power Plant site and we recorded the second highest radiation level we encountered on our tour, a relatively safe 16 μSv/h, but you wouldn’t want to stay there.
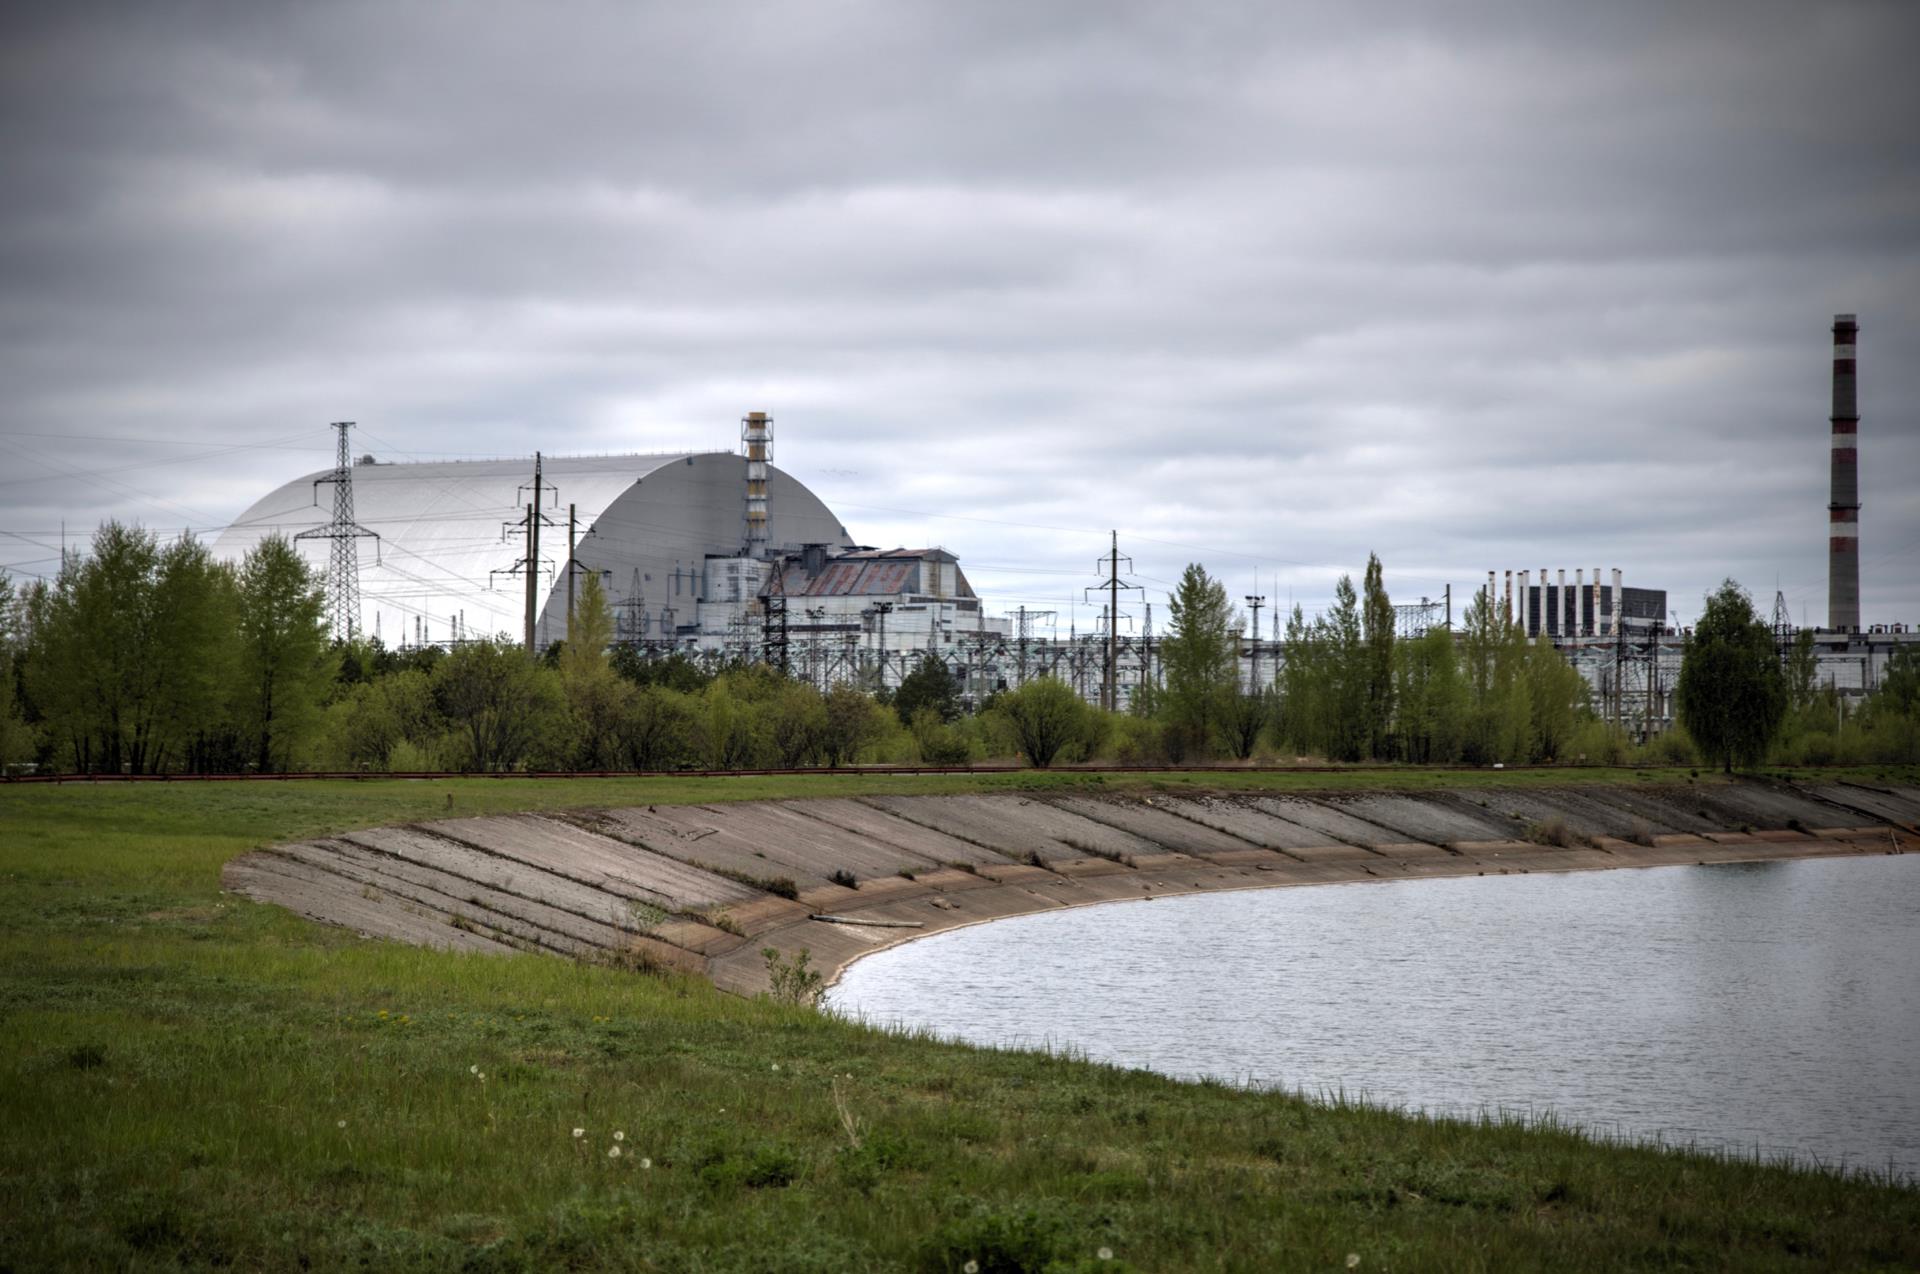
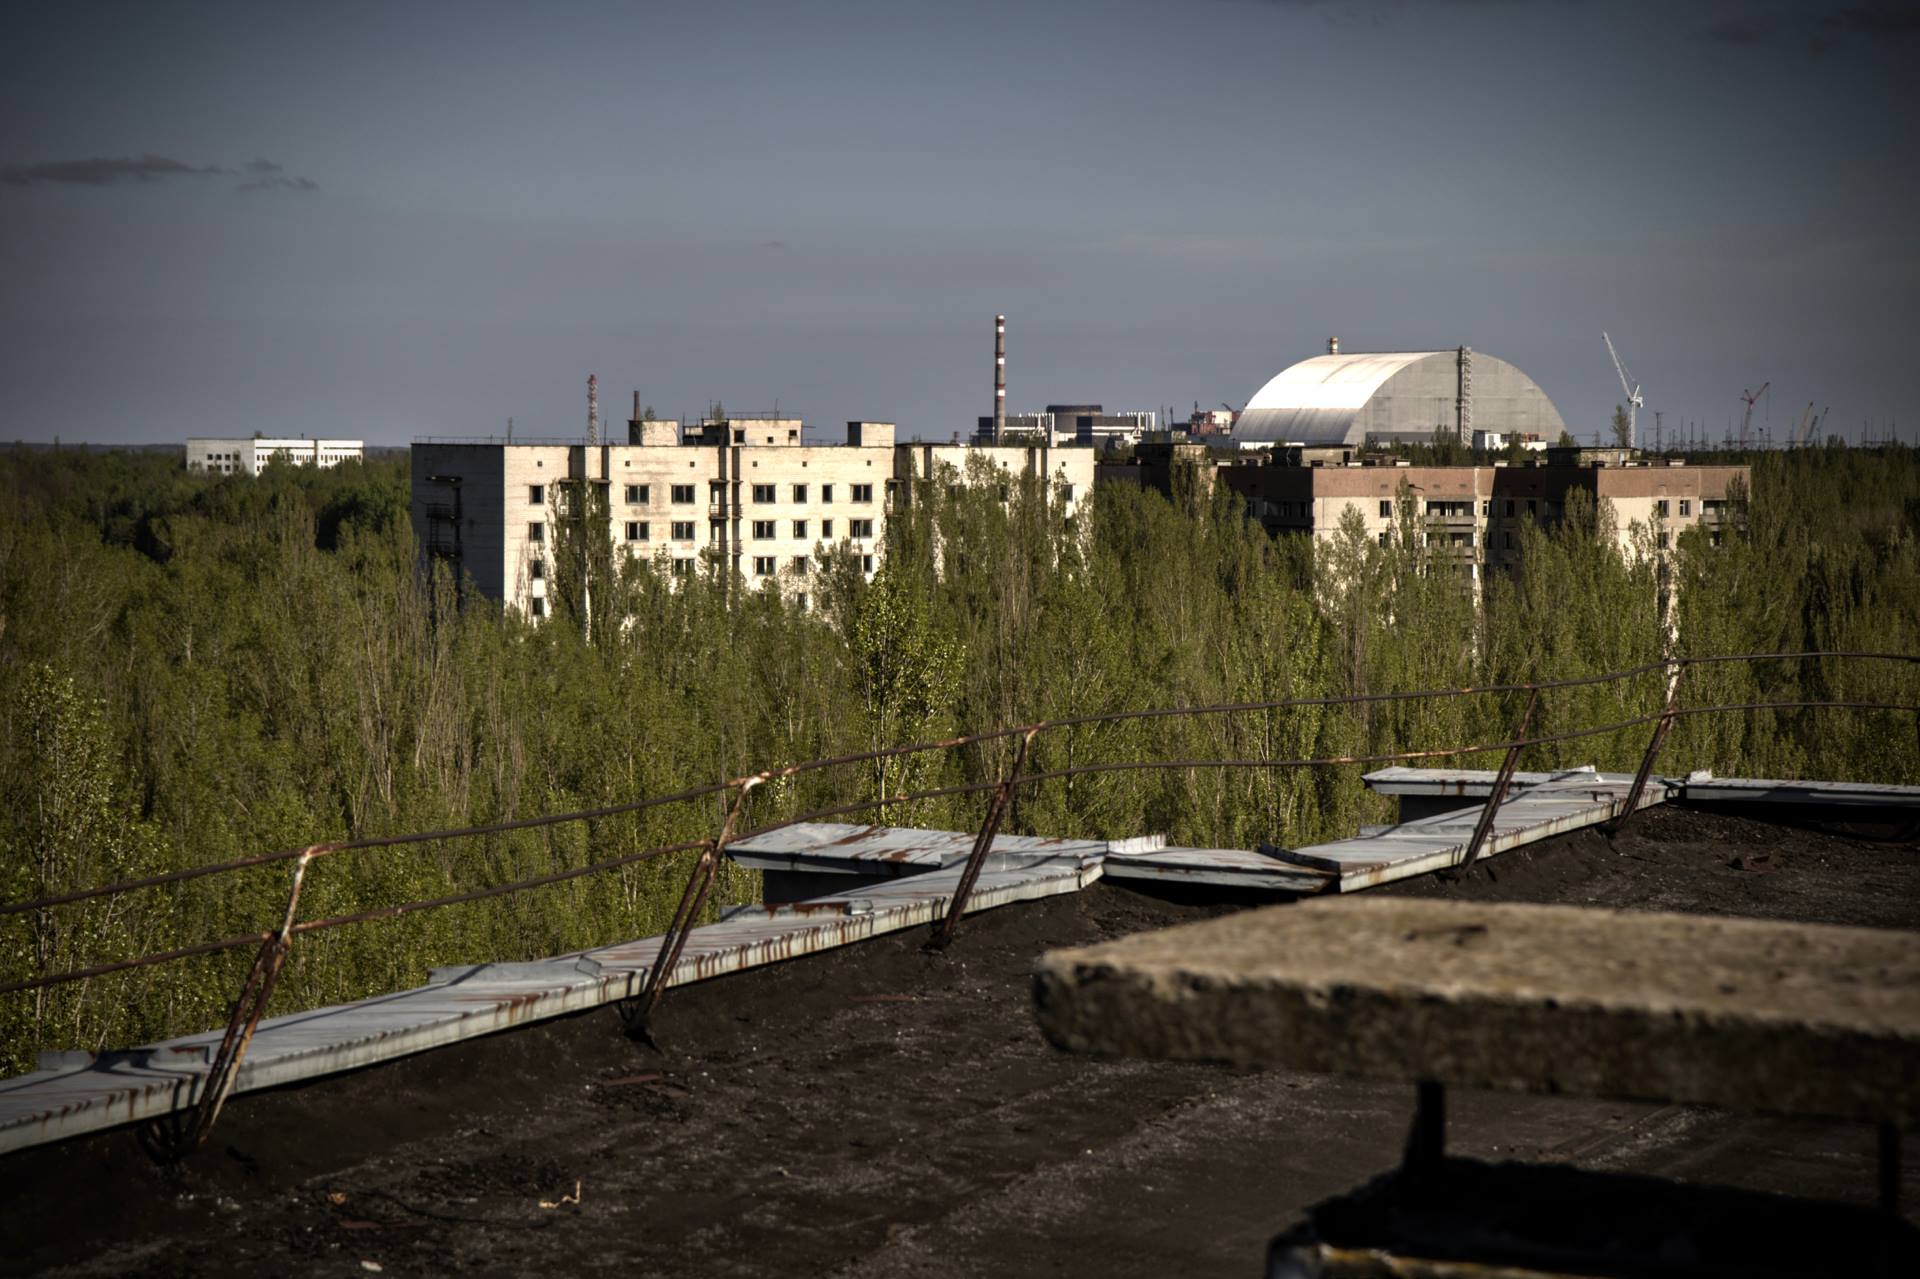
After Kopachi we drove towards the Chernobyl Nuclear Power Plant, we were taken around the site on the service roads and made a stop at the observation point. From here we could see the Chernobyl New Safe Confinement structure covering the plant, we then went for some food in the Chernobyl workers canteen.
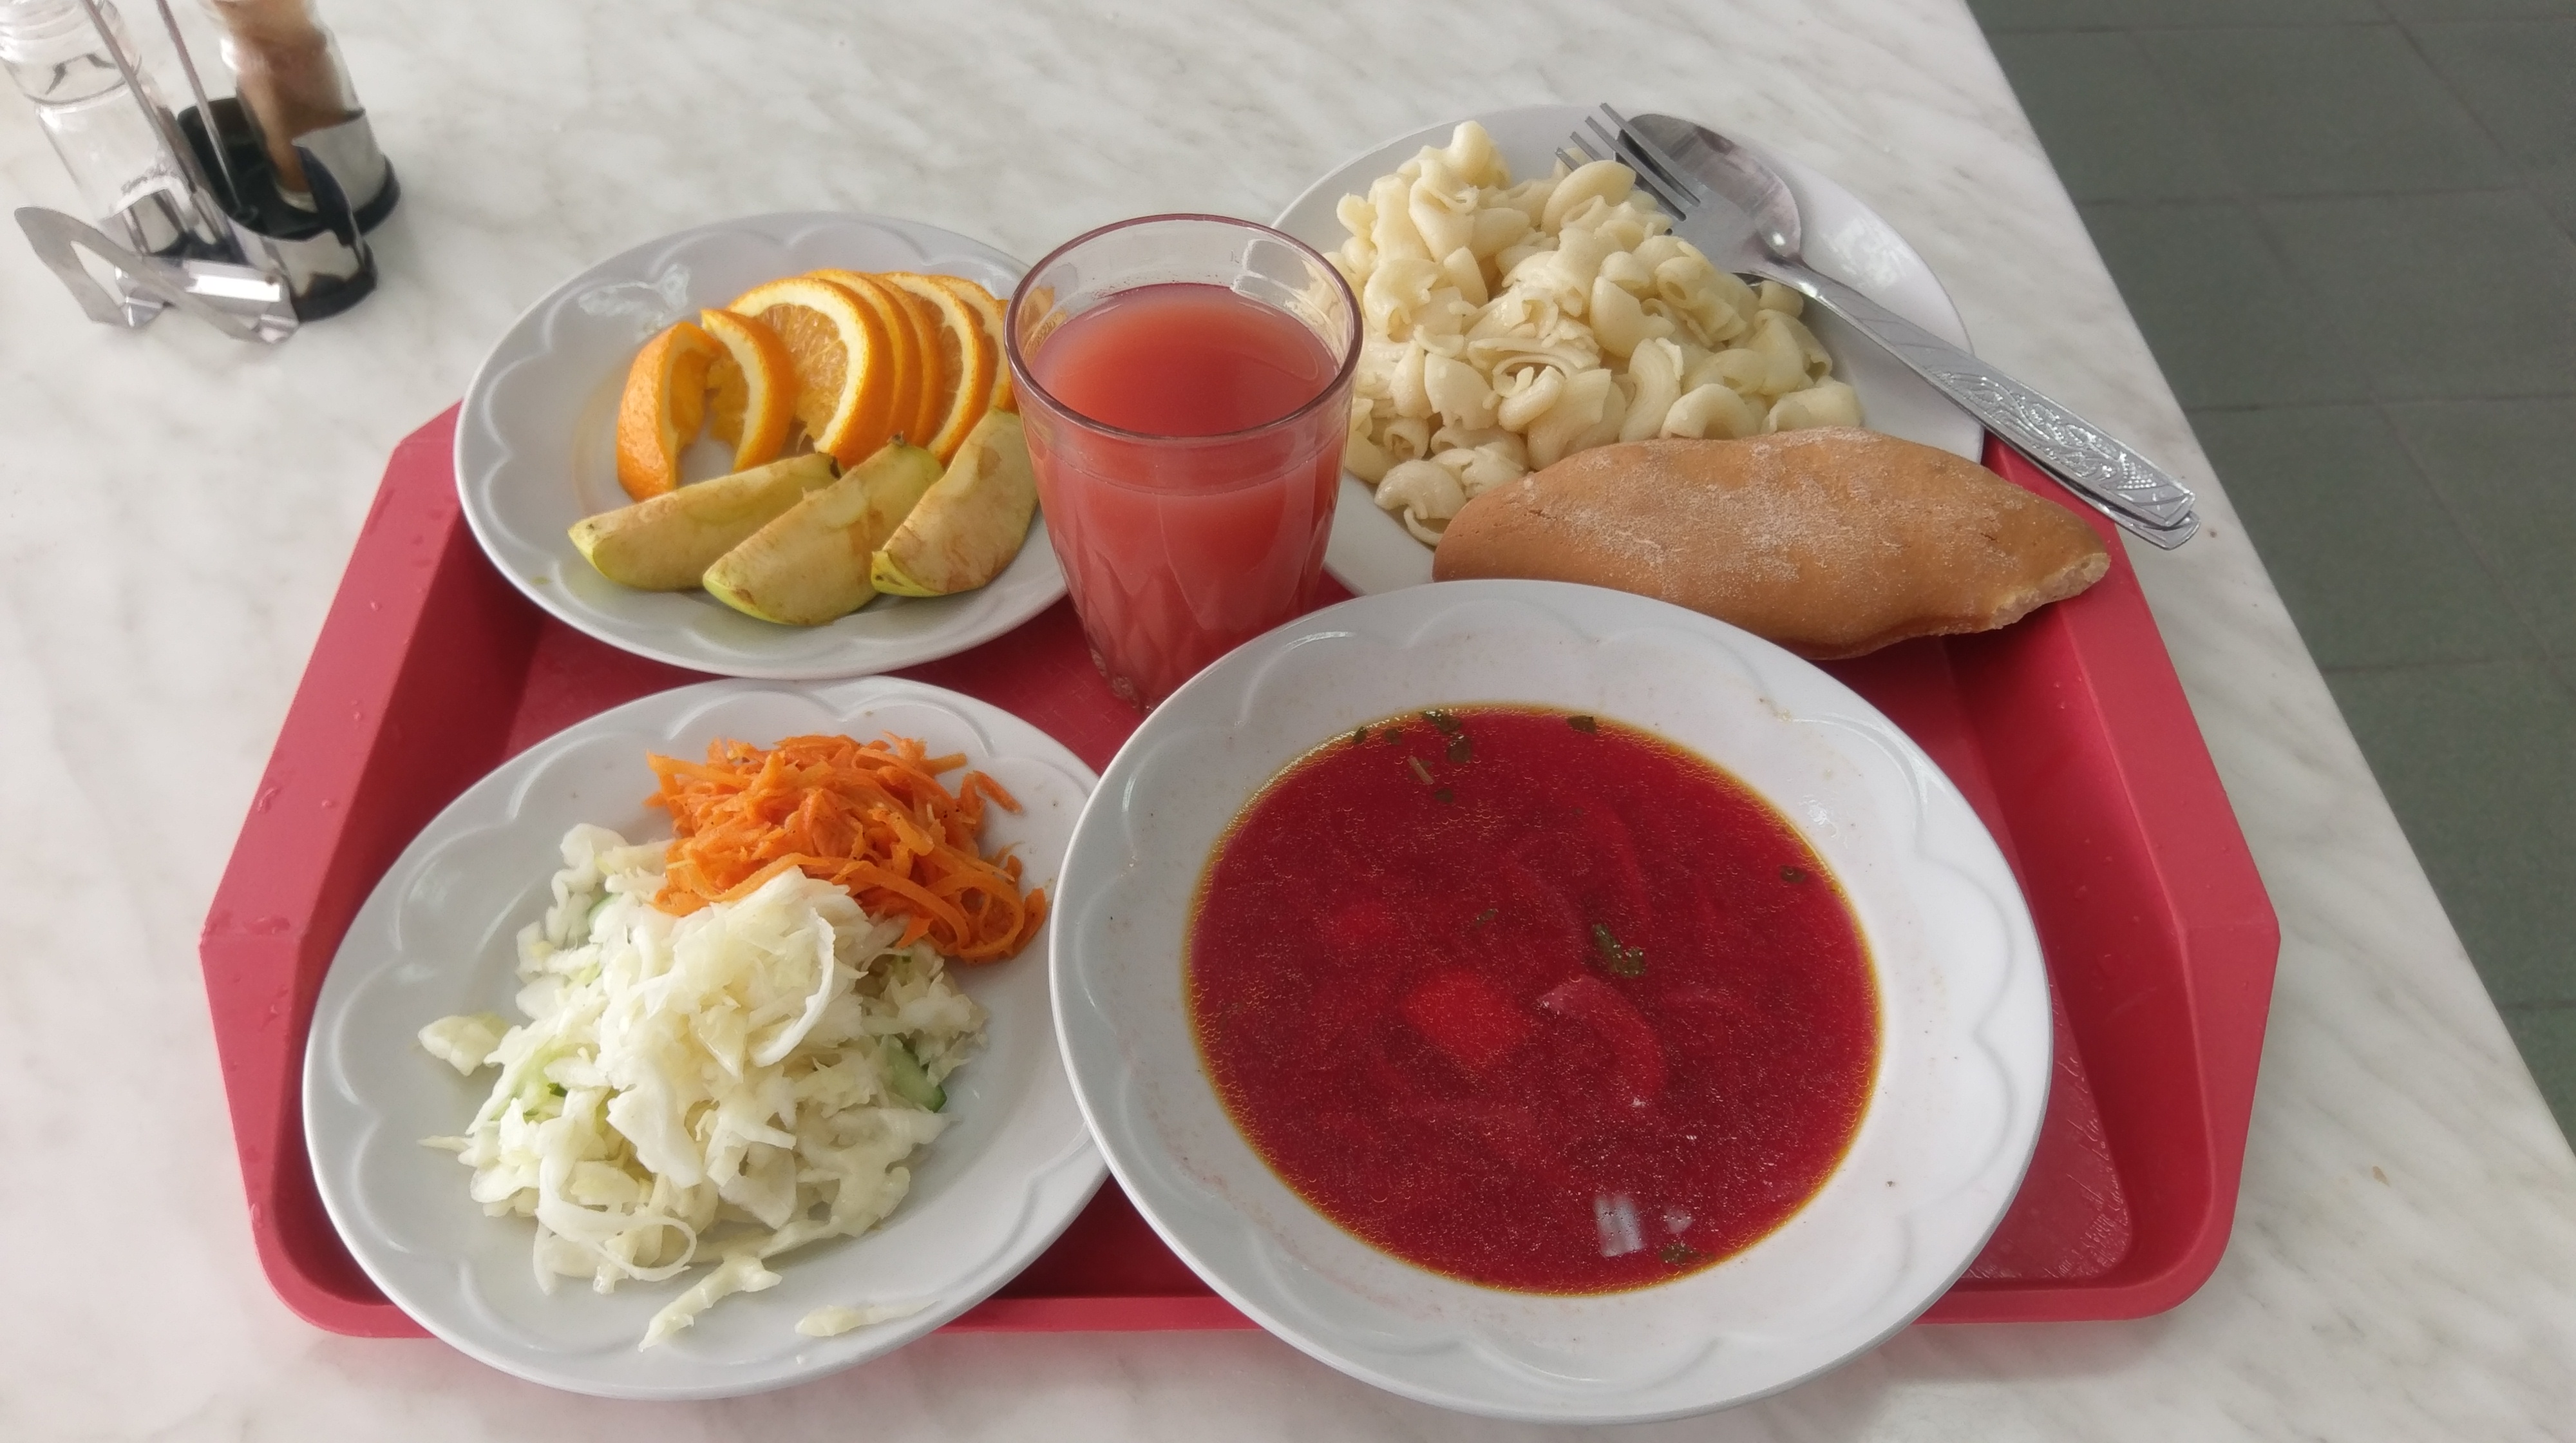
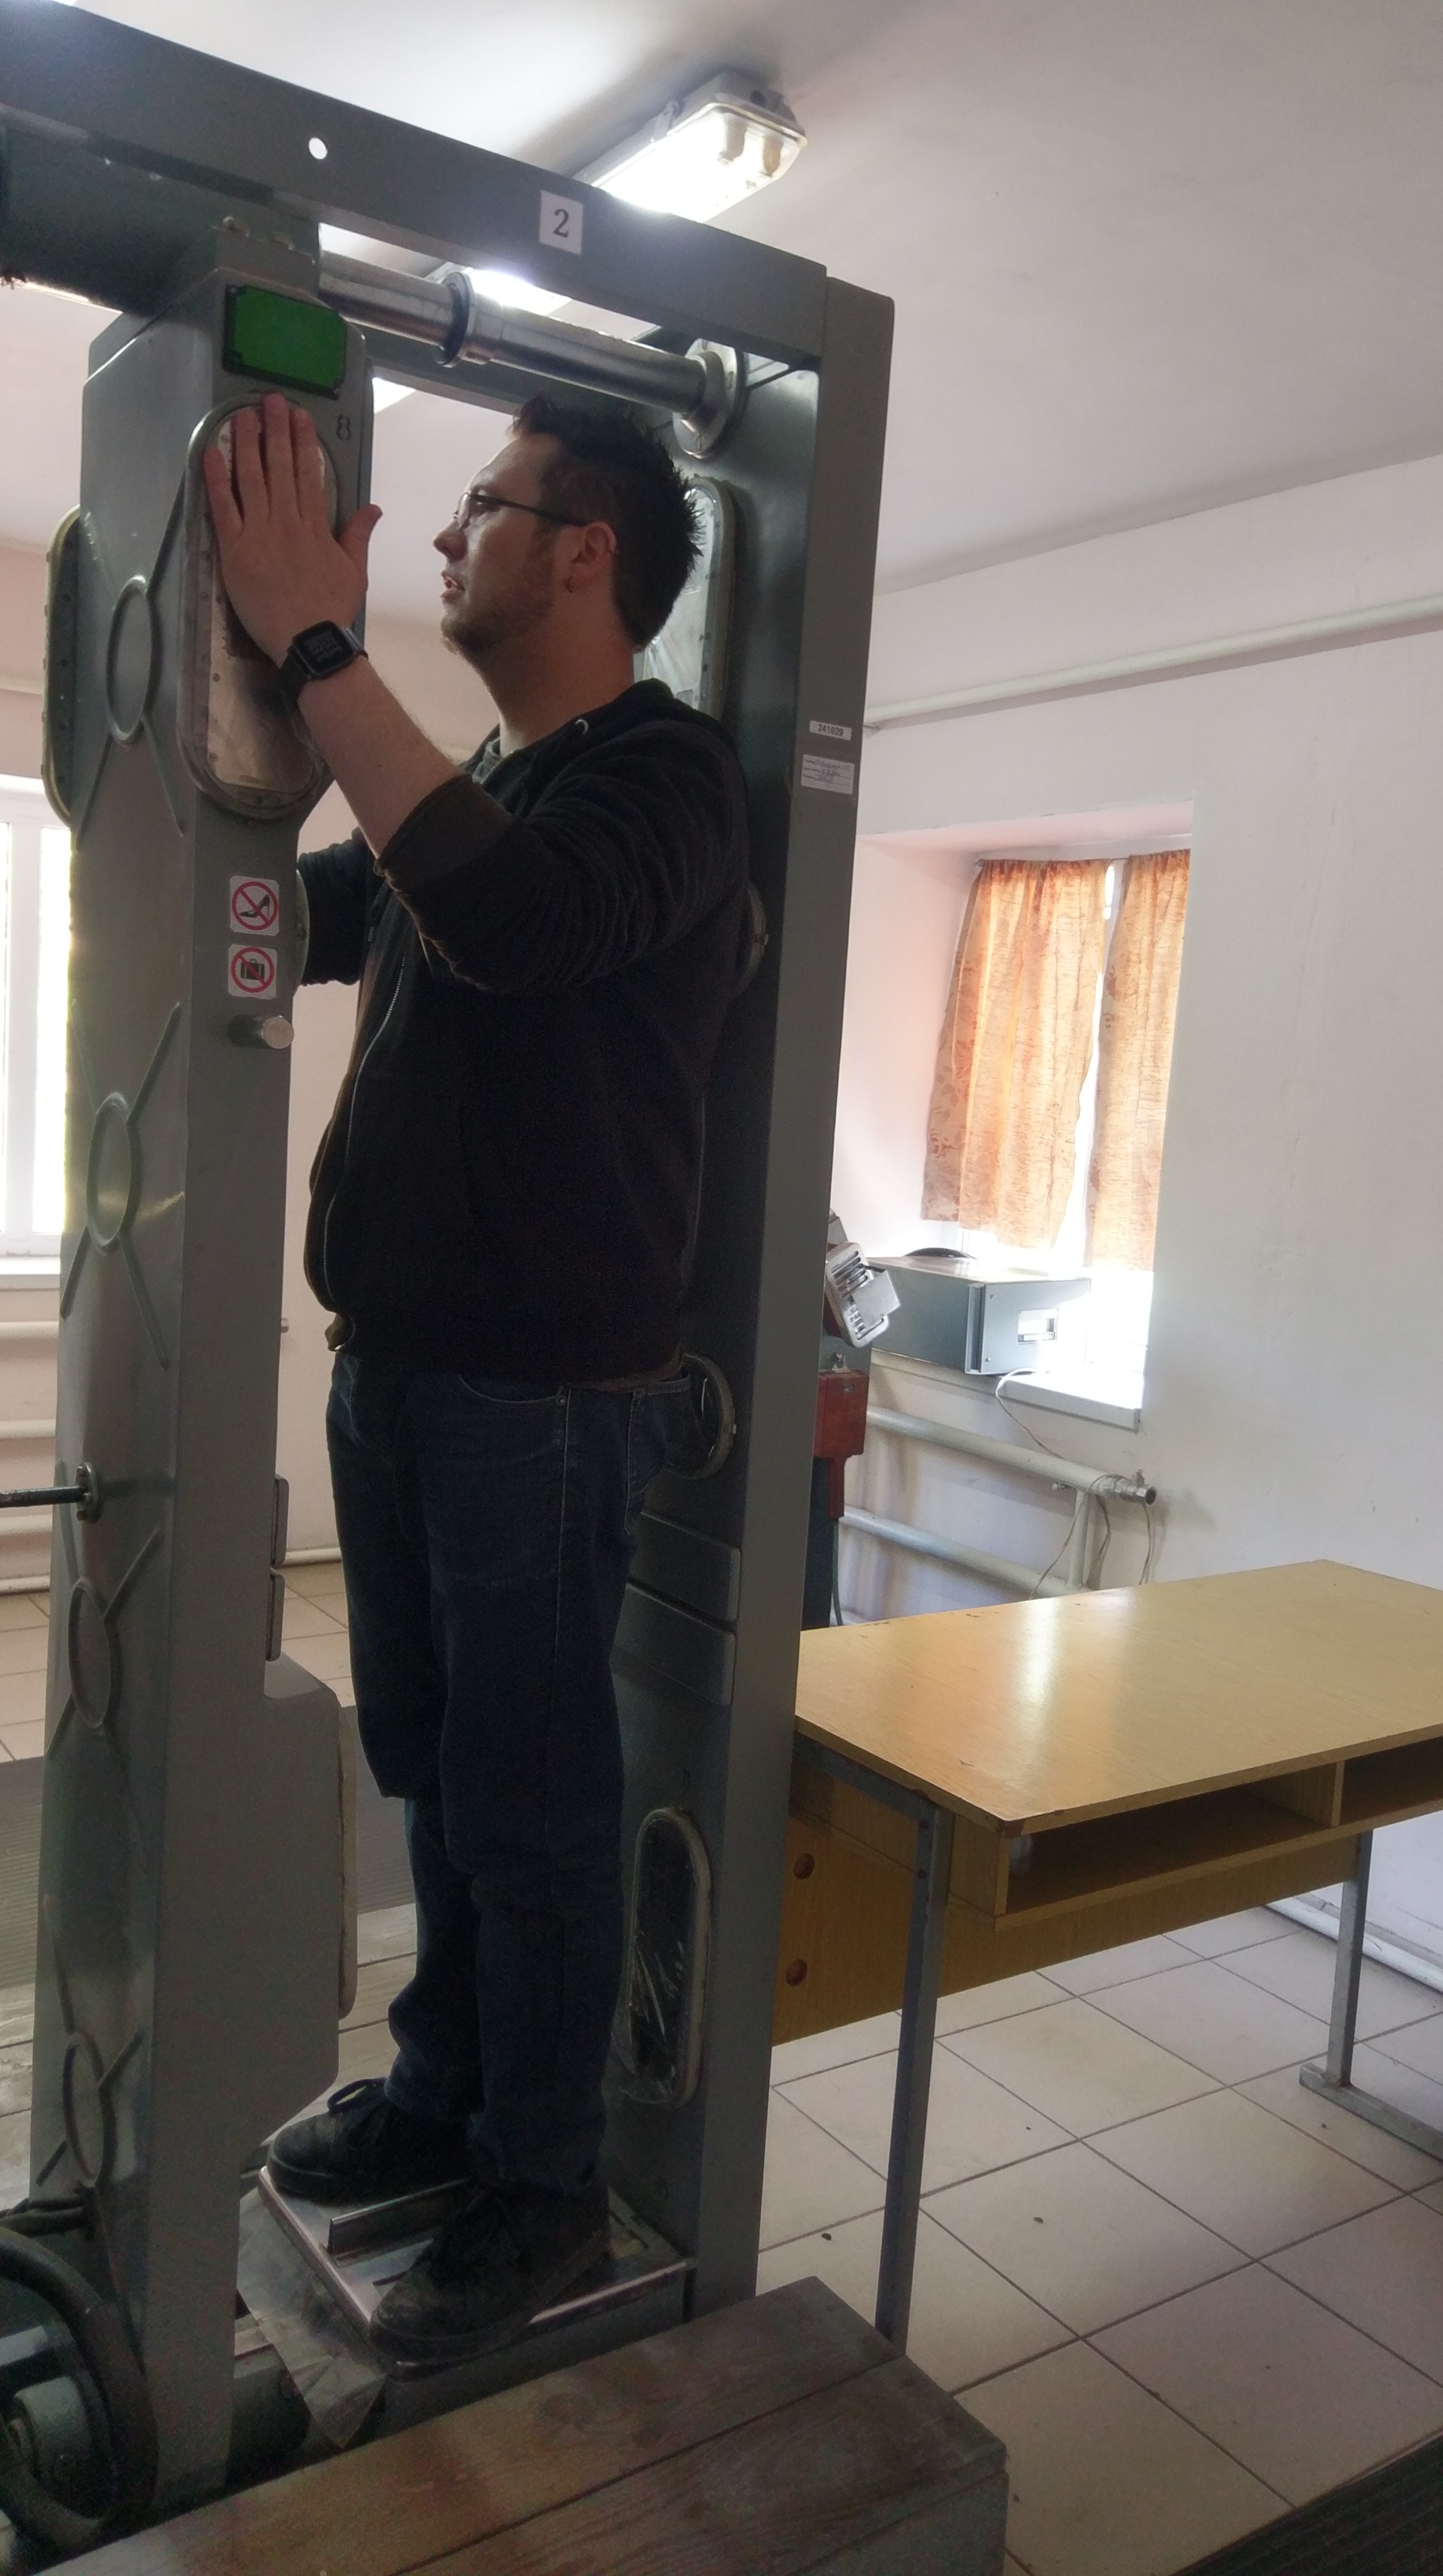
Before we were allowed into the canteen we went through the first of the days radiation checkpoints, a thorough washing of hands and quick exposure check whilst standing on the machine.
All of the food served in the canteen is brought in from outside the exclusion zone, we had borscht, pasta, fruit and vegetables and sweet bread. It was… very Soviet.
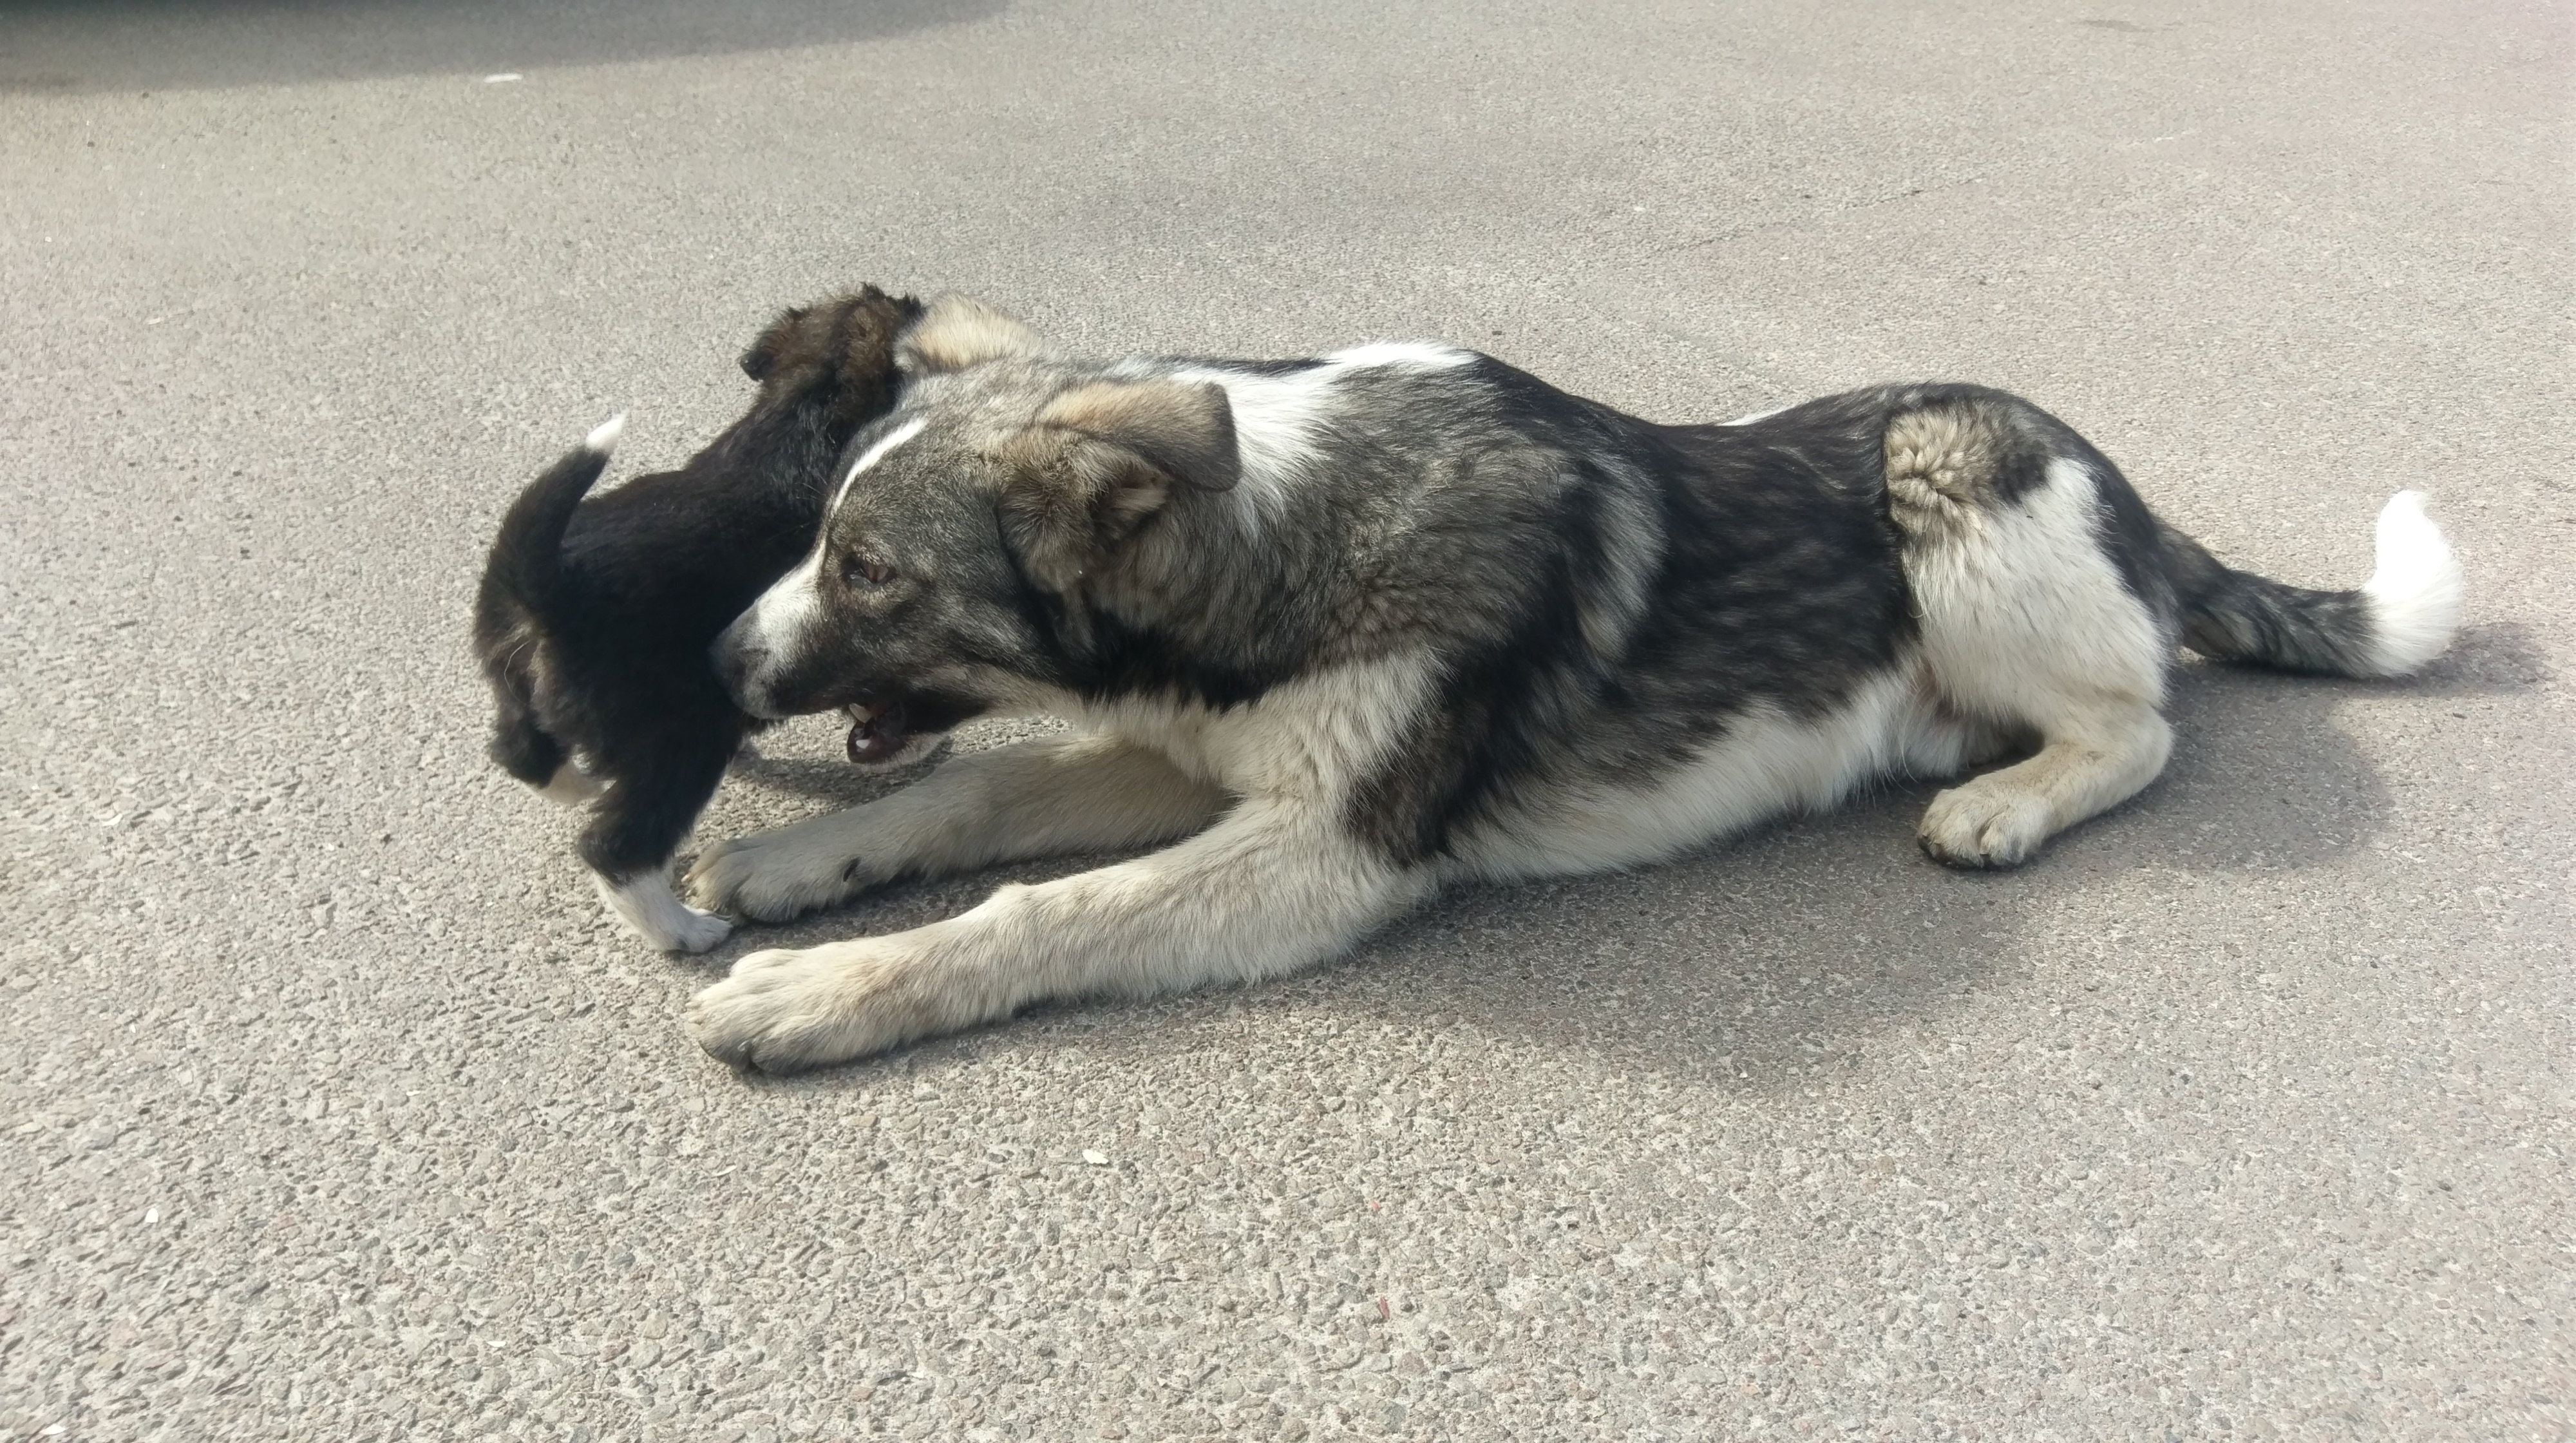
Wild animals have flourished inside the exclusion zone and many of them live around the power plant begging for whatever they can get from workers and tourists.
As we drove away from the plant towards Pripyat, we drove past the Red Forest, one of the most contaminated areas still left today. Even on the van as we drove past it my dosimeter hit 7.5 μSv/h.
Pripyat
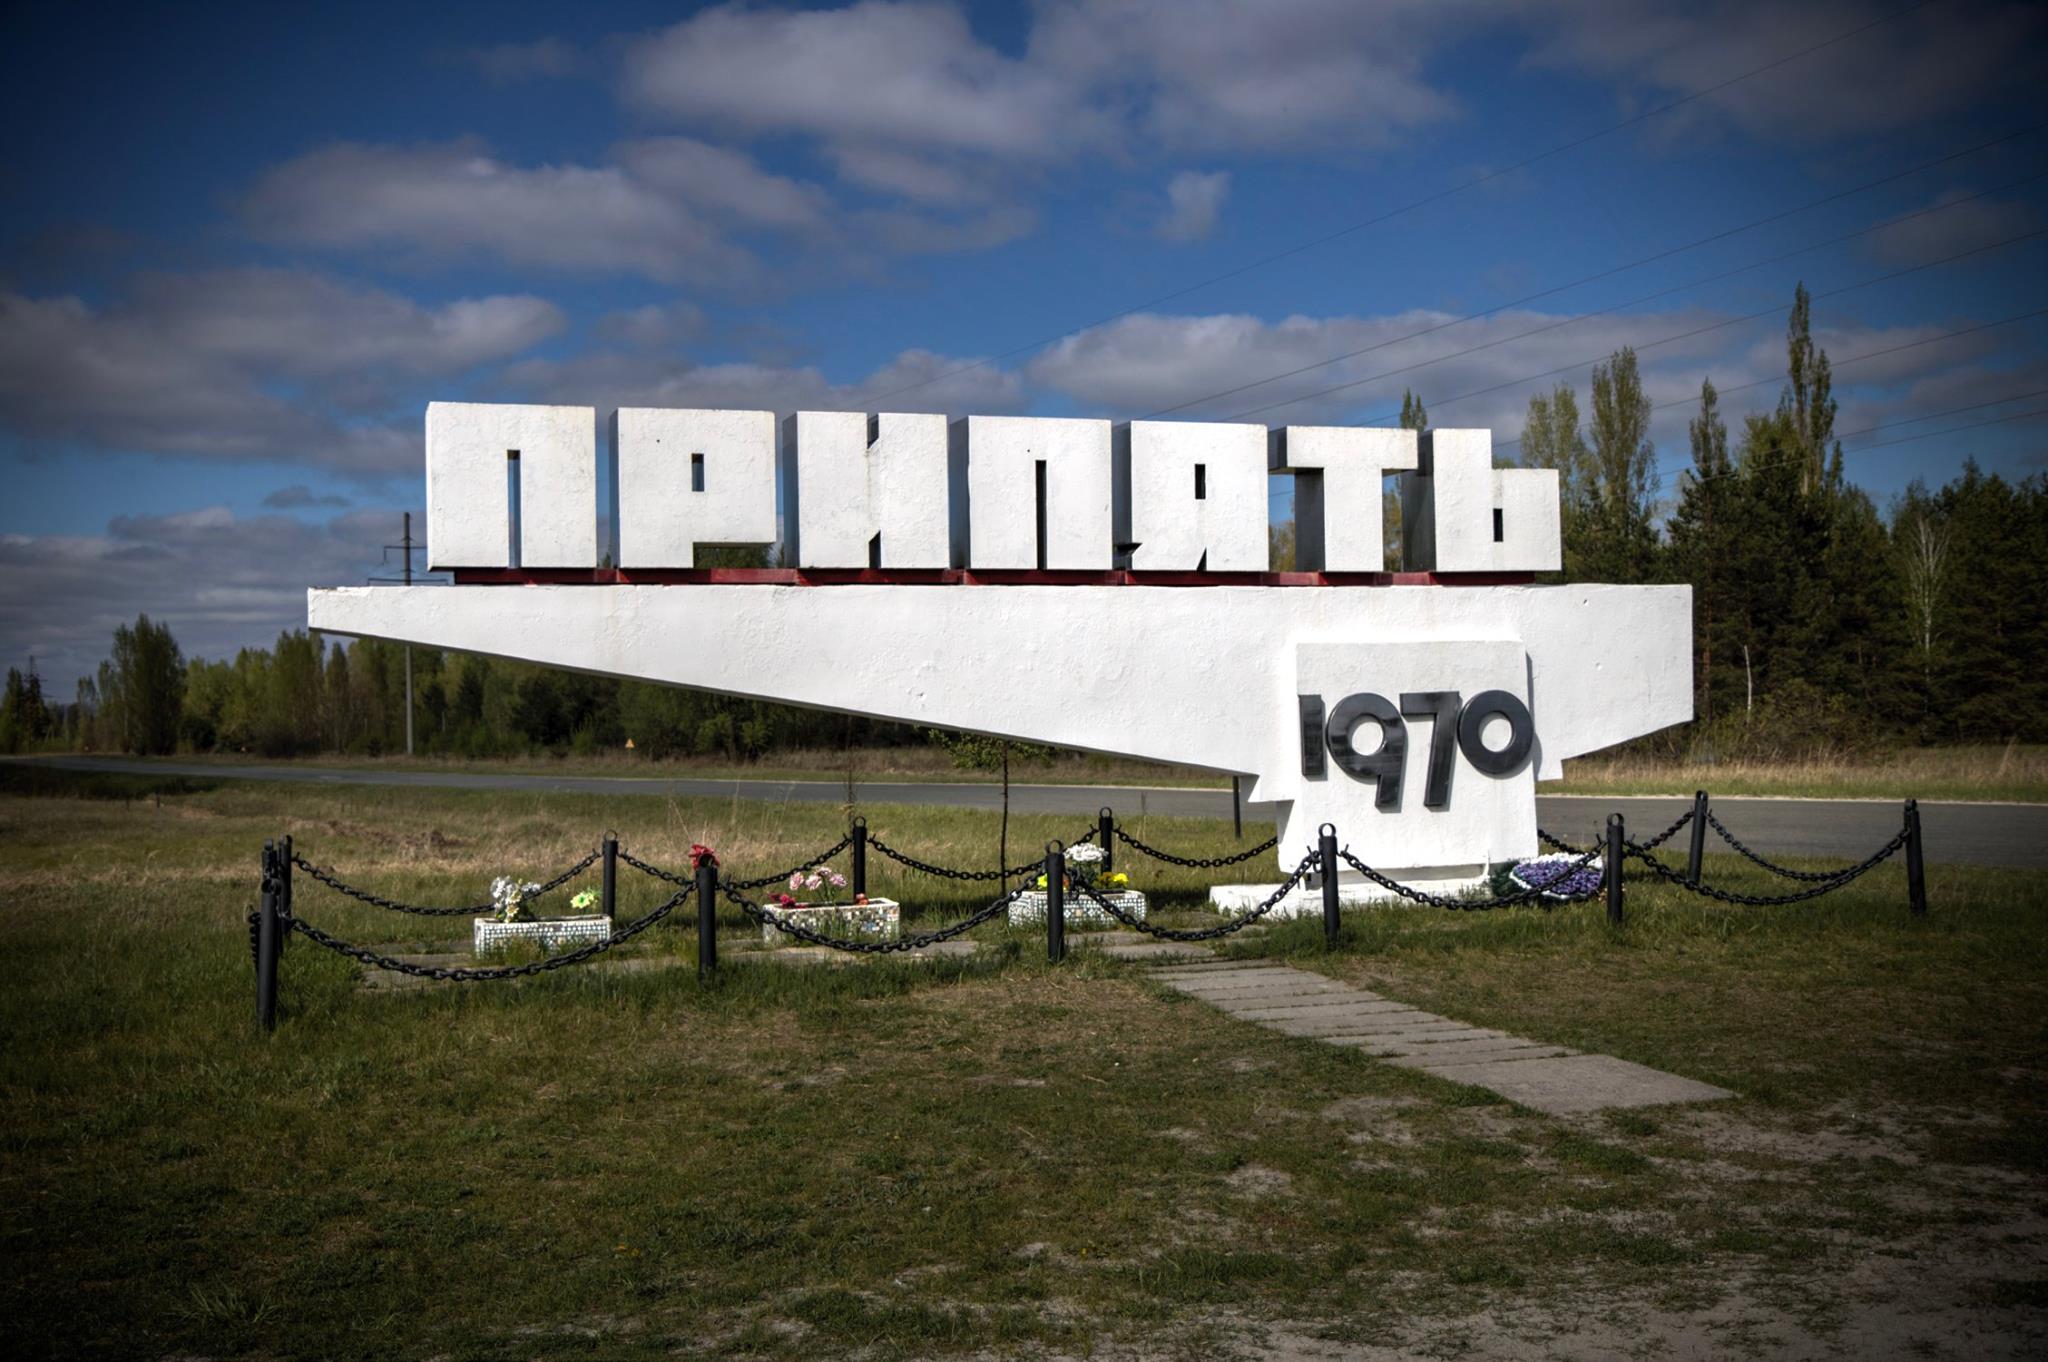
We briefly stopped just outside Pripyat where a sign celebrating the birth of the city was built in 1970, we then headed down the long straight road into Pripyat itself.
Background radiation level: 0.25 μSv/h
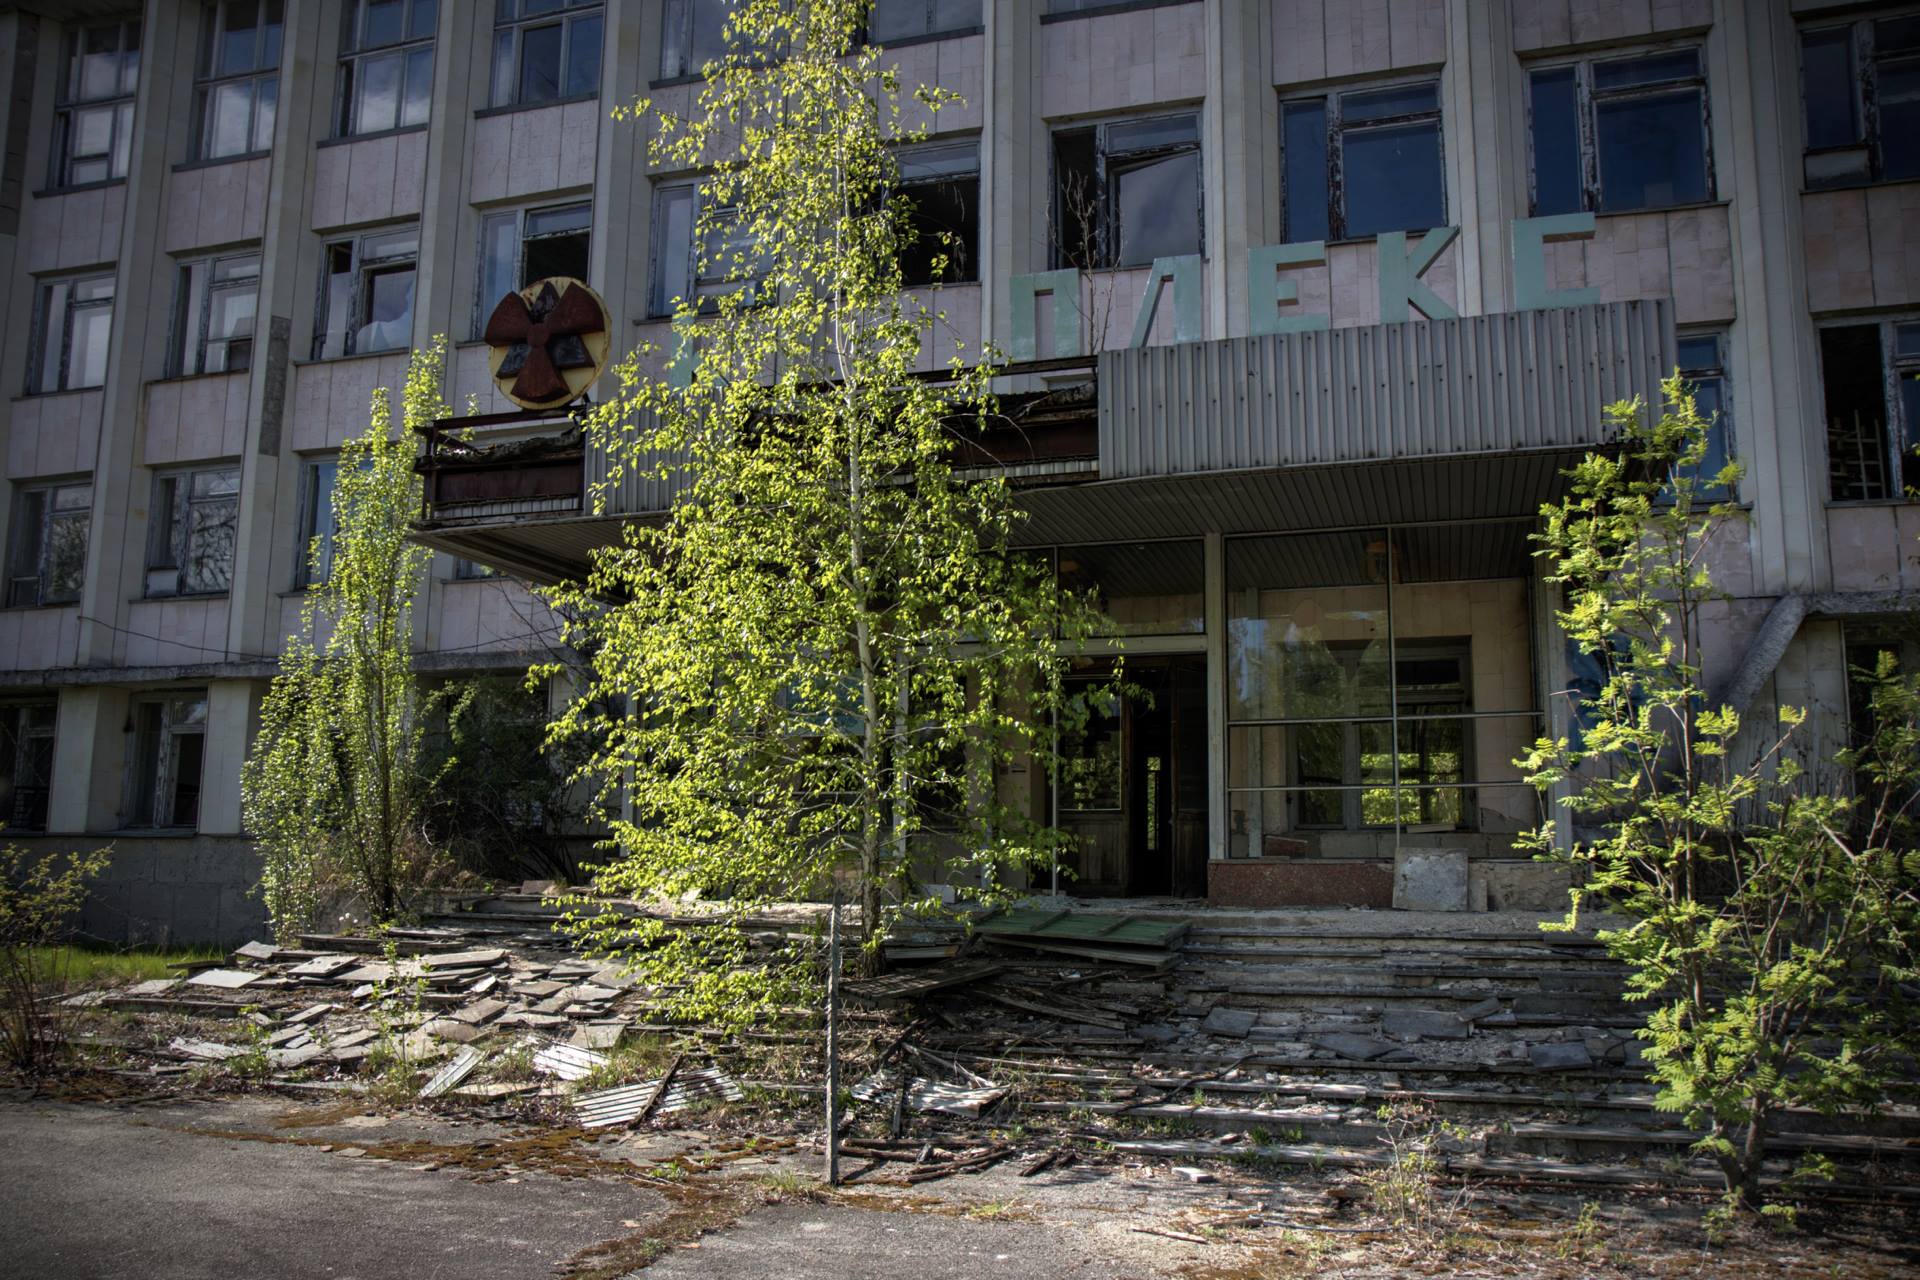
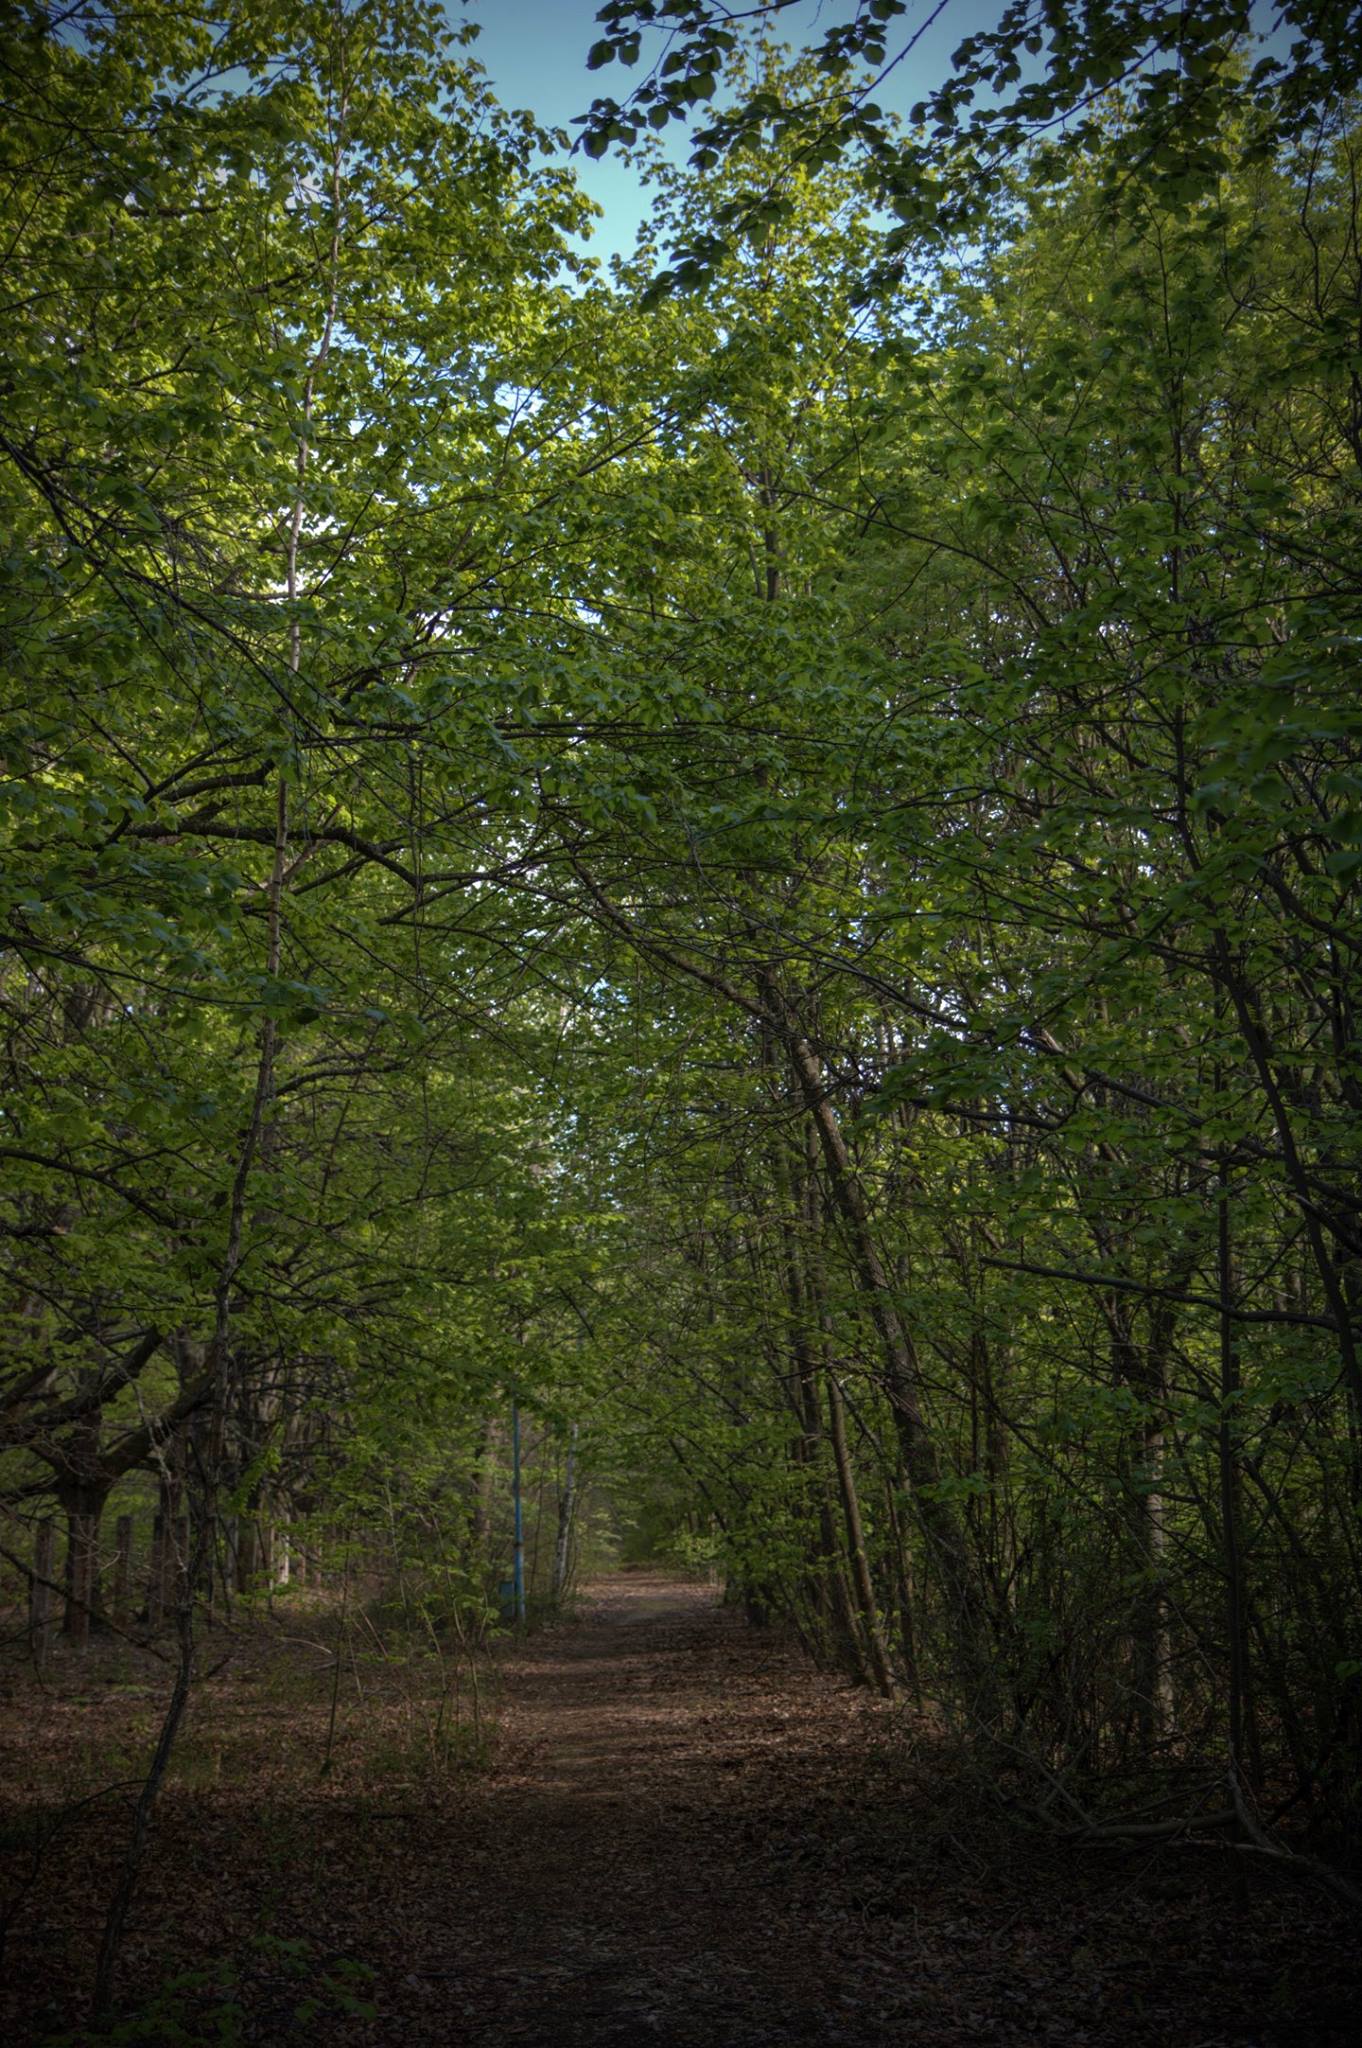
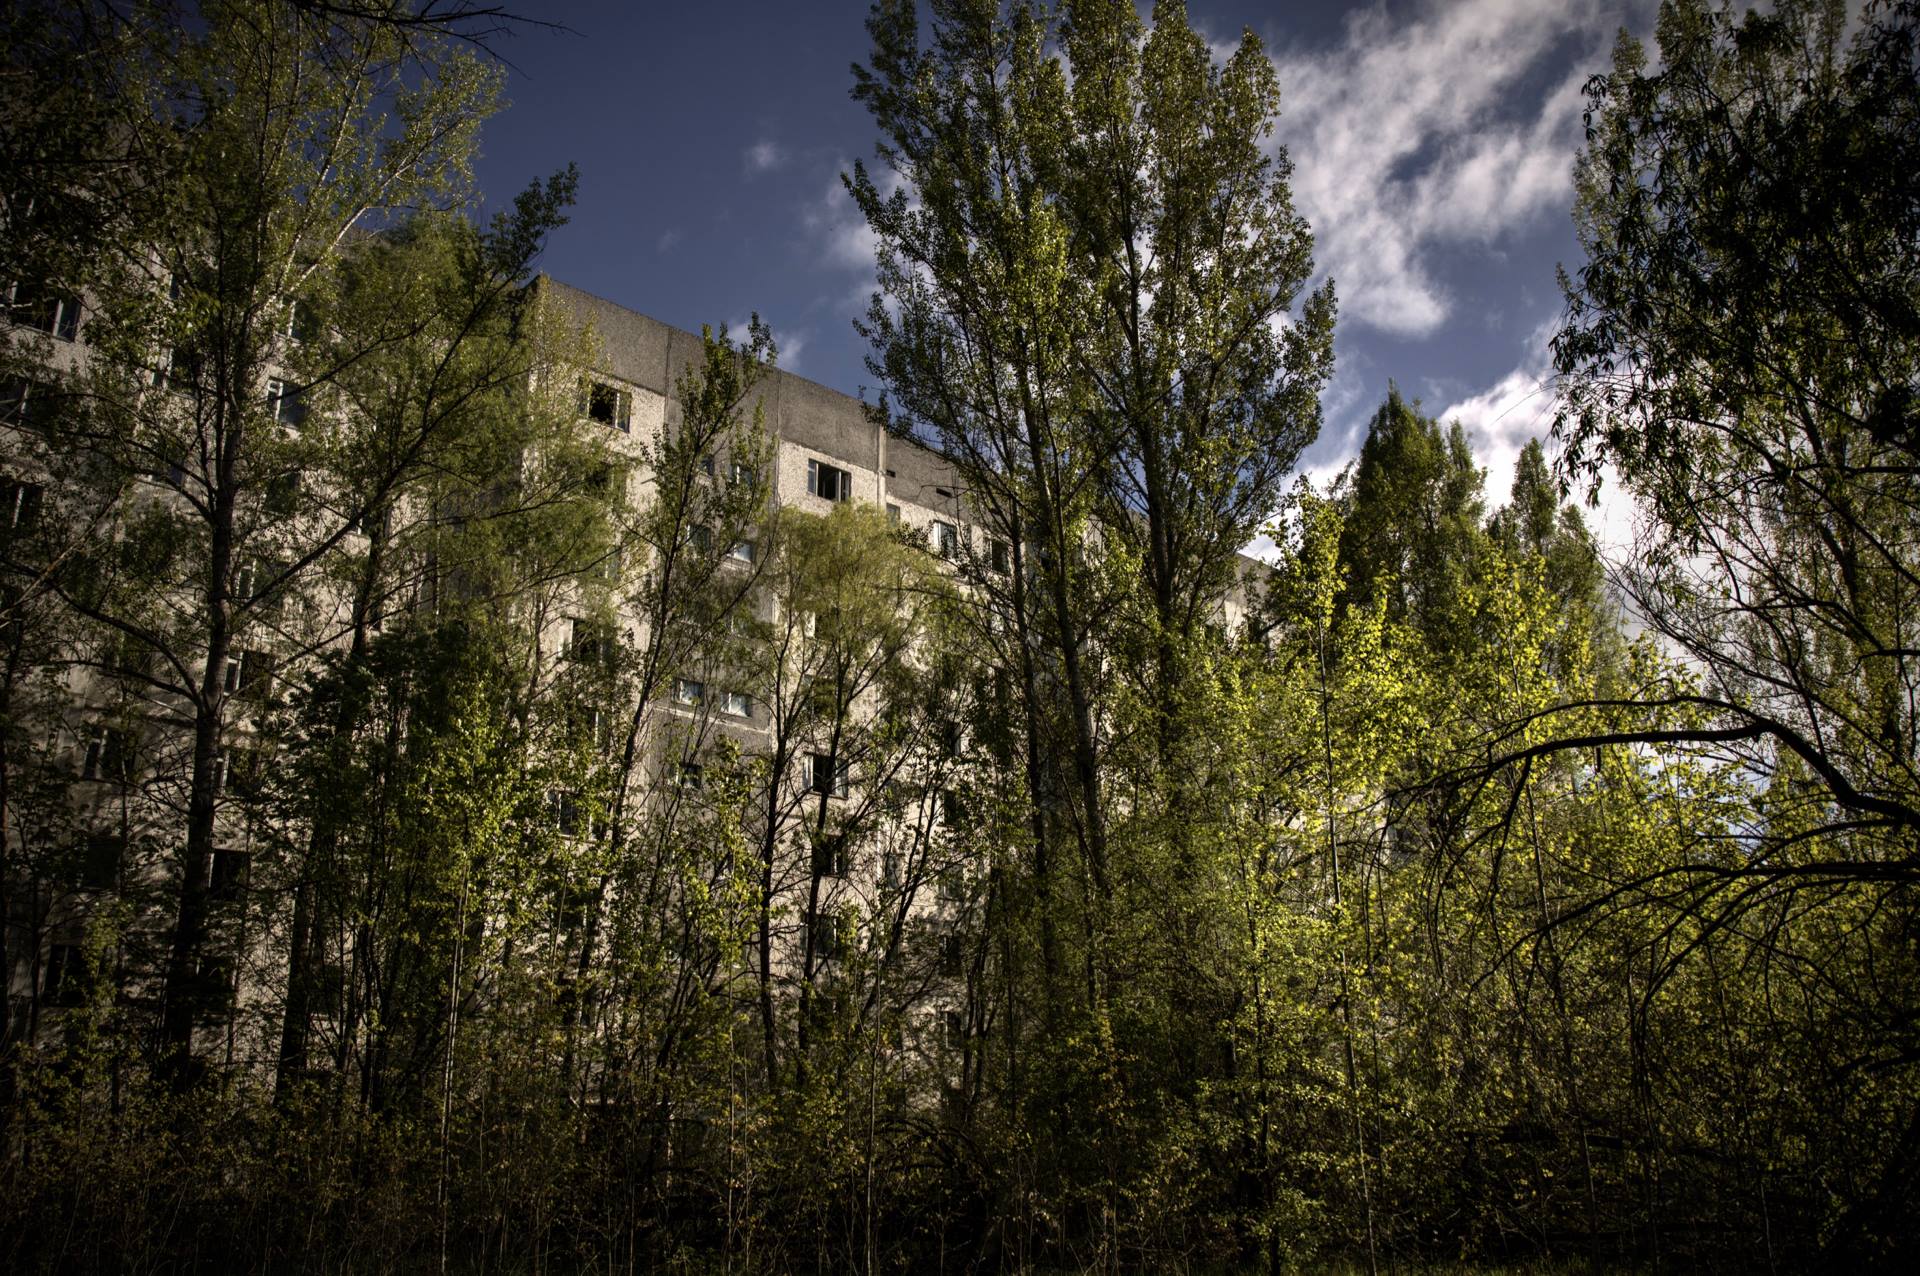
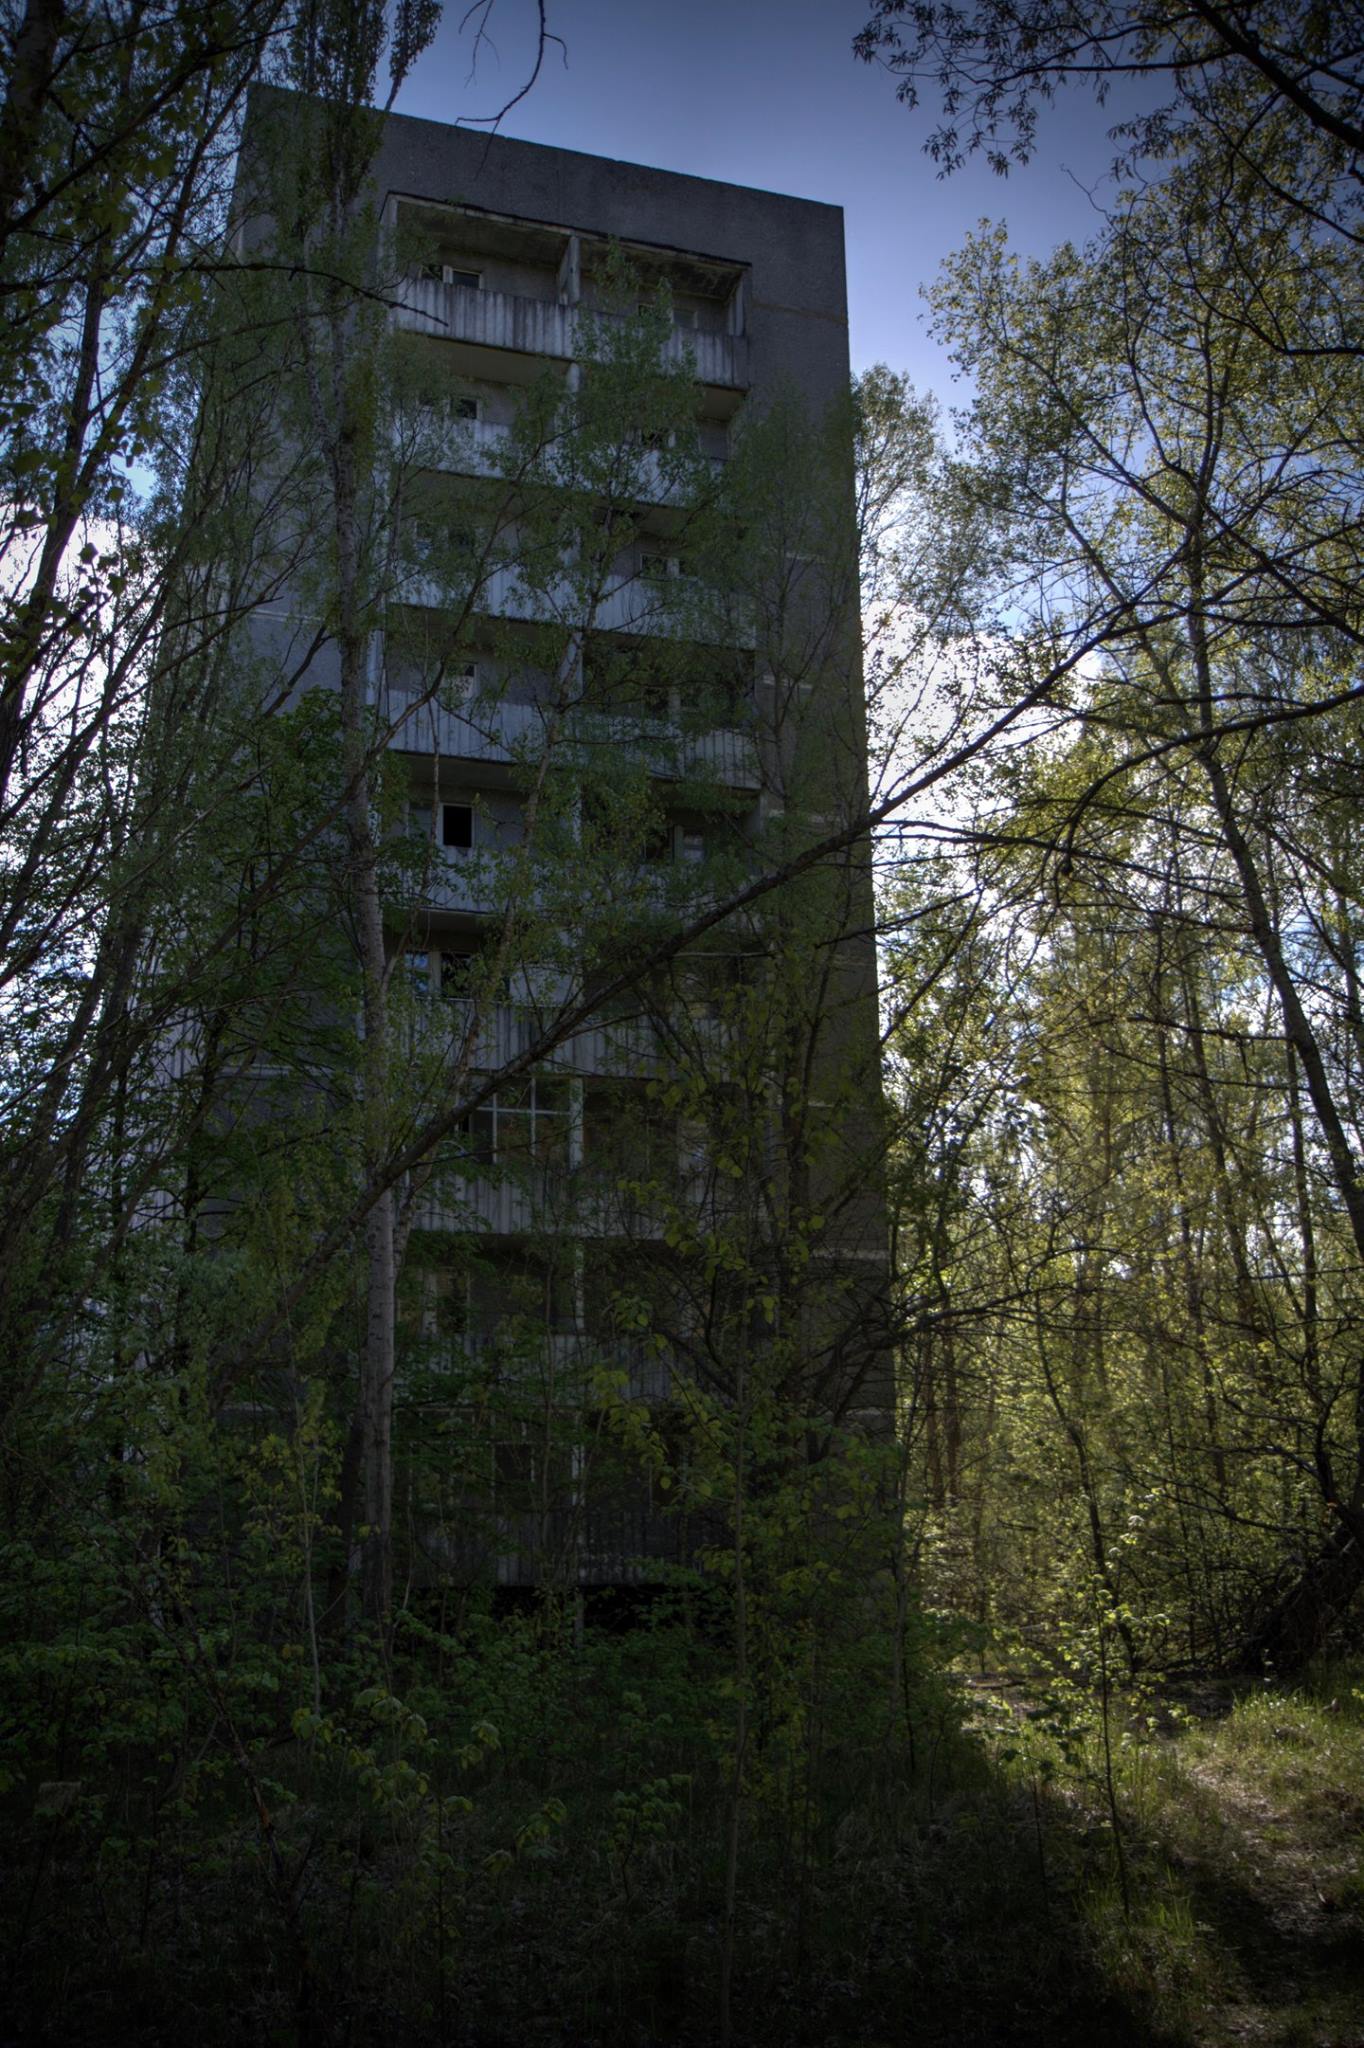
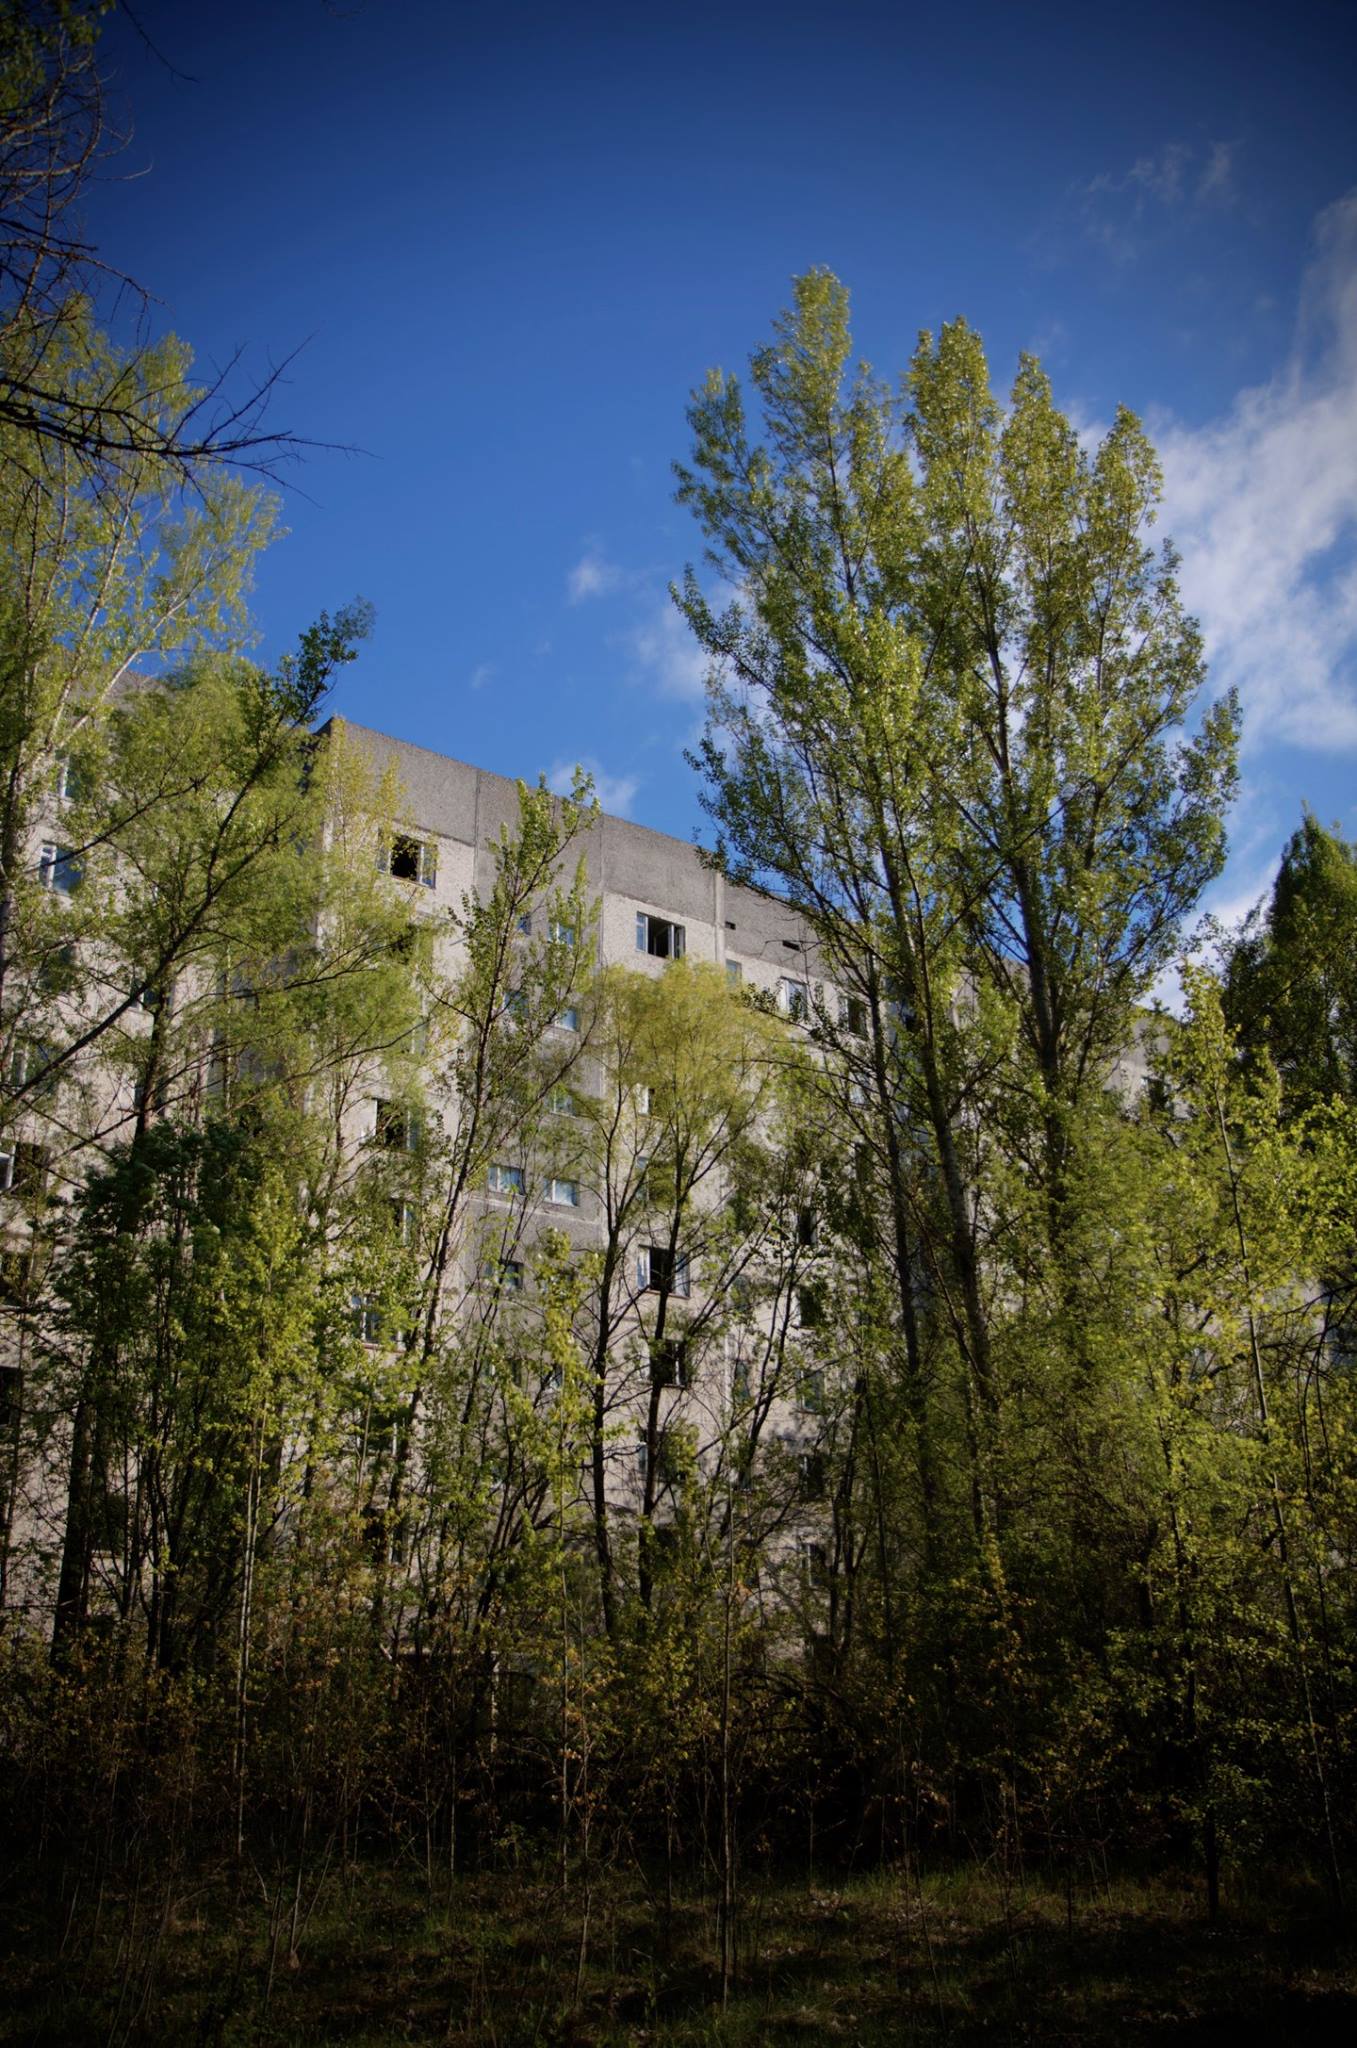
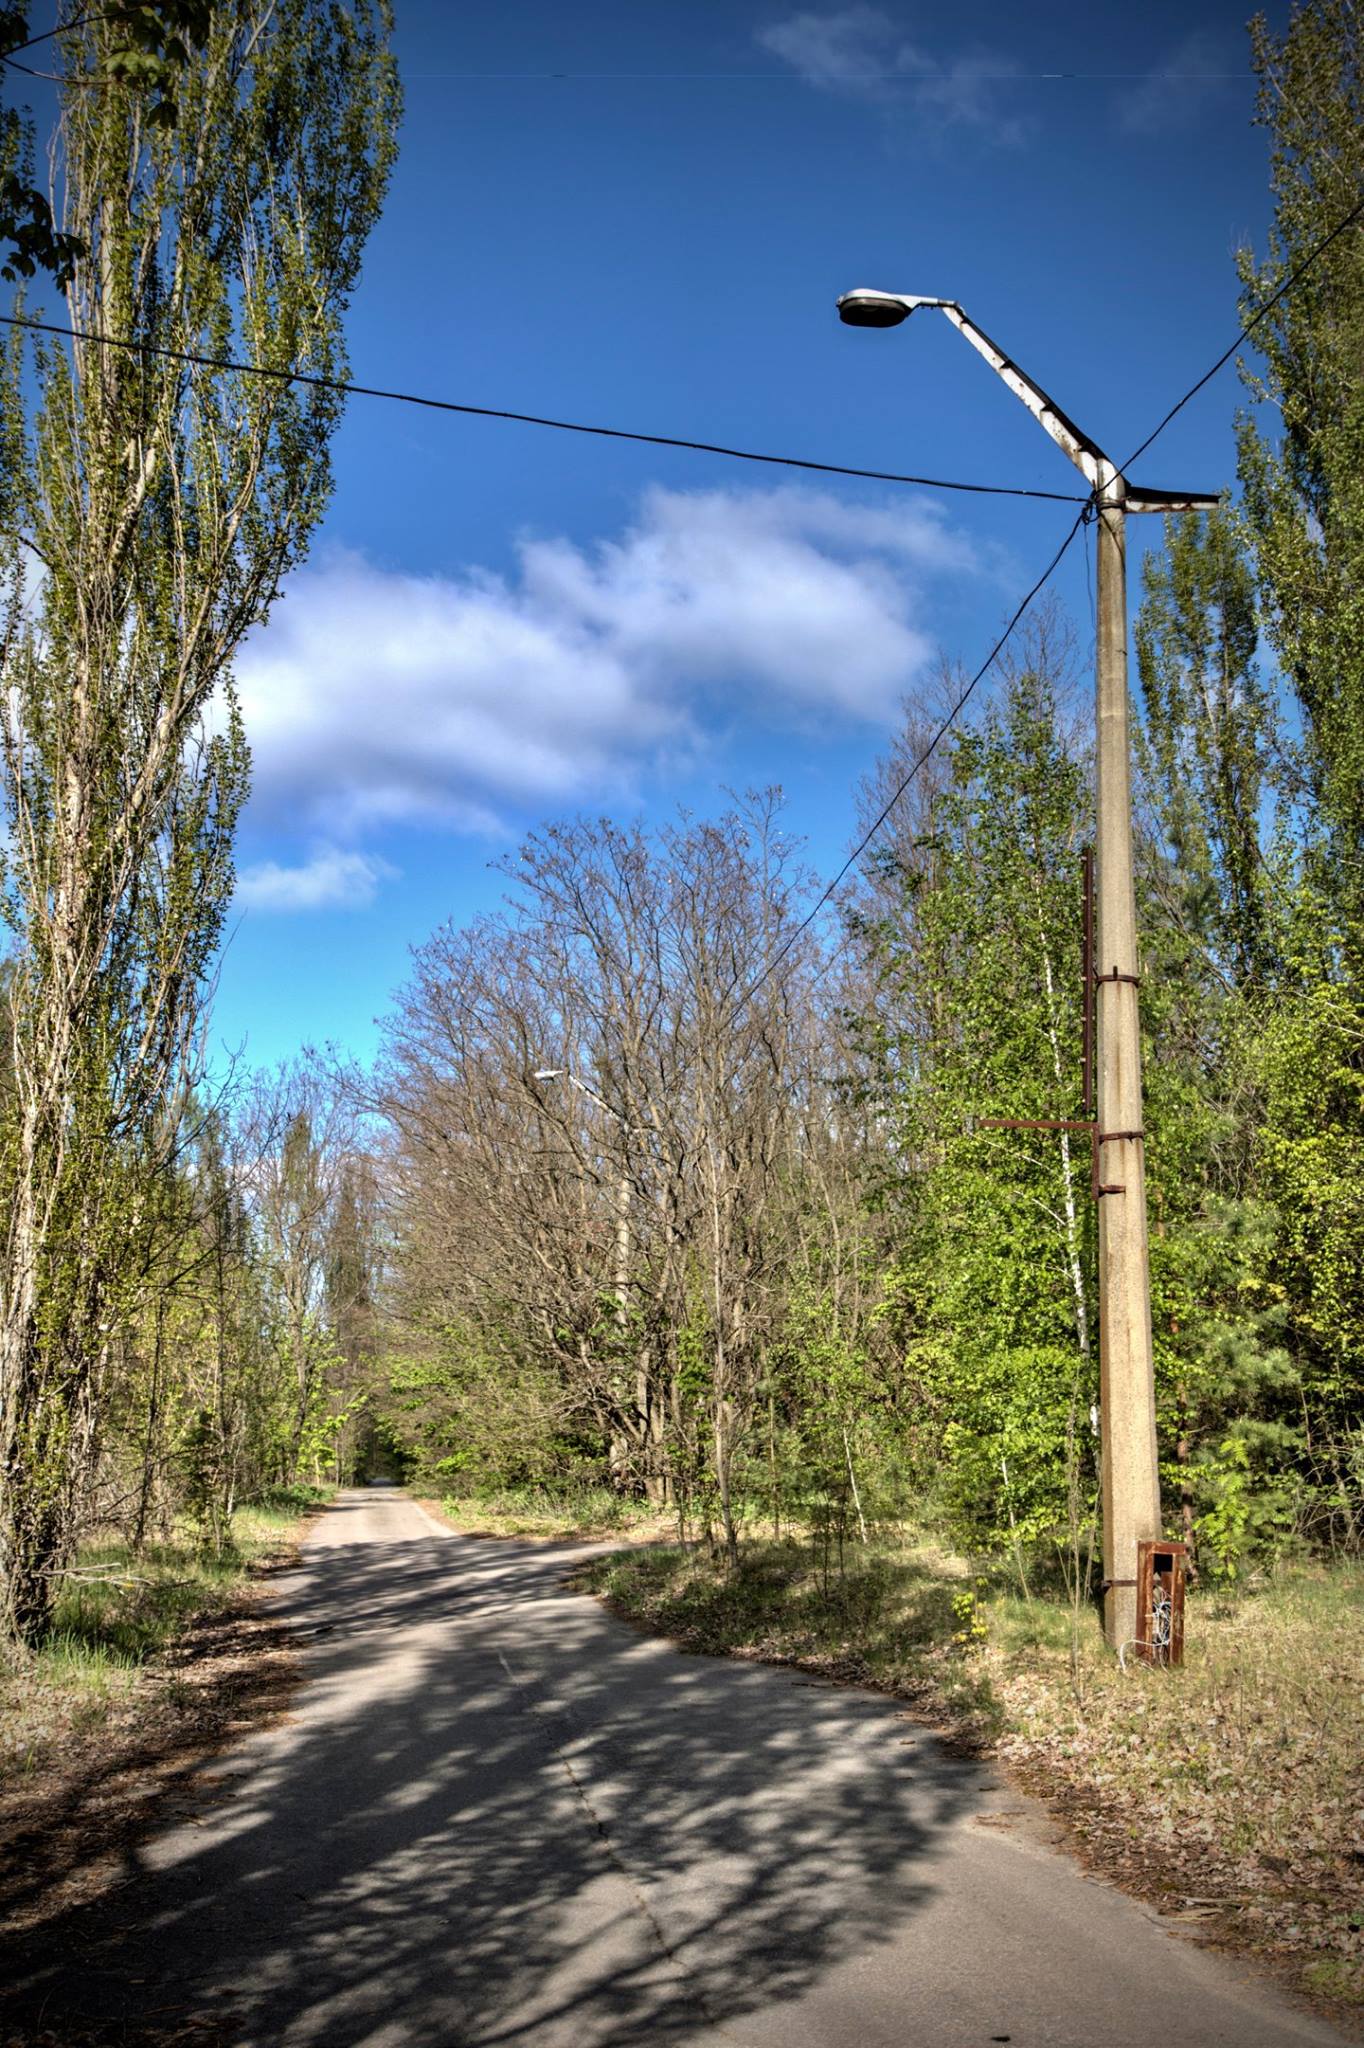
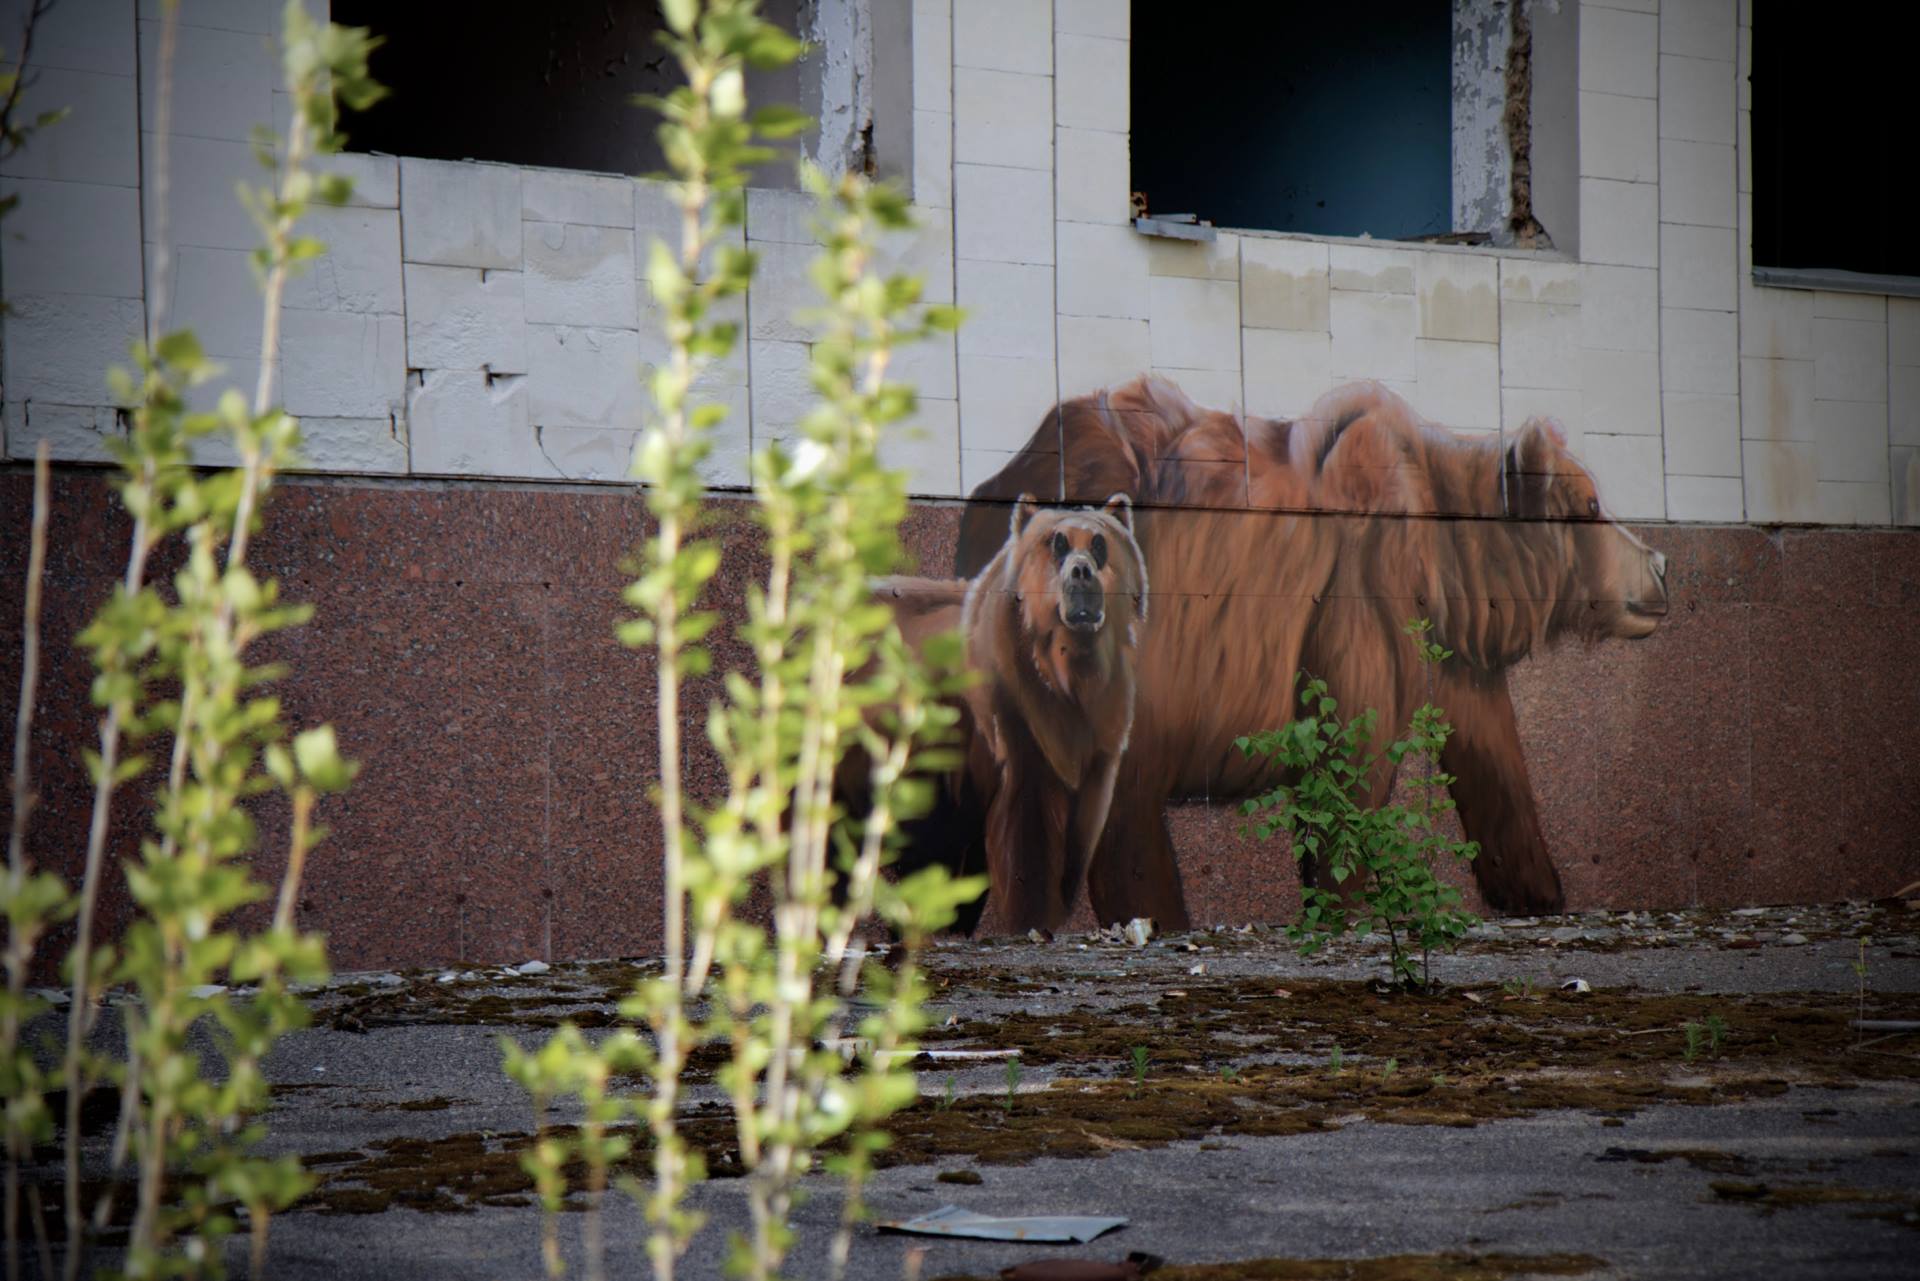
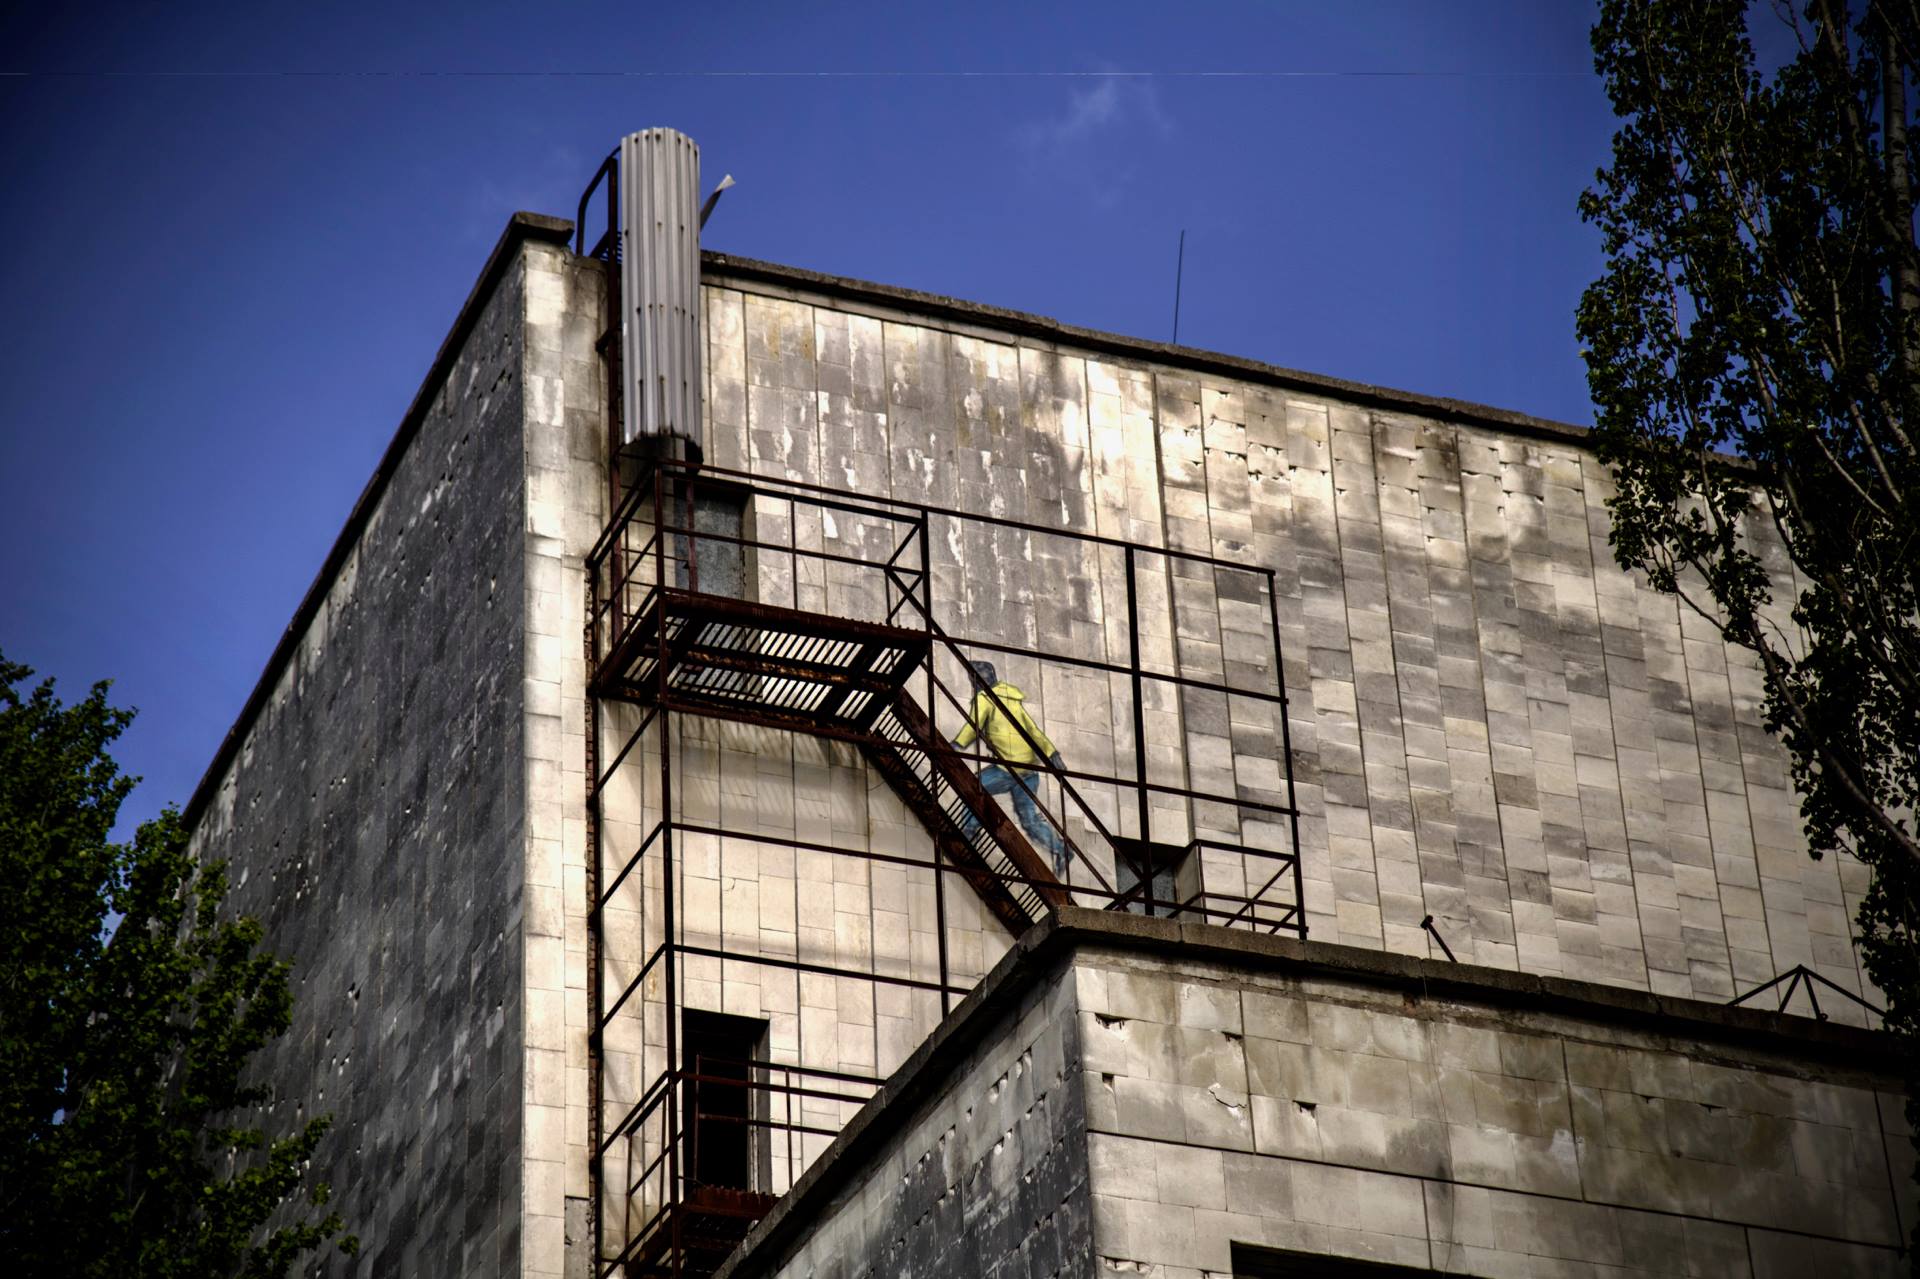
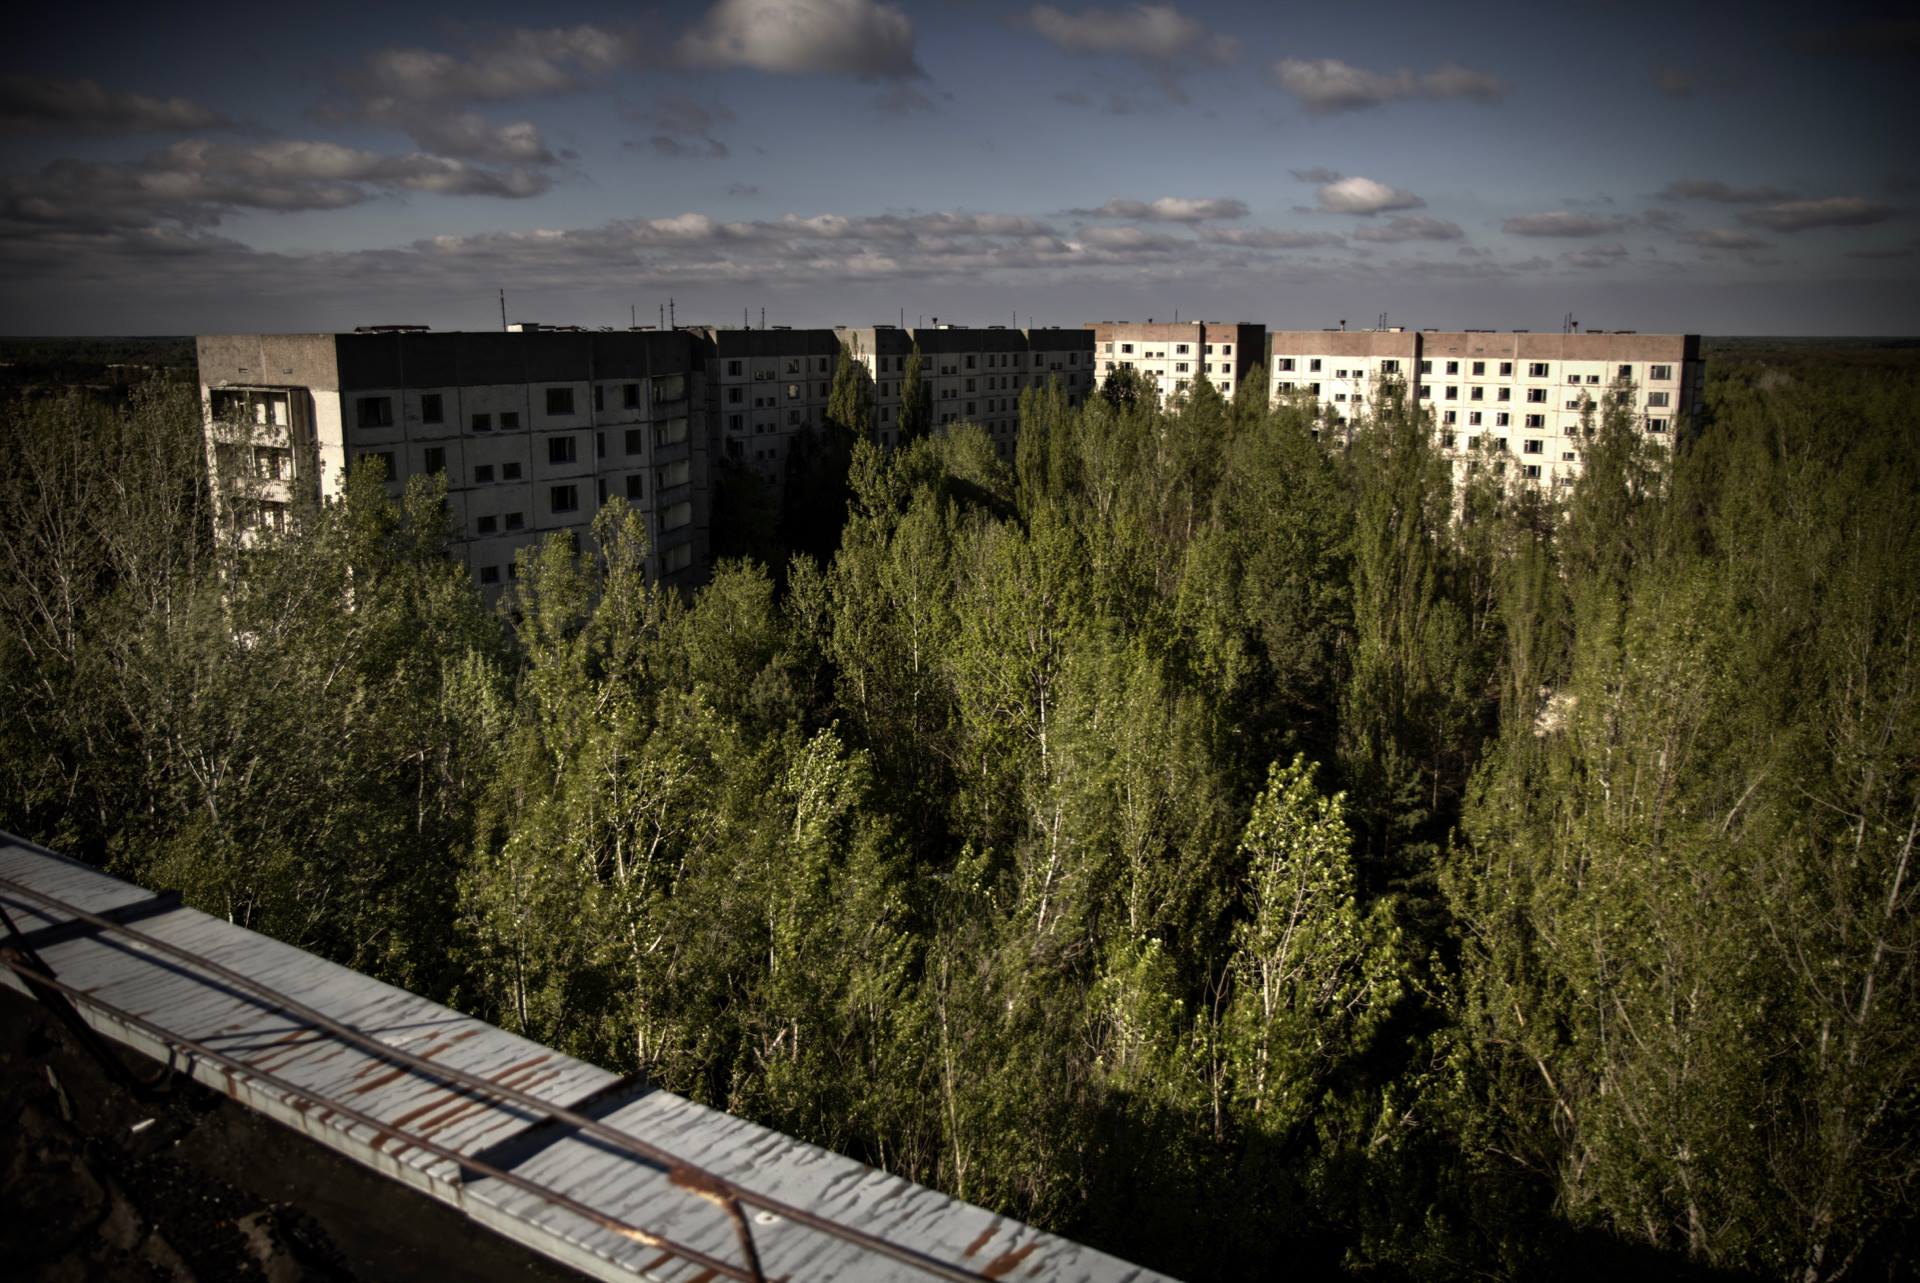
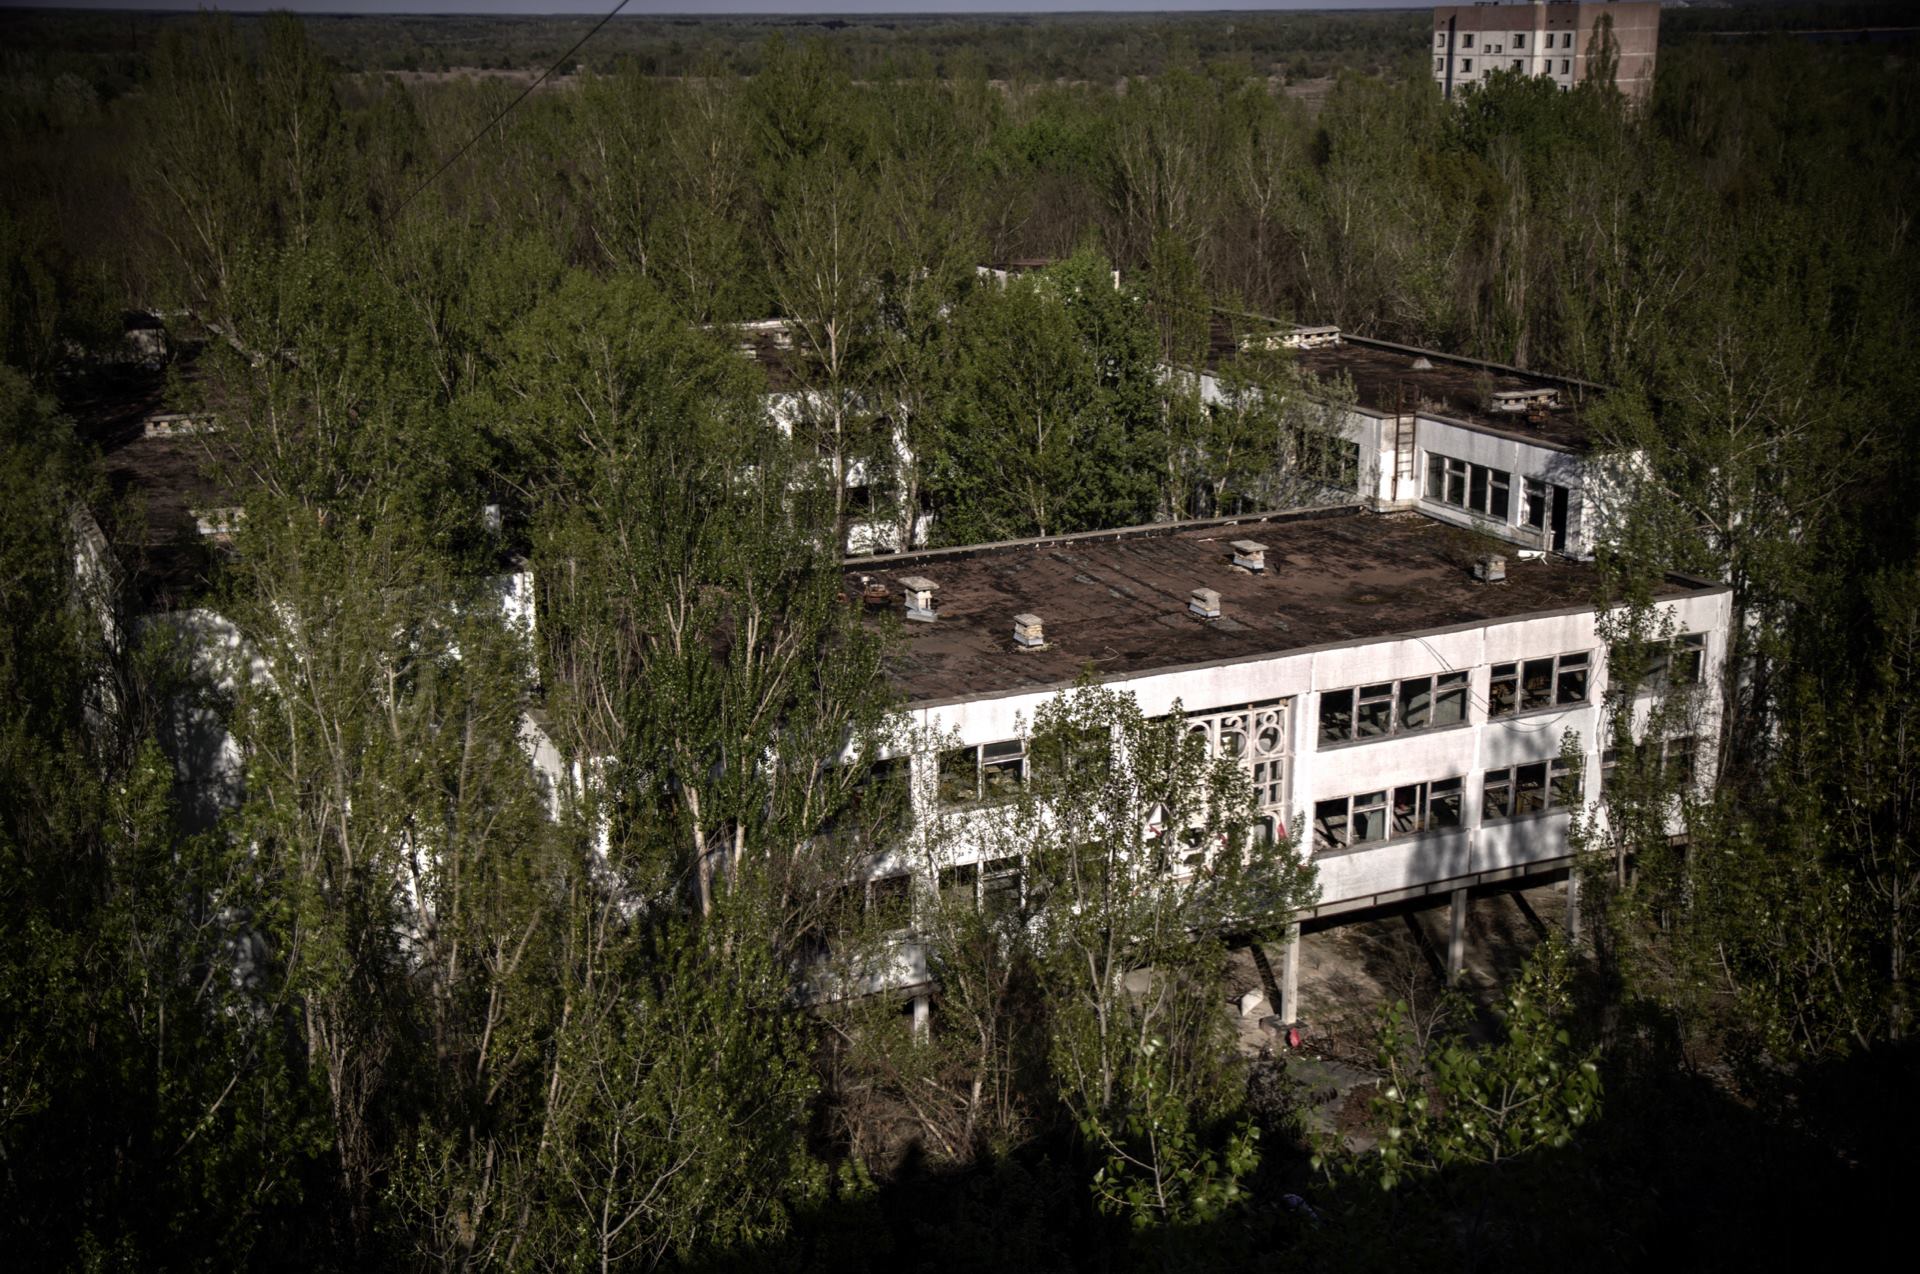
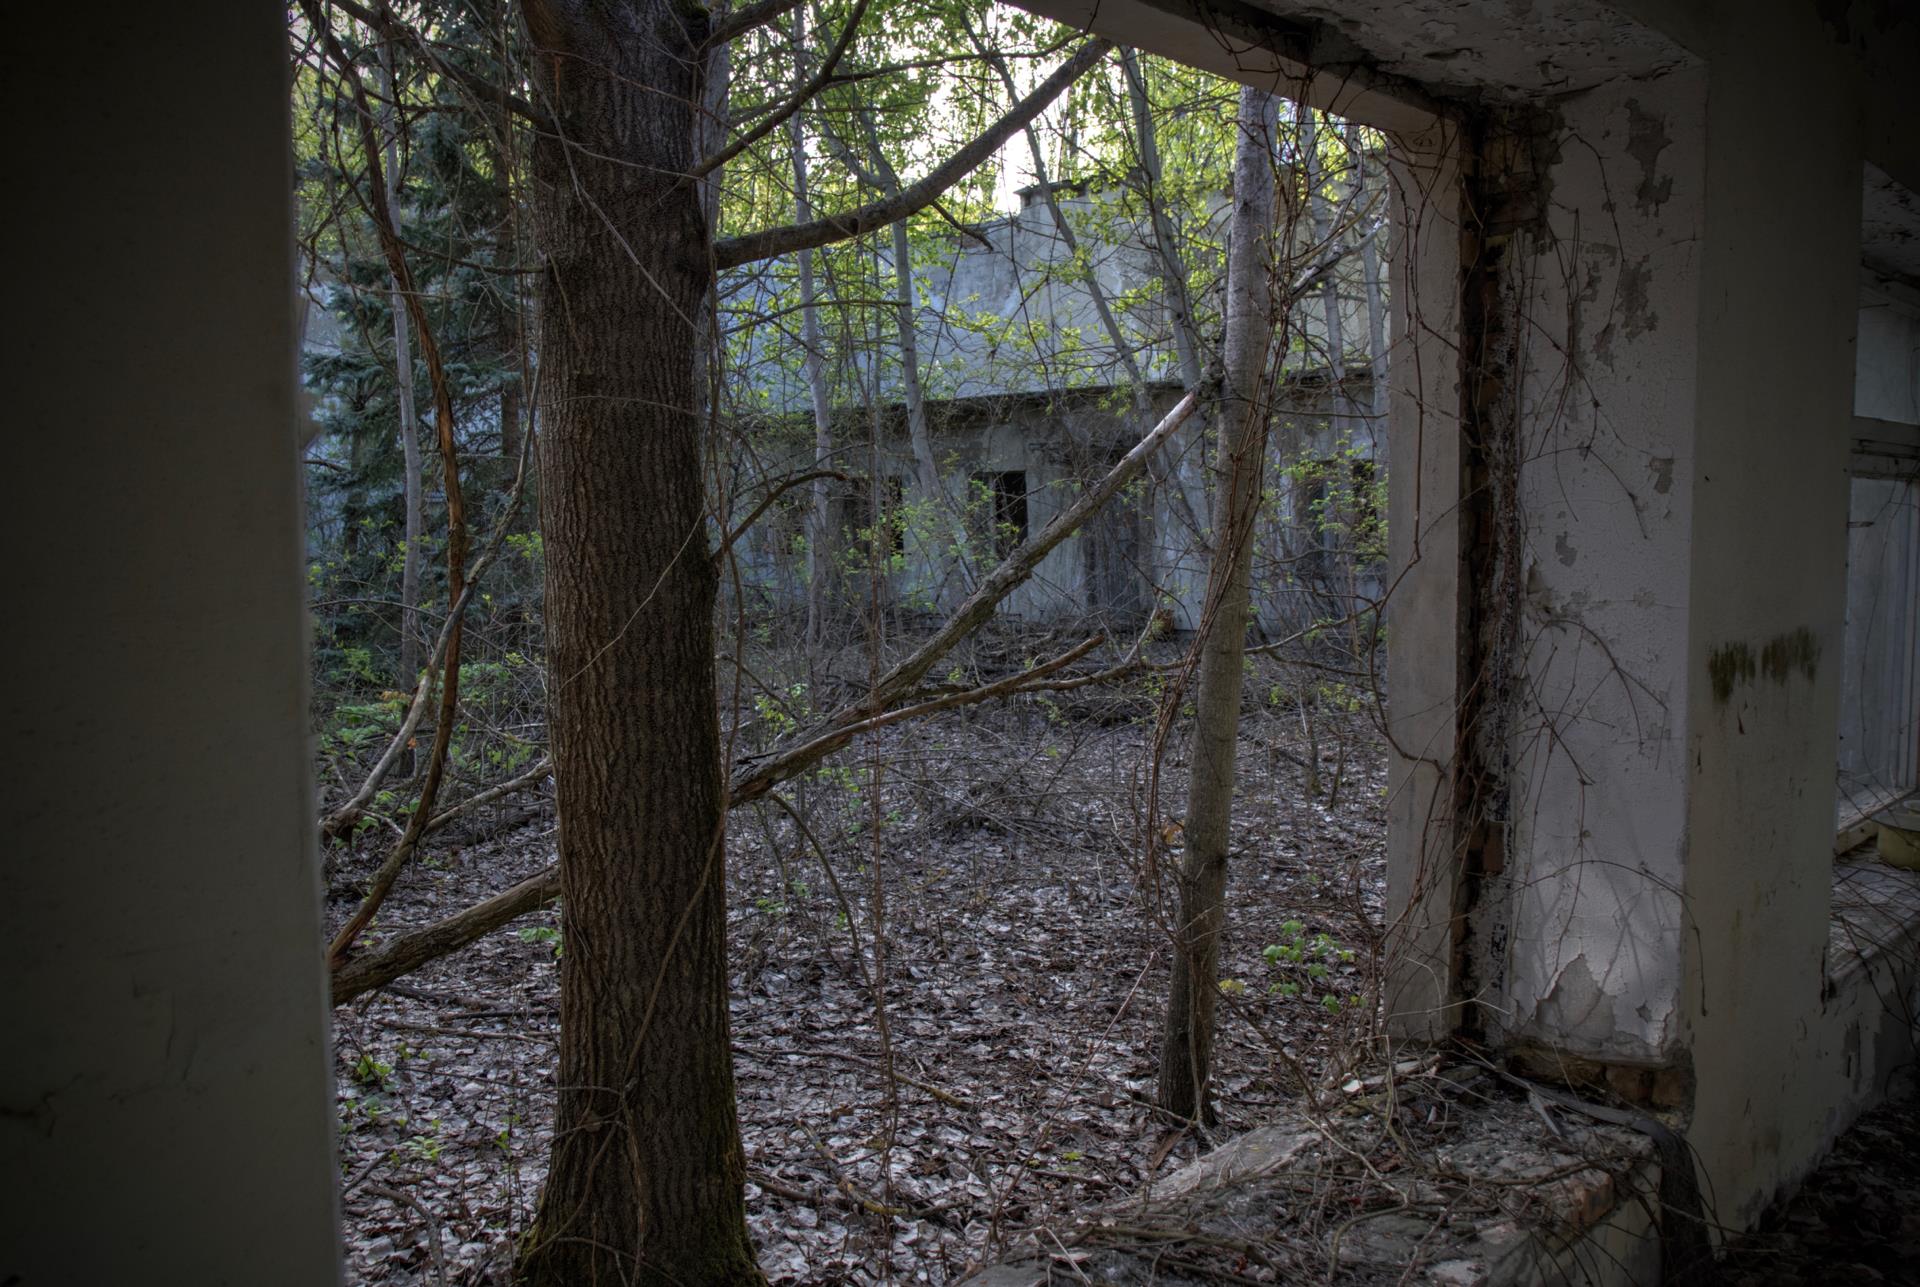
We go through the checkpoint and drive up a long road lined with trees, you can see nothing but the trees but we eventually reach an opening near the main square where we get off the van. There are streets and pavements just like any other city, there are lamp posts, buildings and birds singing. In between the buildings are trees, the trees have taken over thanks to 30 years of no humans.
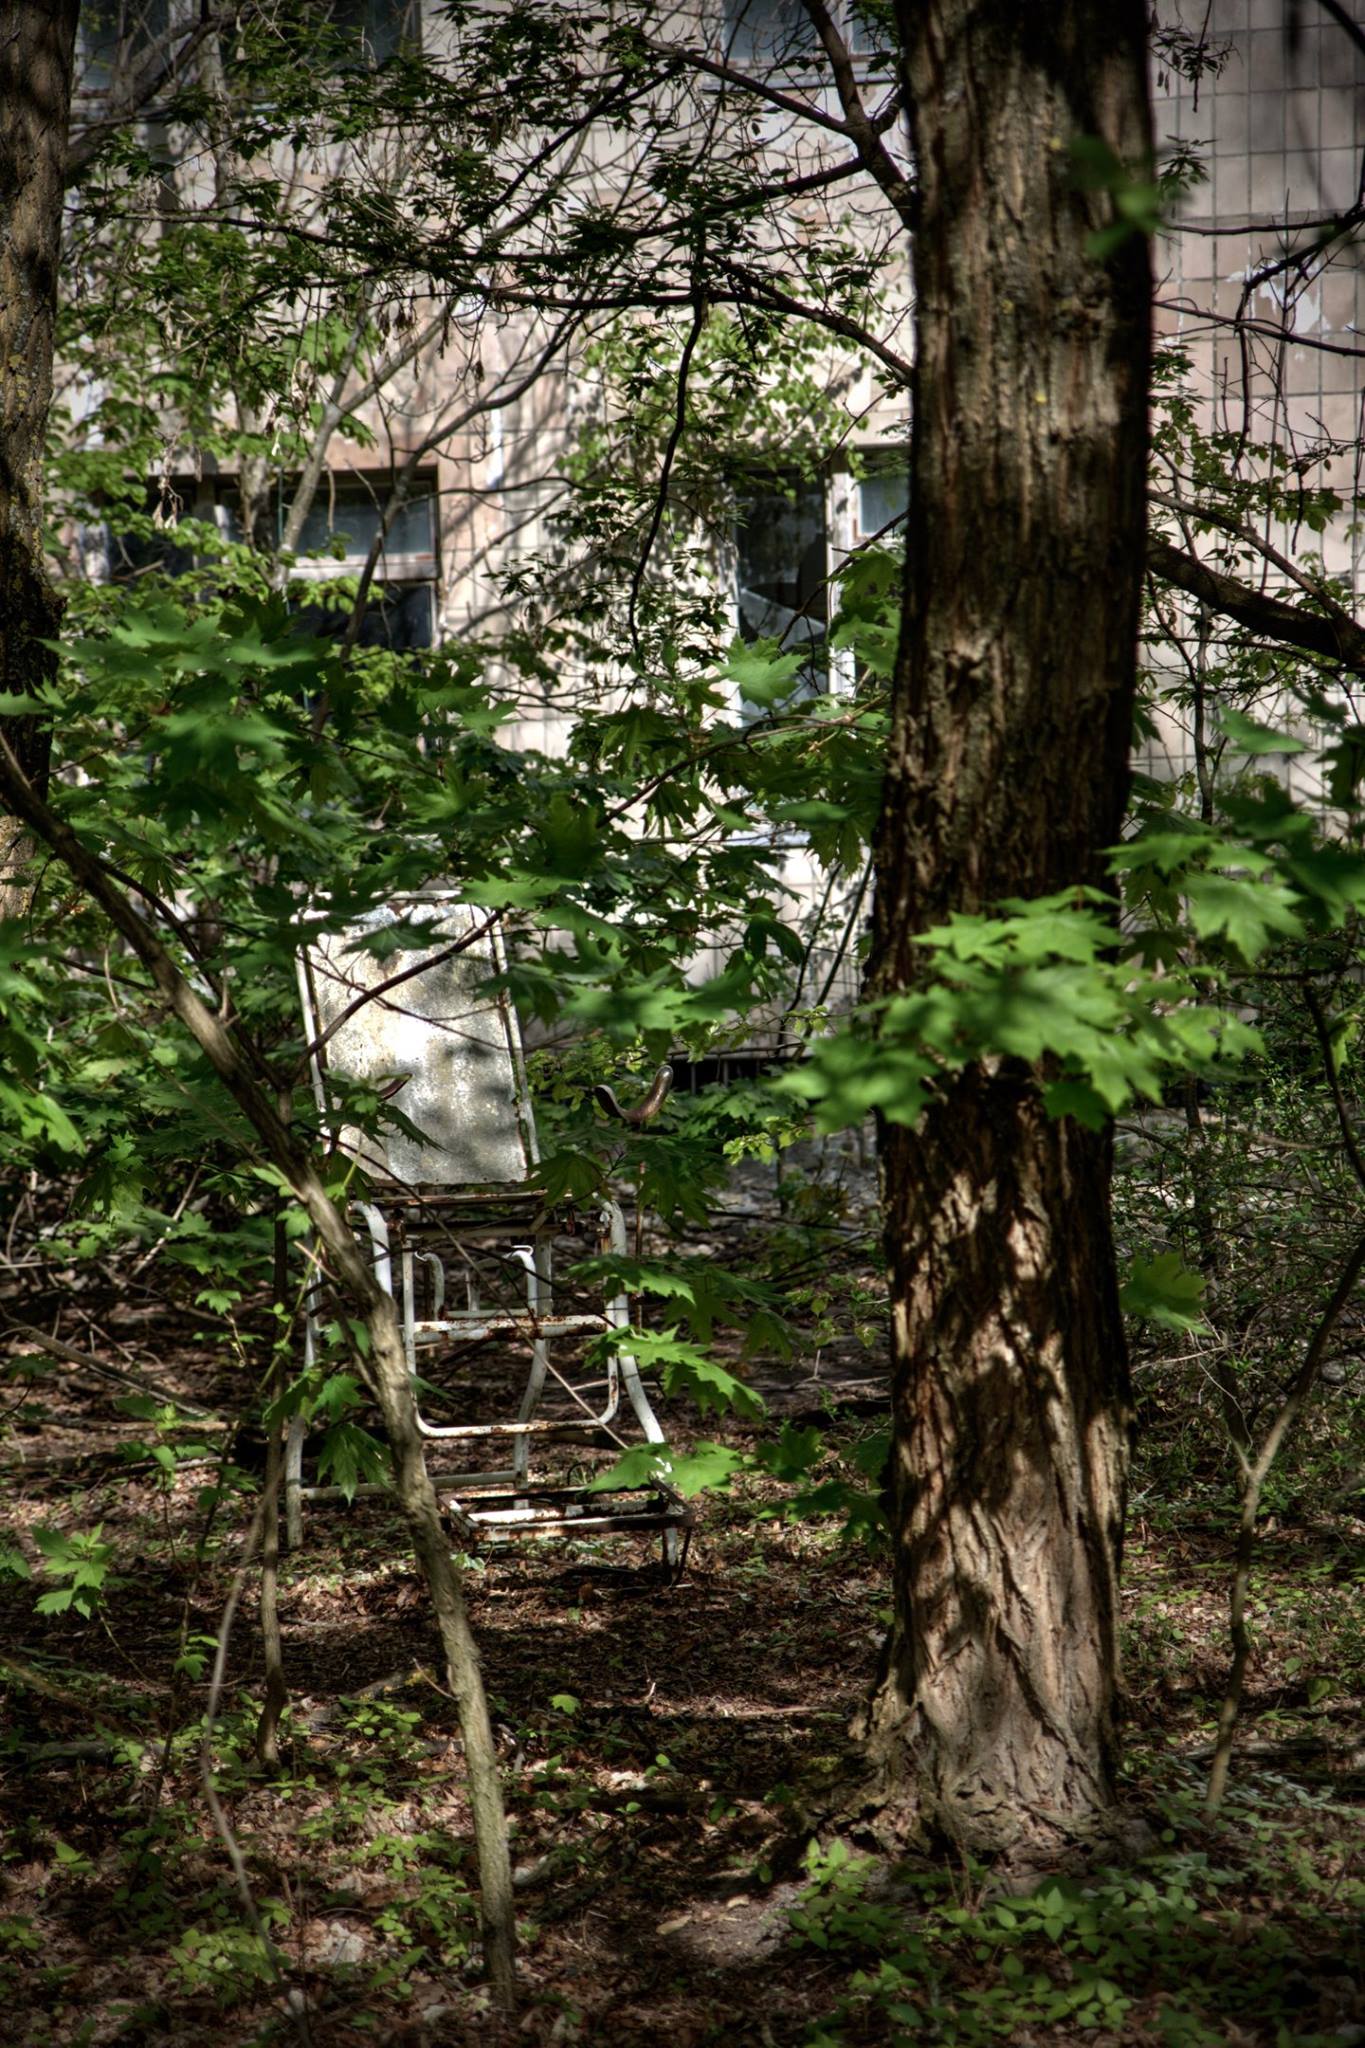
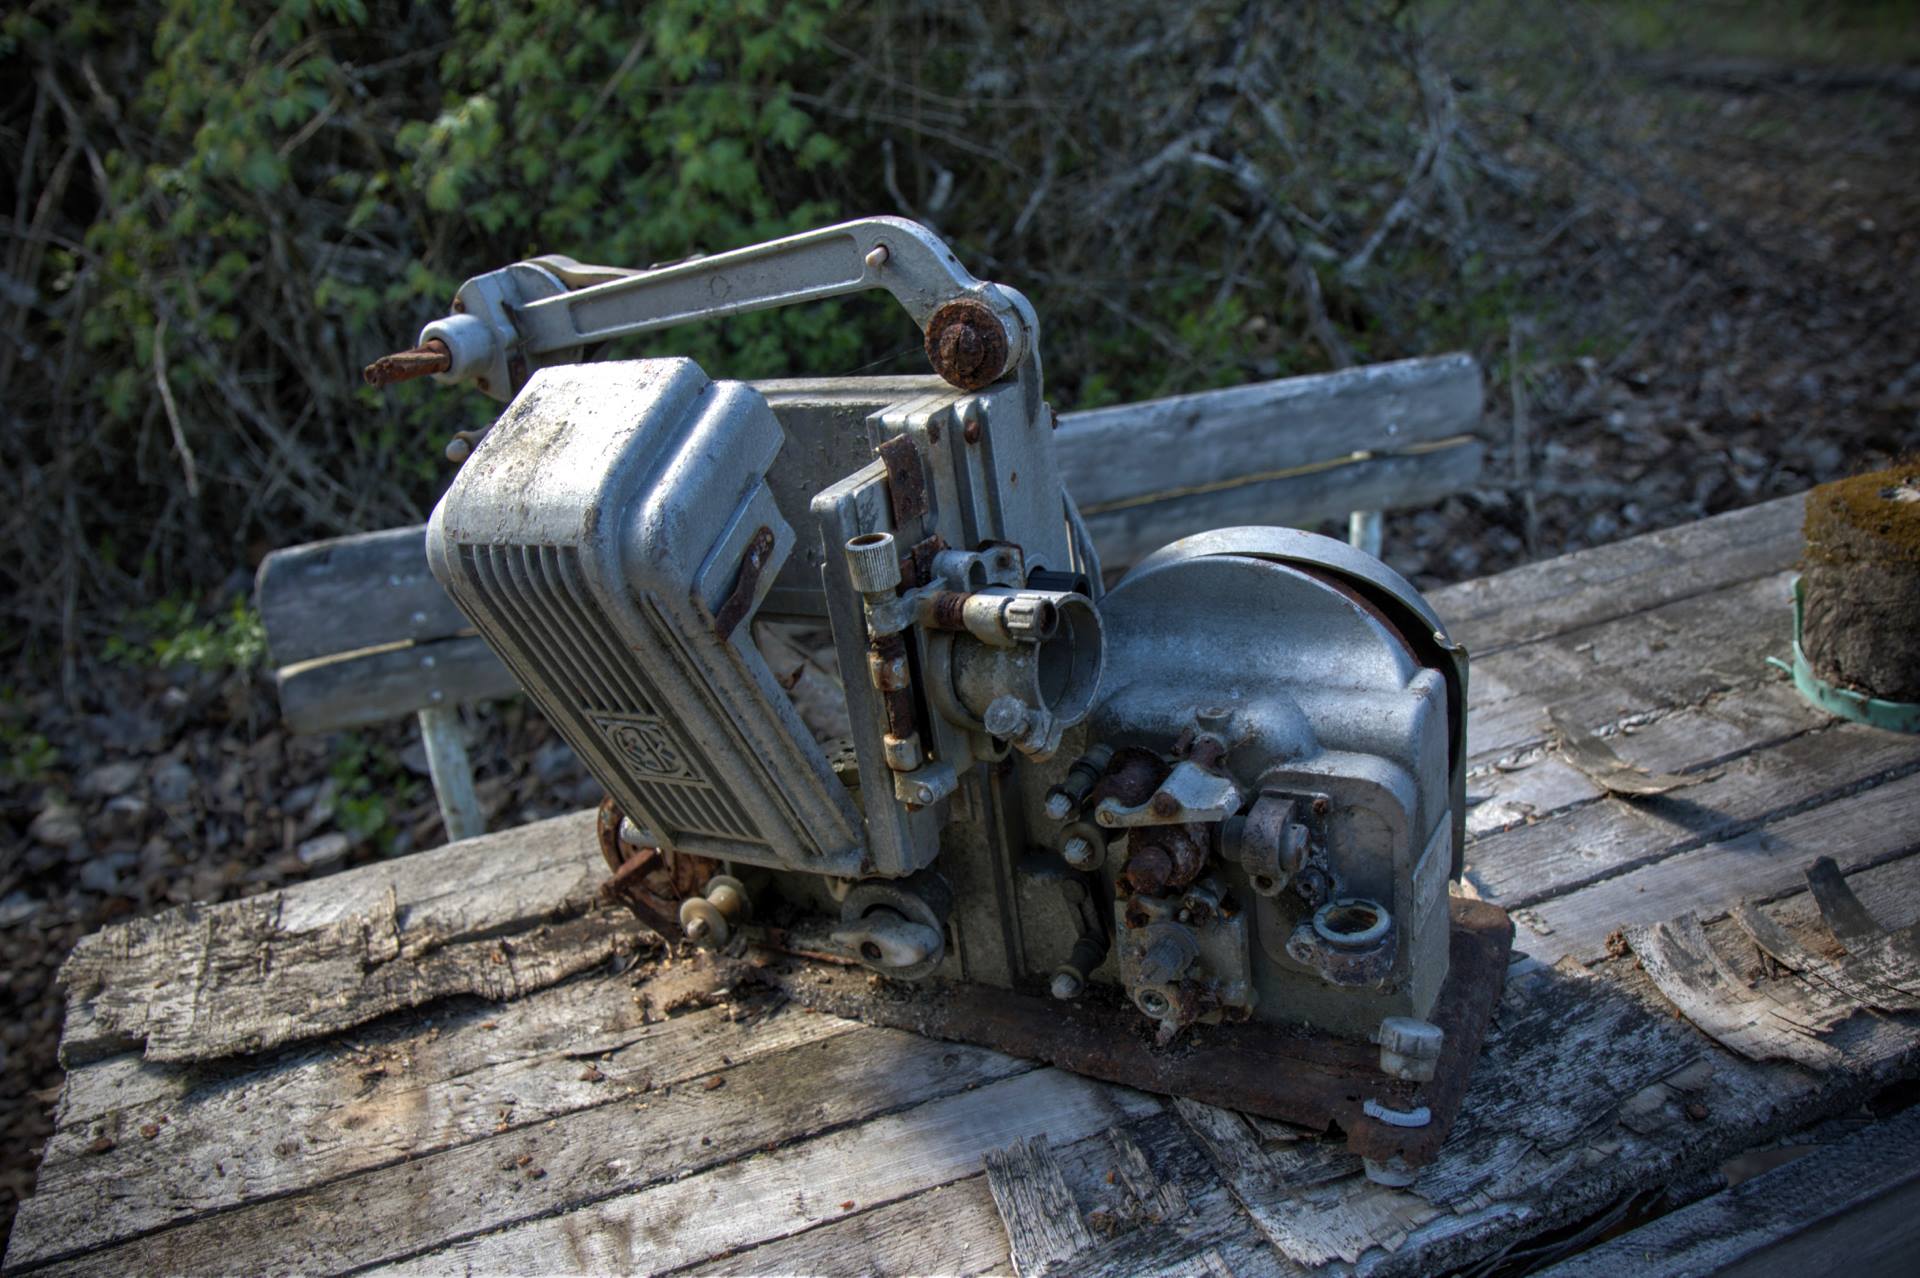
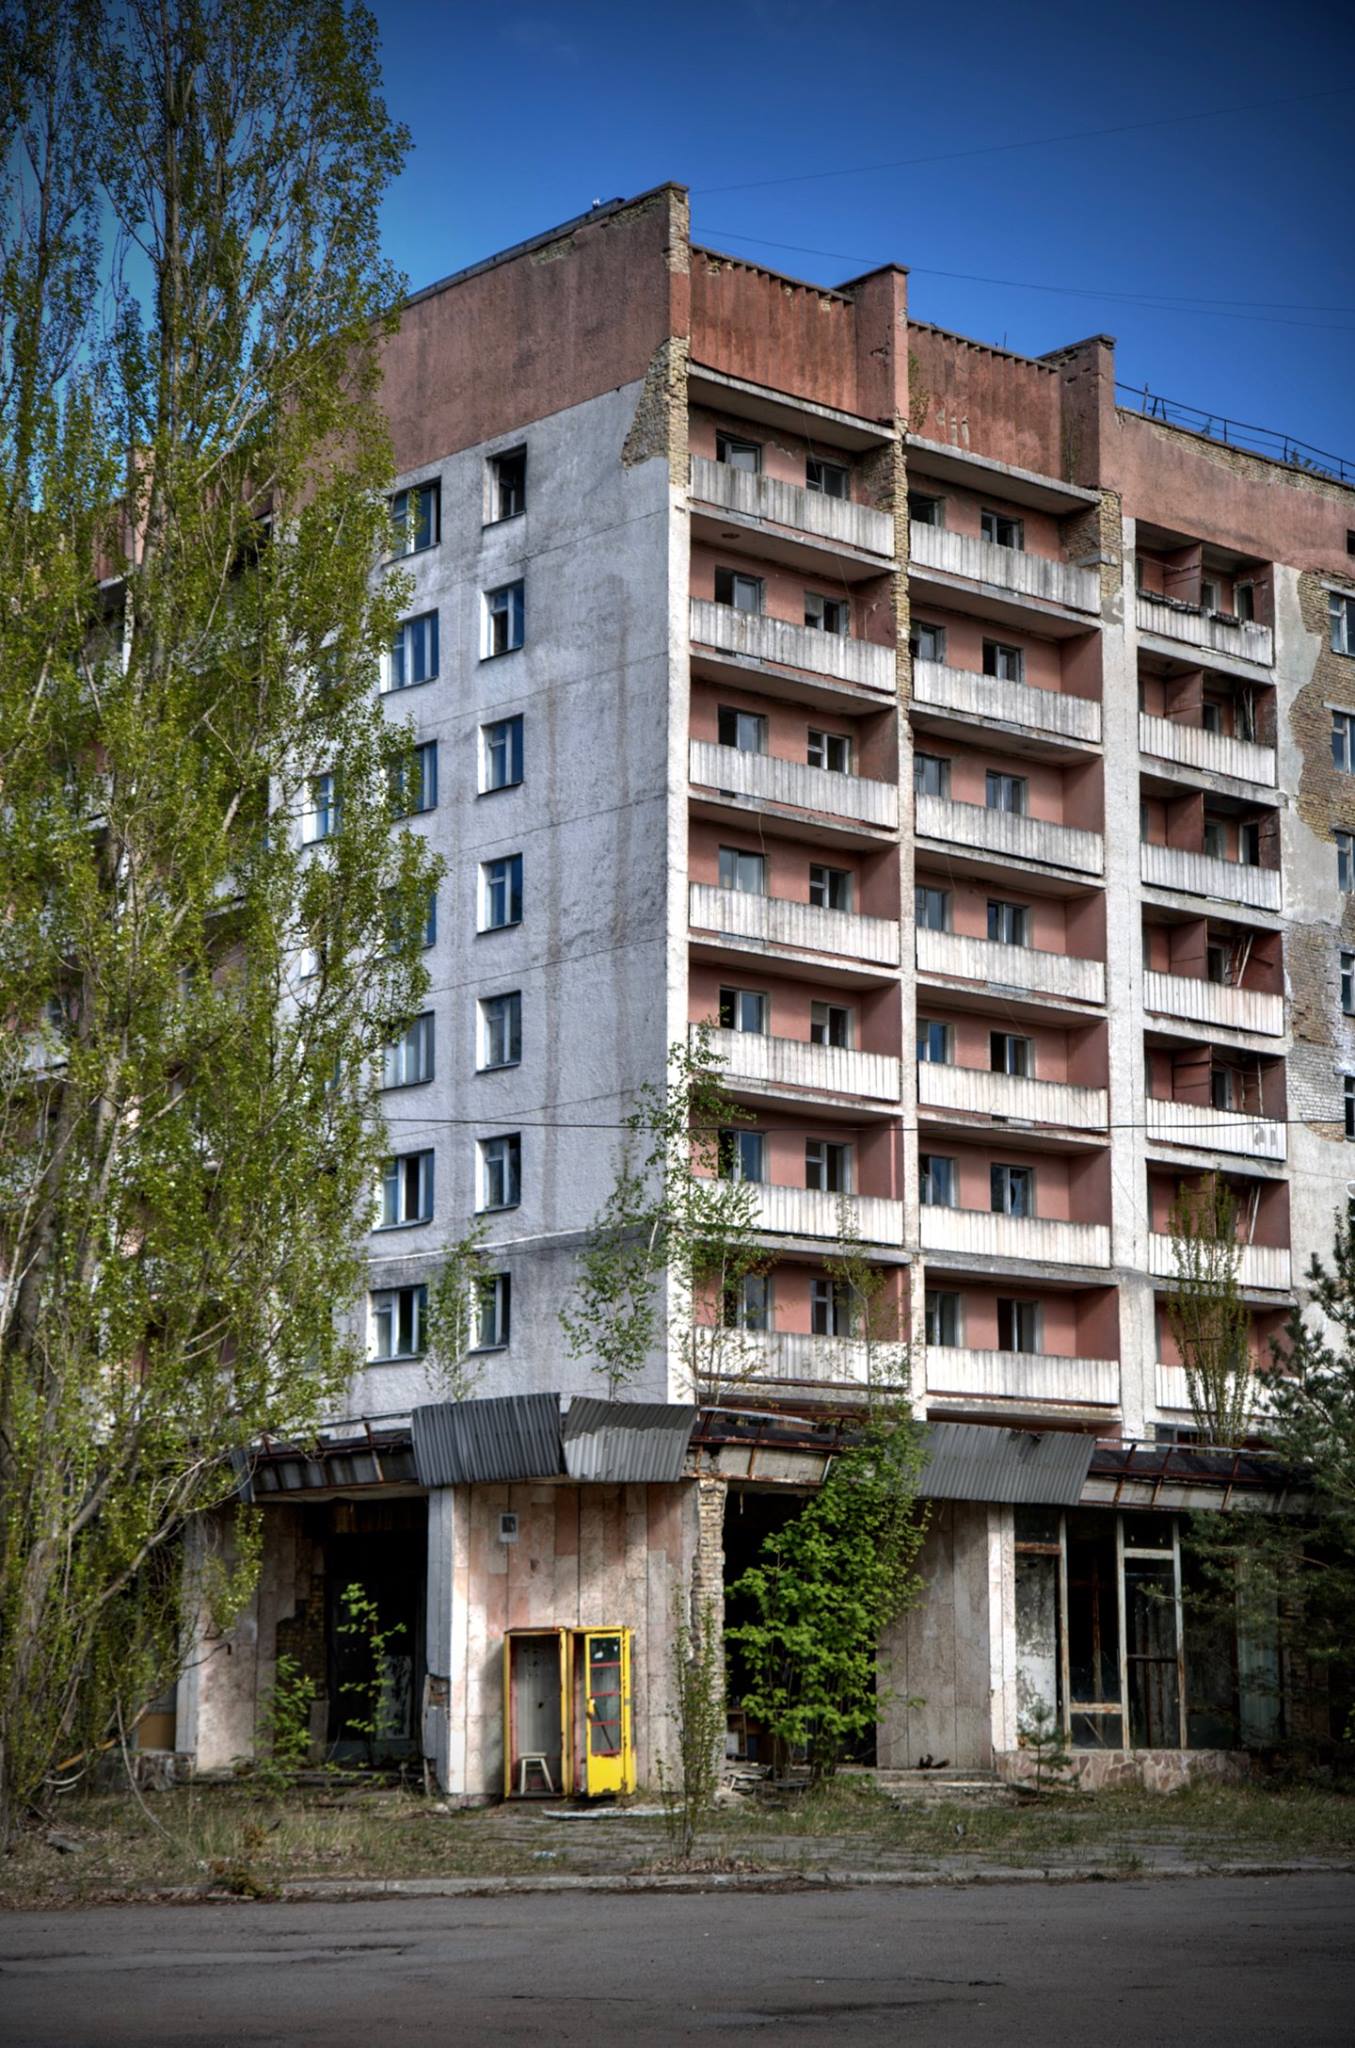
We start to walk north east past administrative buildings, a cinema, hospital and apartment blocks, visitors before us have dragged items from buildings and curated them, a hospital examination chair sits between the trees and a film projector sits abandoned on a wooden table to the side of the street.

Background radiation level: 0.75 μSv/h
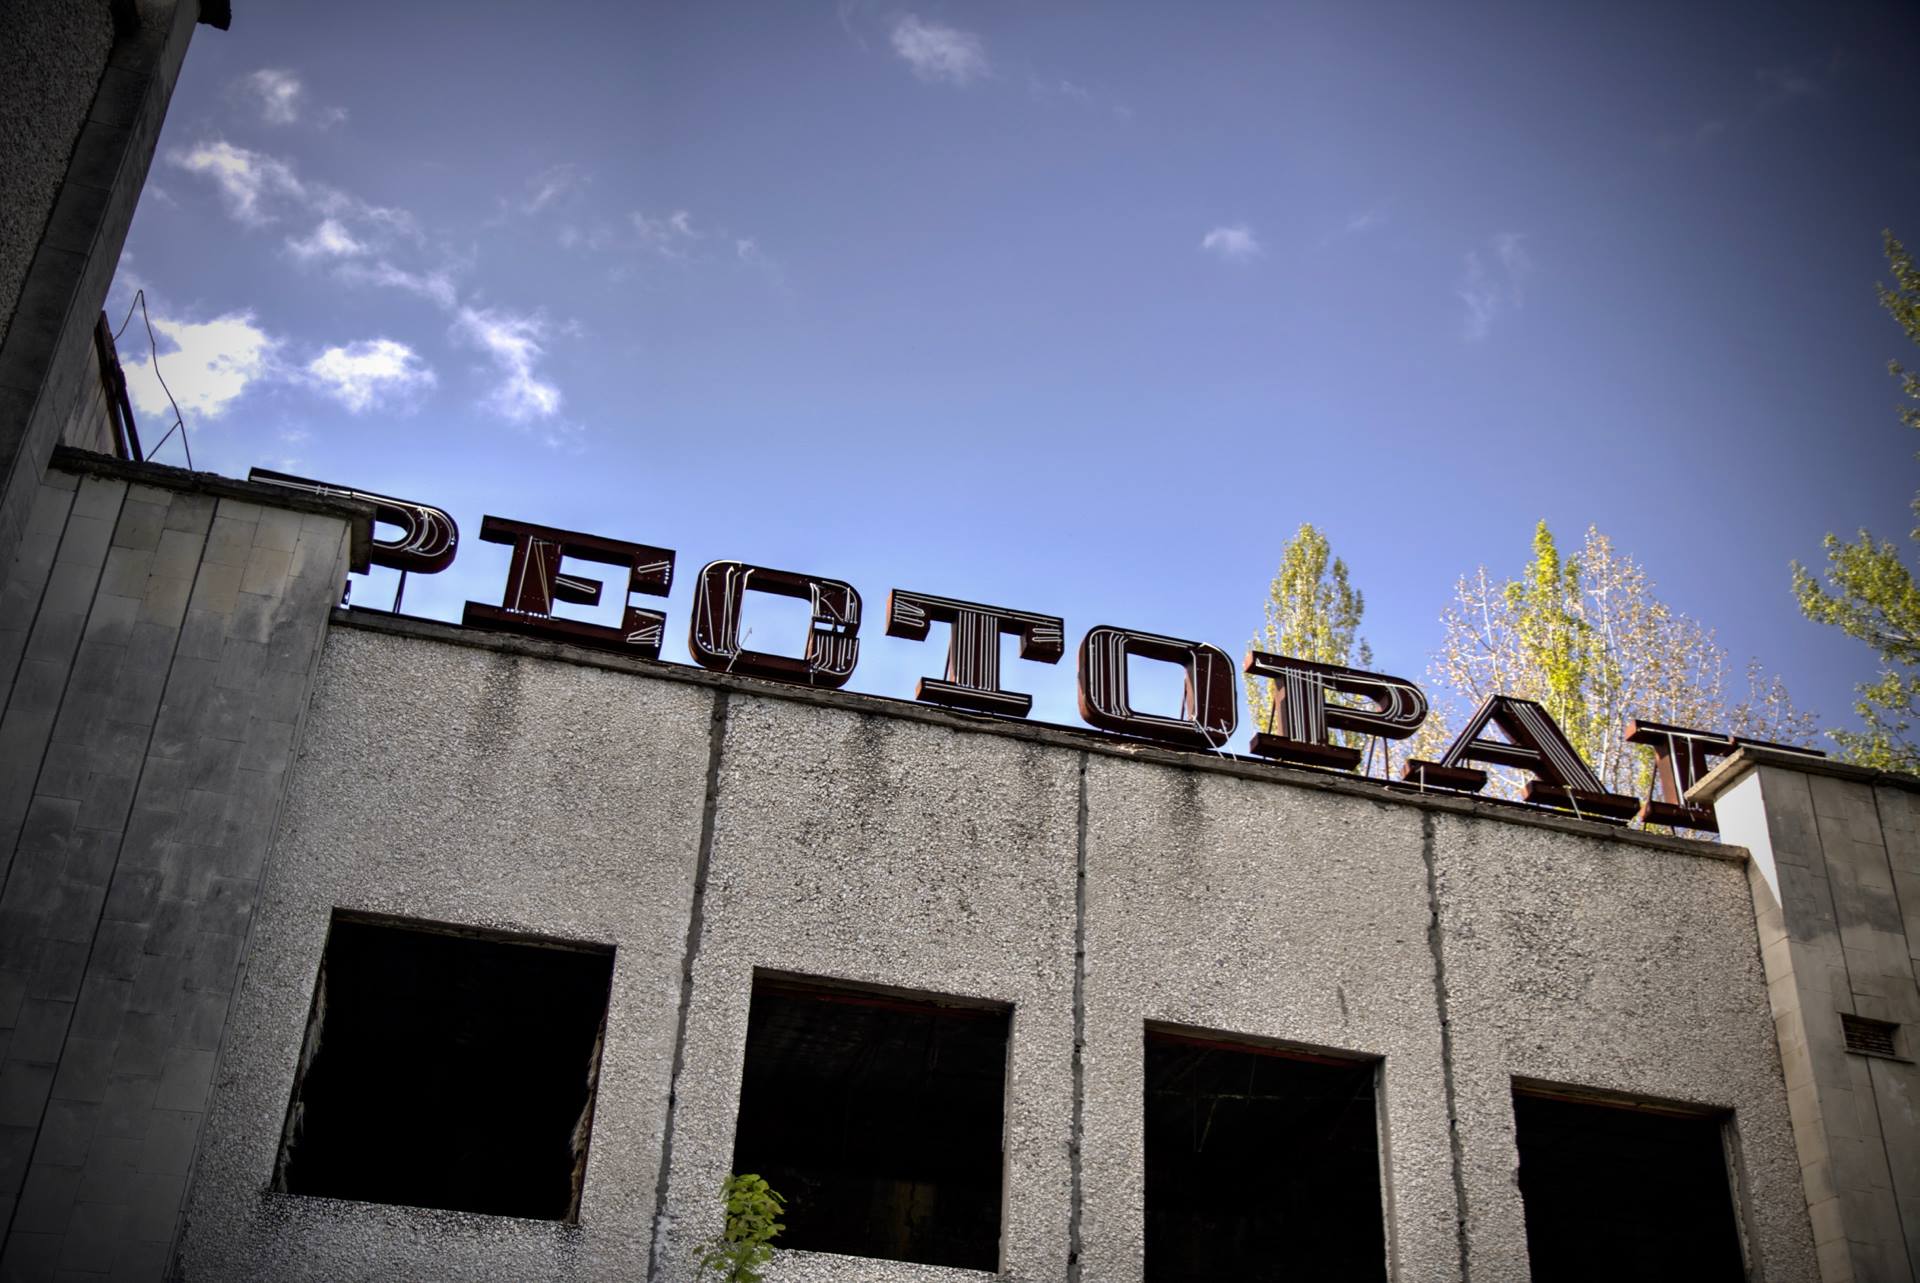
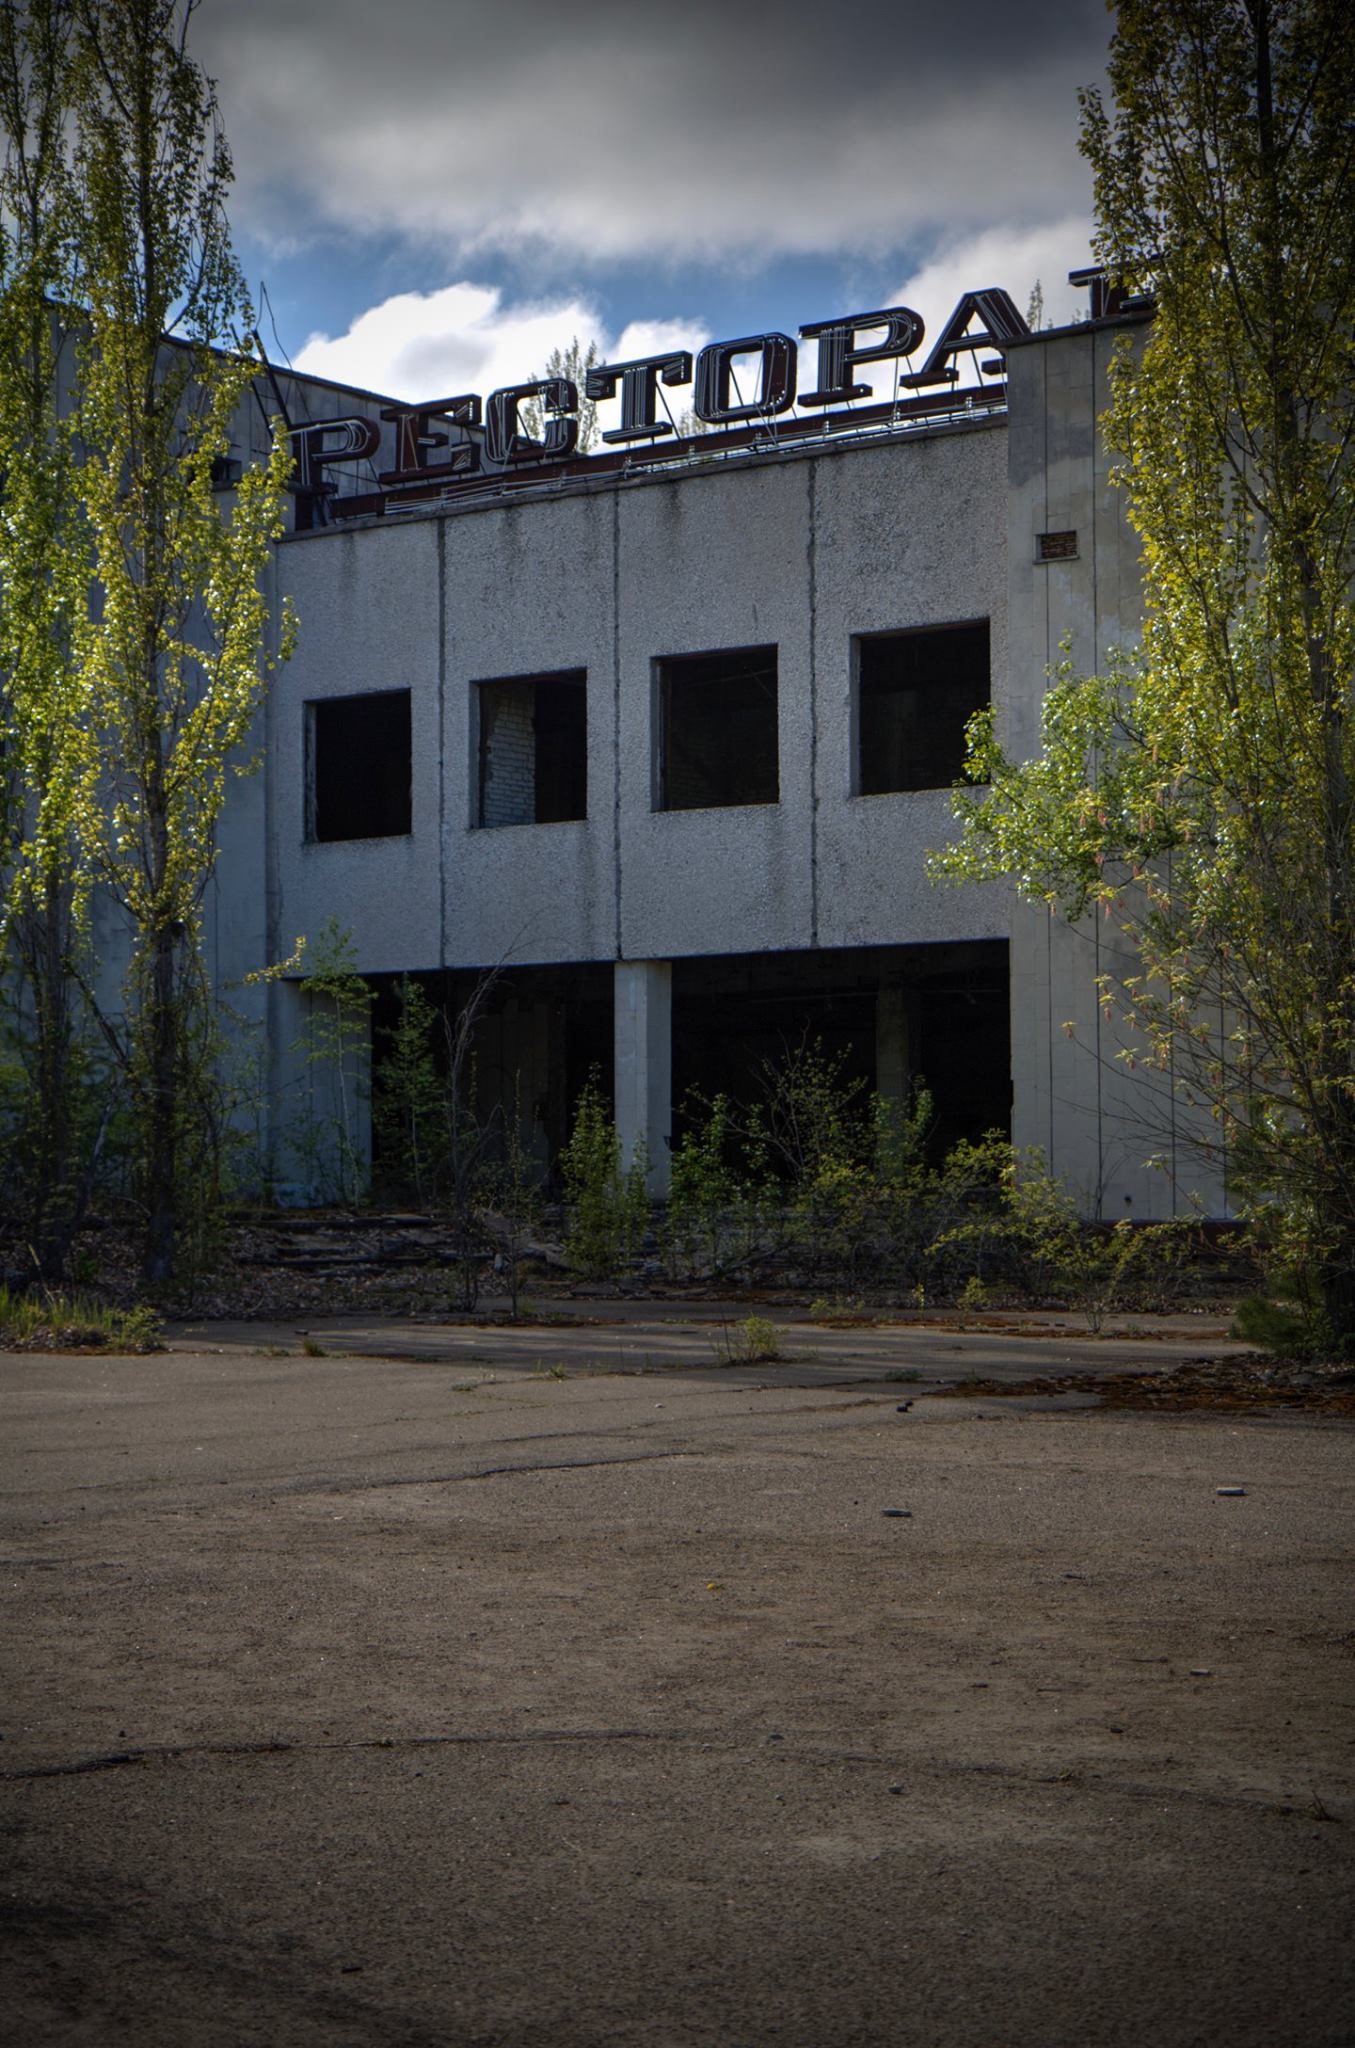
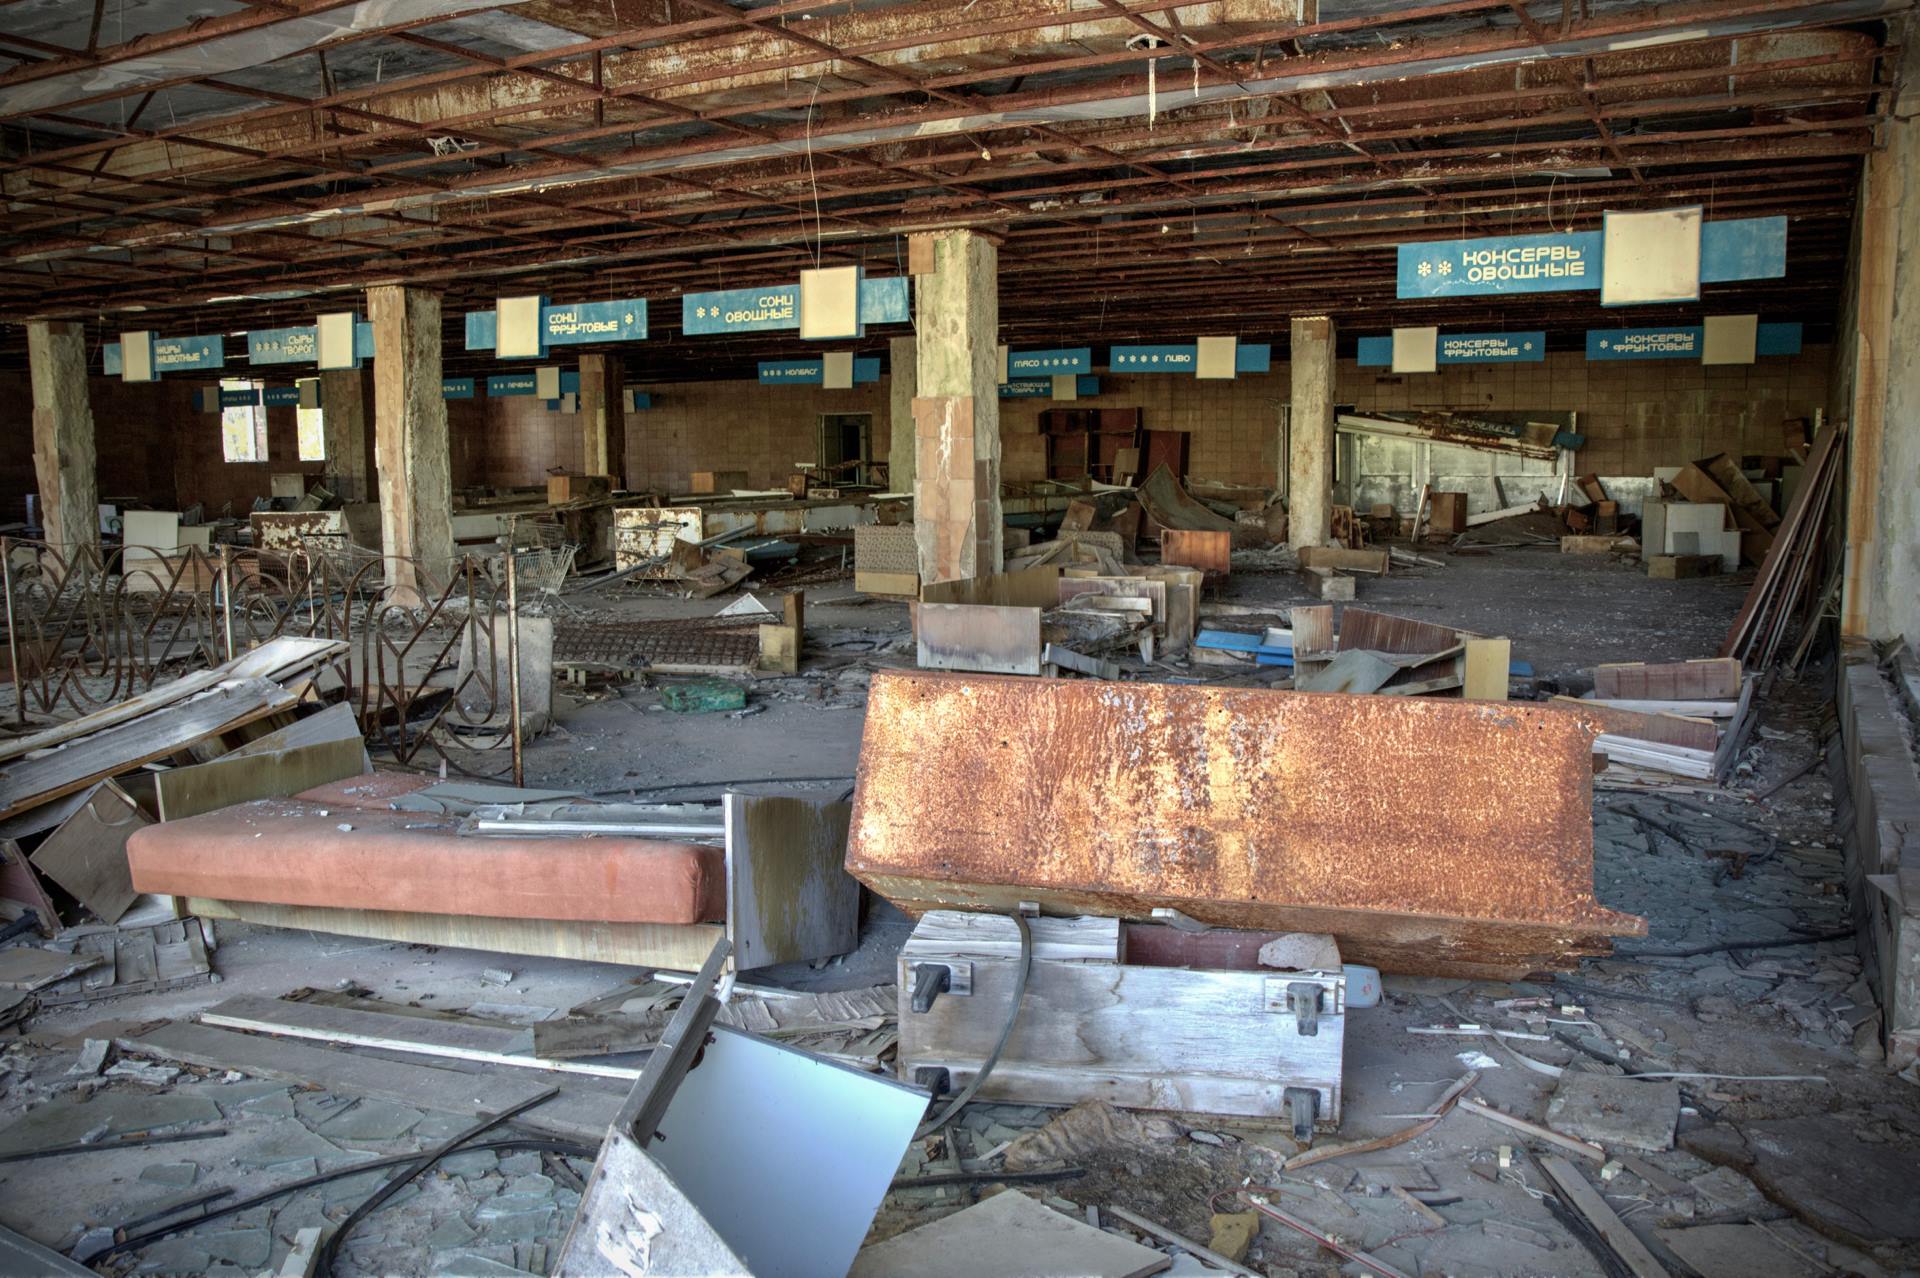
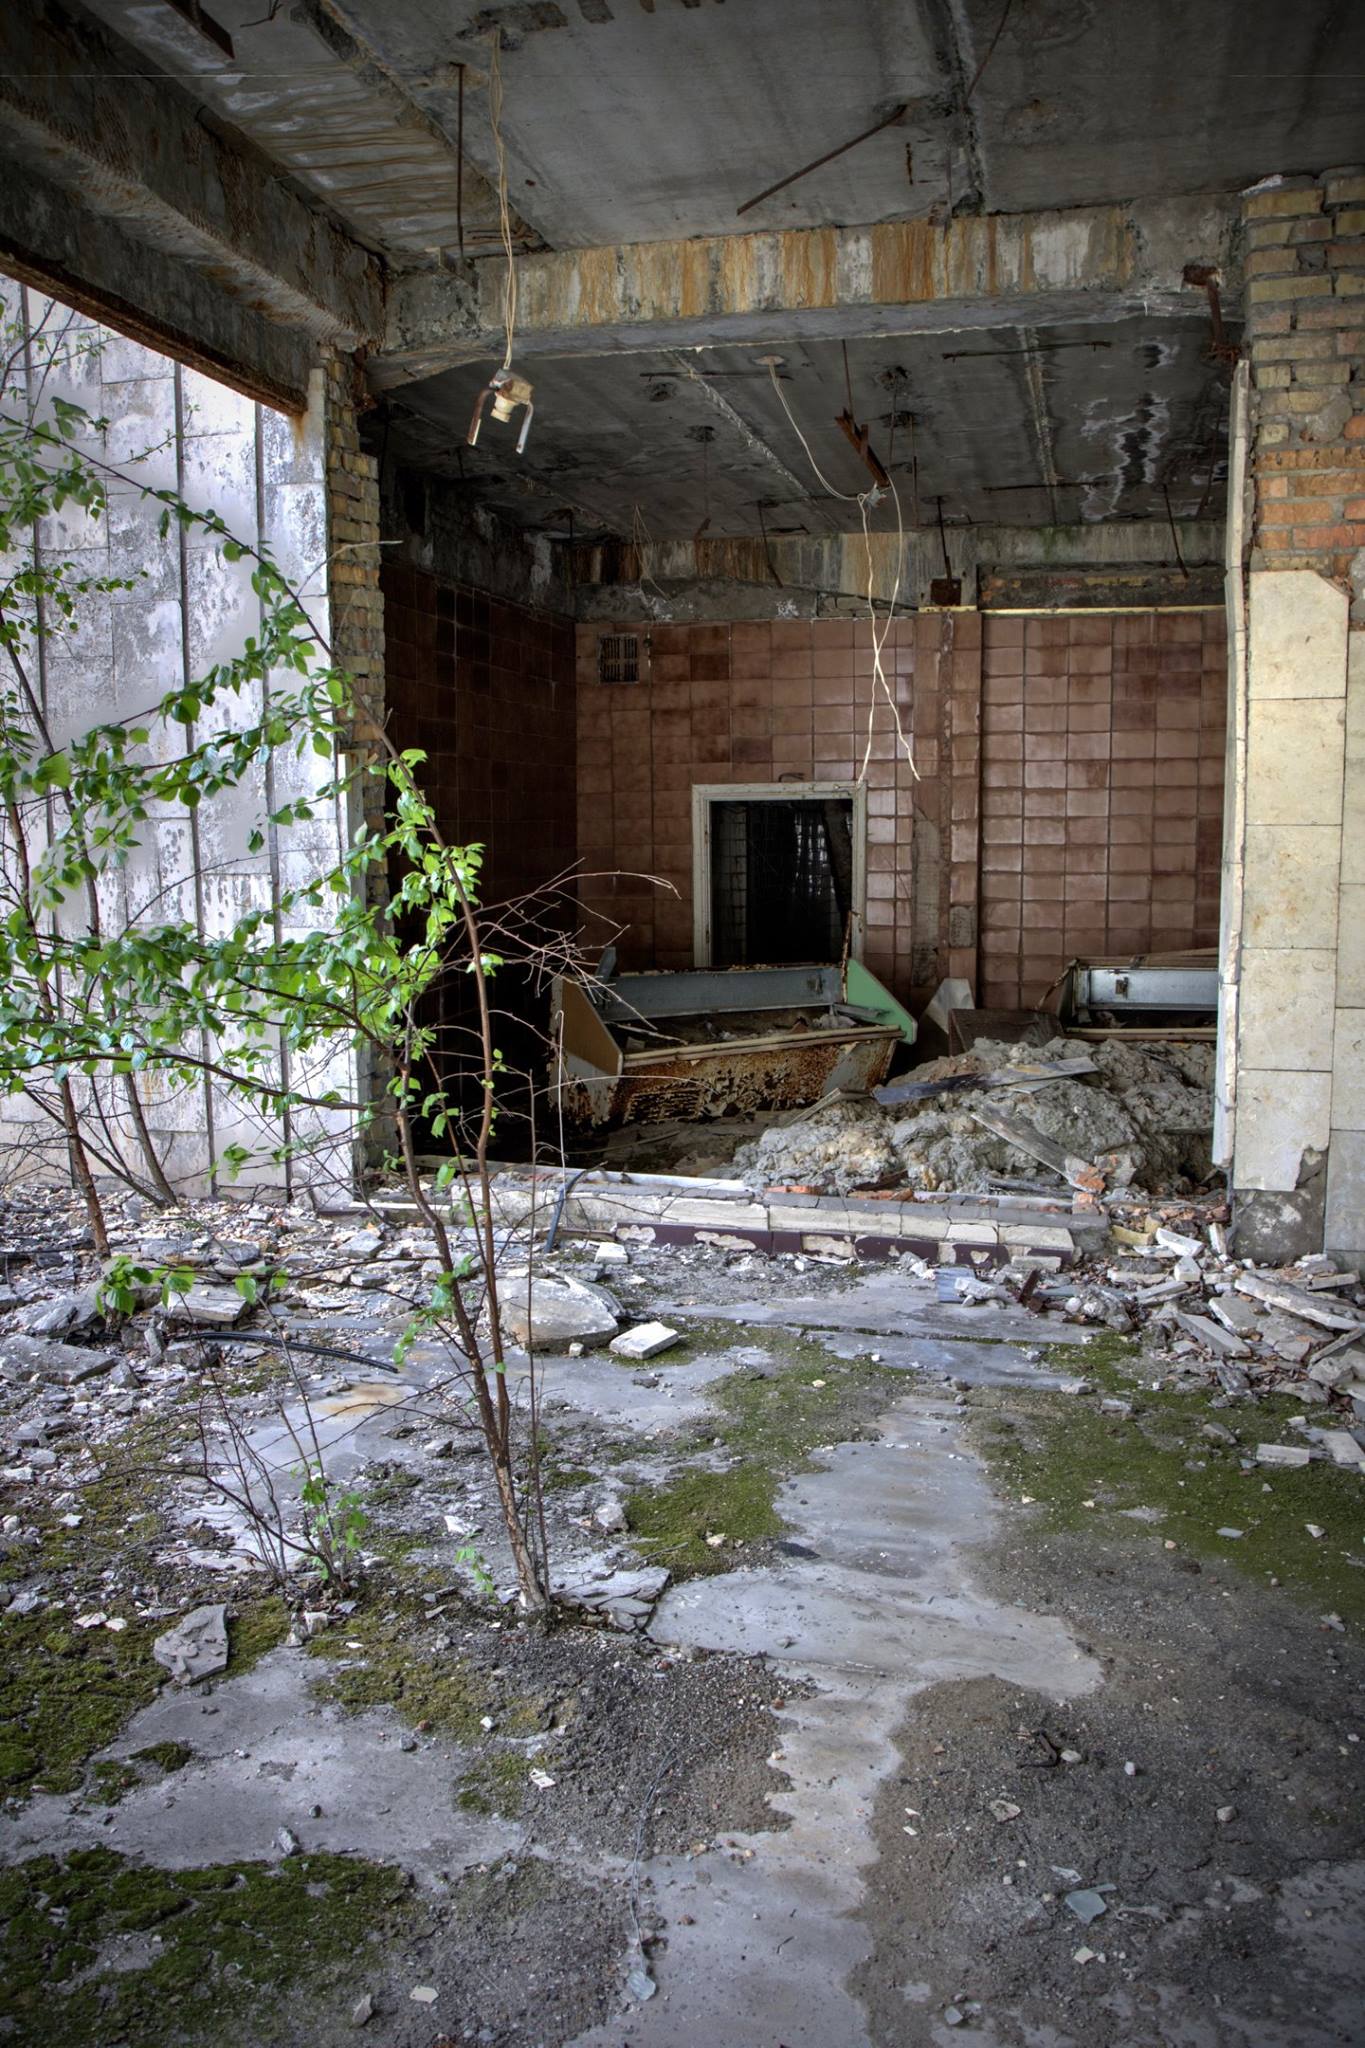
We loop back and return to the main square, walking west to where the restaurant and large supermarket are located, many of the fixtures still remain, albeit scattered and scavenged.
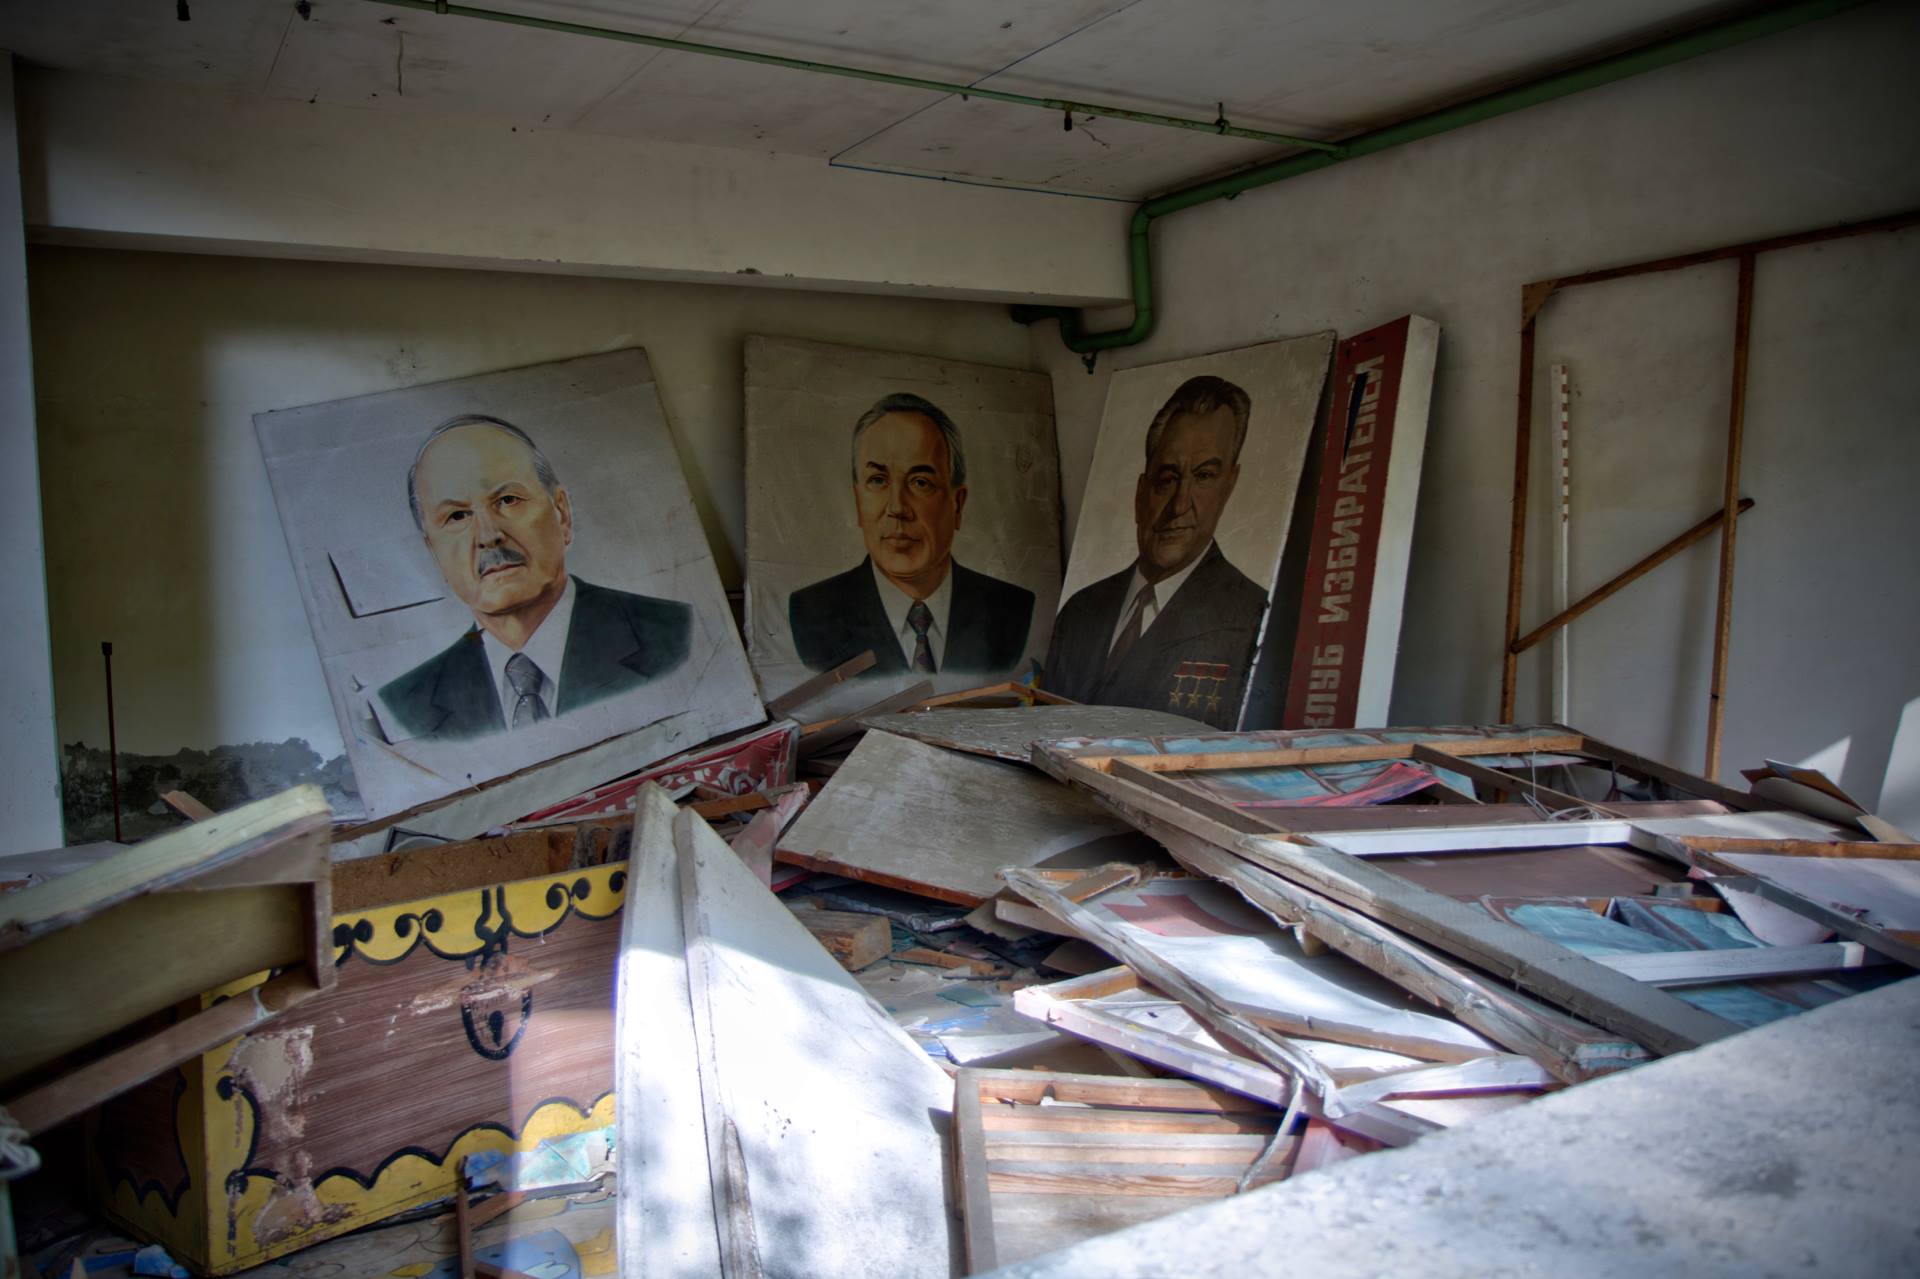
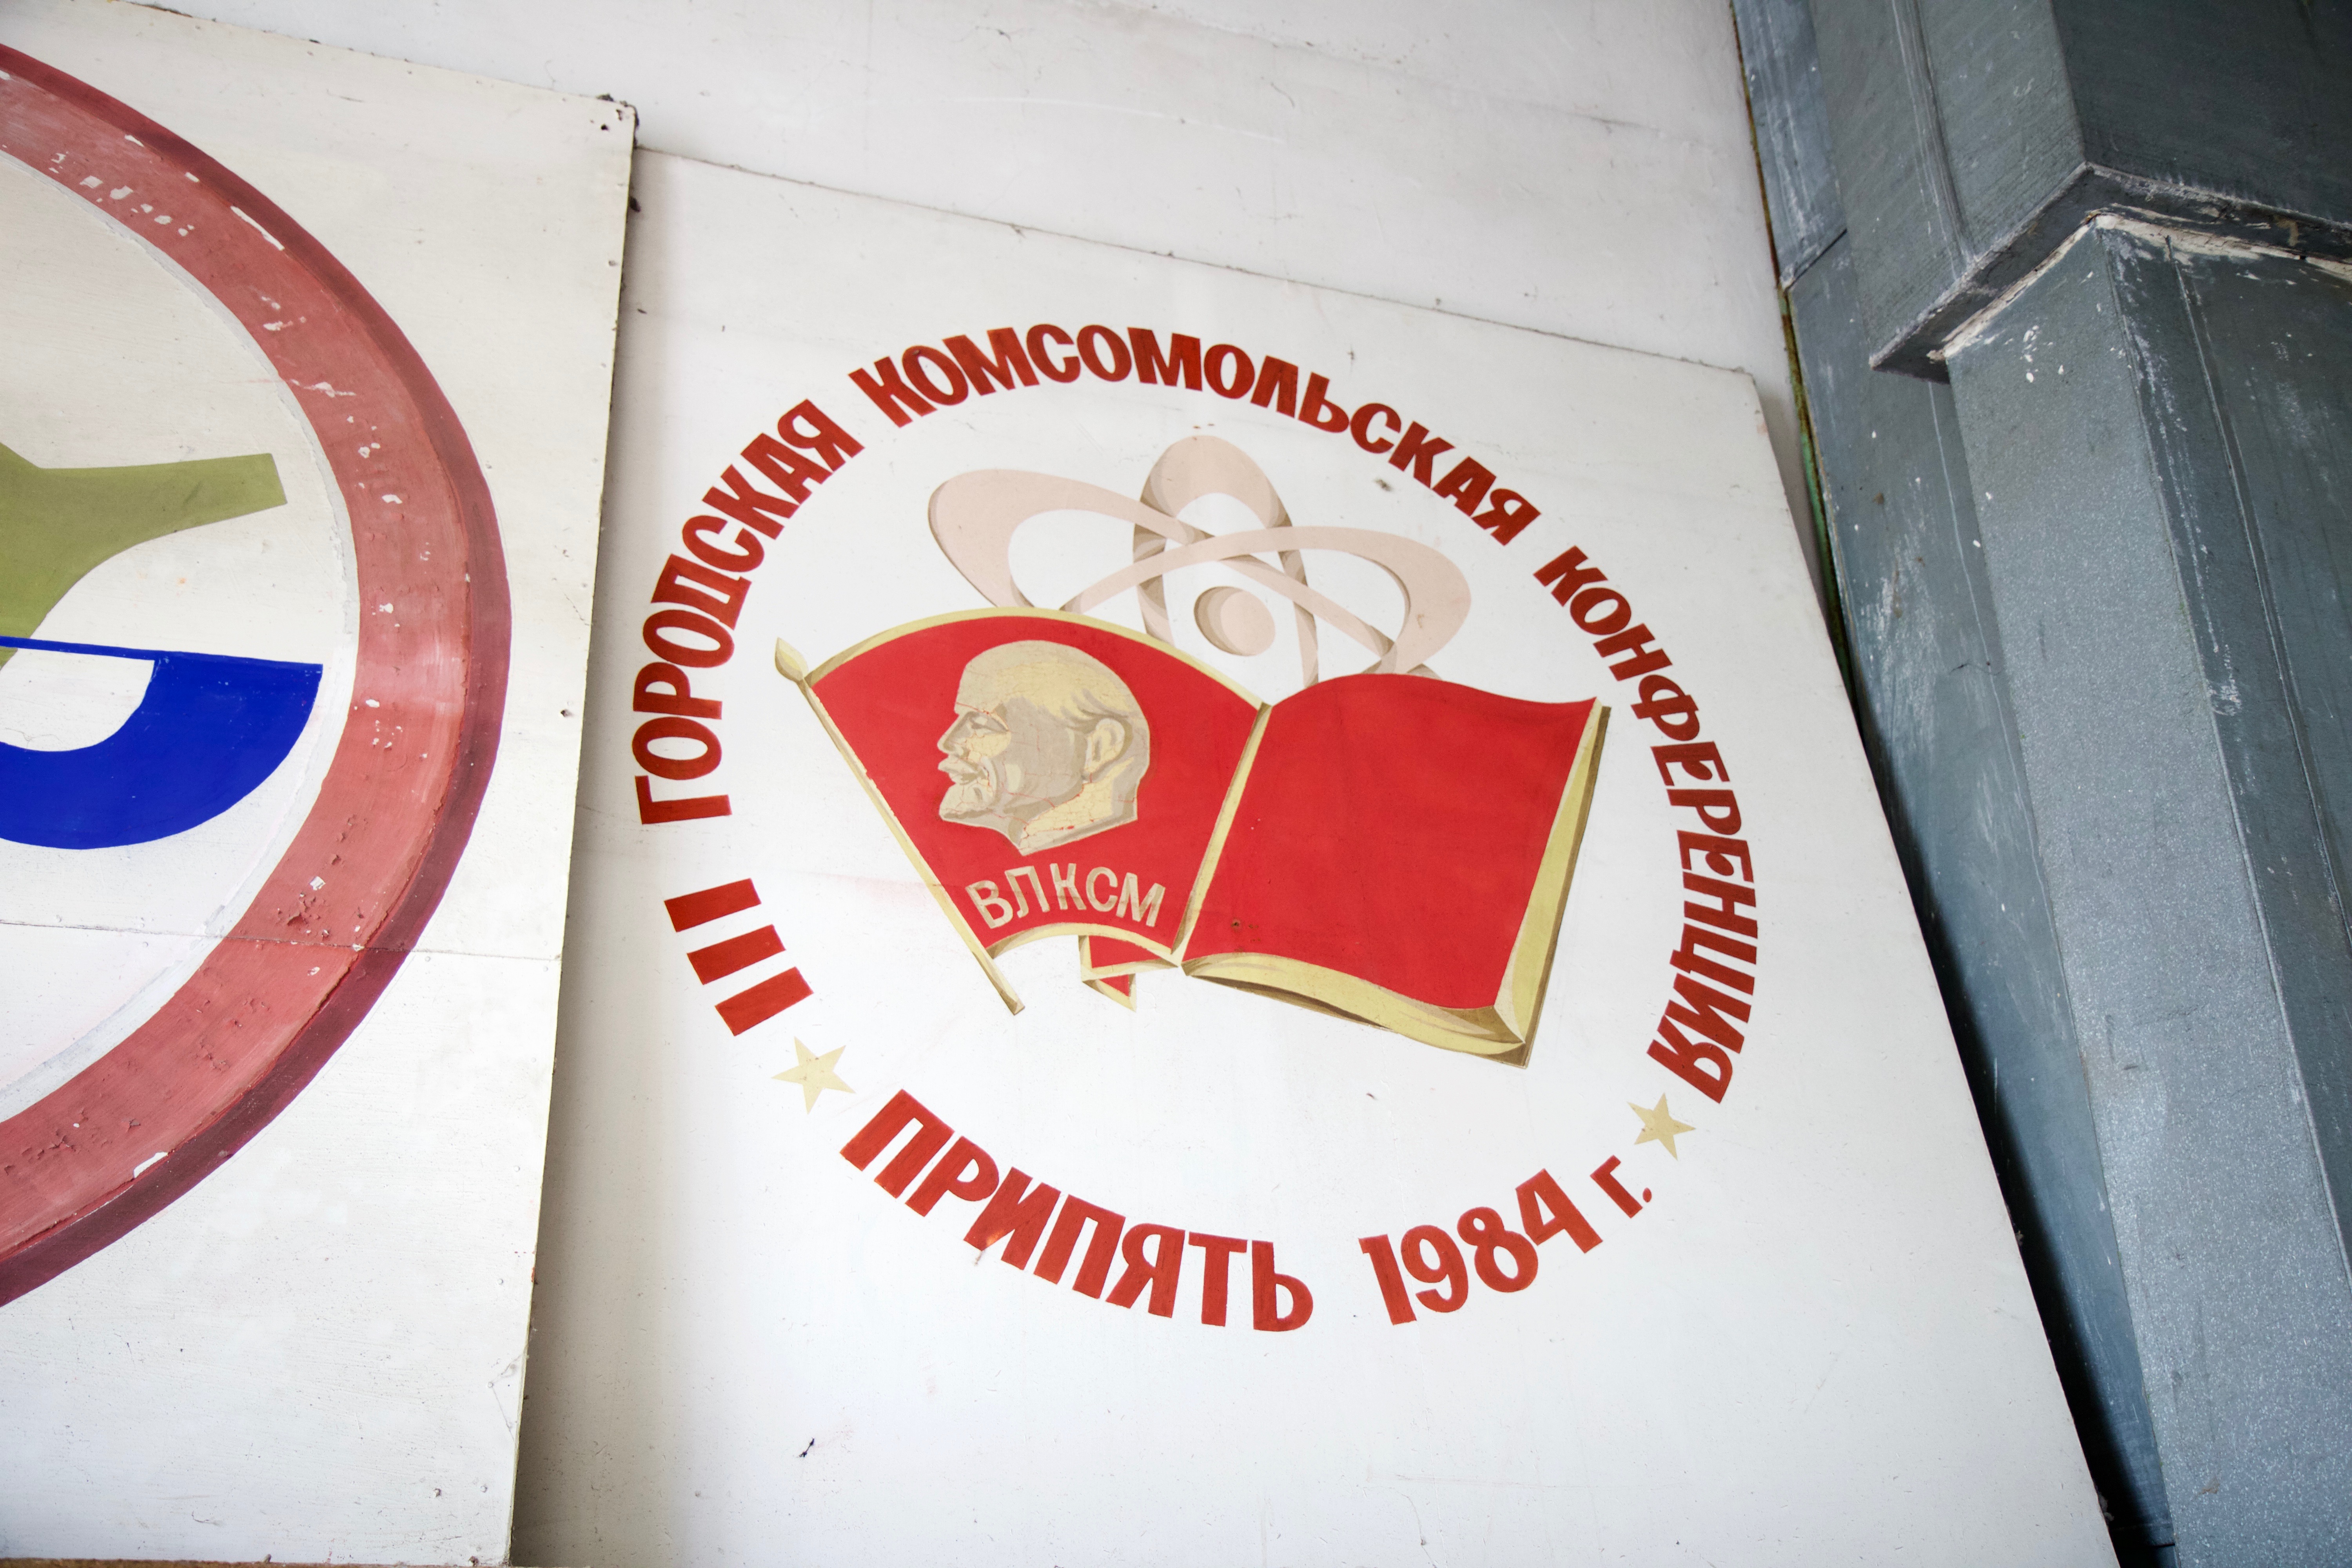
We continue north east past the Palace of Culture, a large theatre that we briefly go inside, it too had been picked over by visitors. In one room large paintings of Lenin and other dignitaries that were once proudly displayed in the square now lie in piles amongst dozens of paintings and posters.
Background radiation level: 1.25 μSv/h
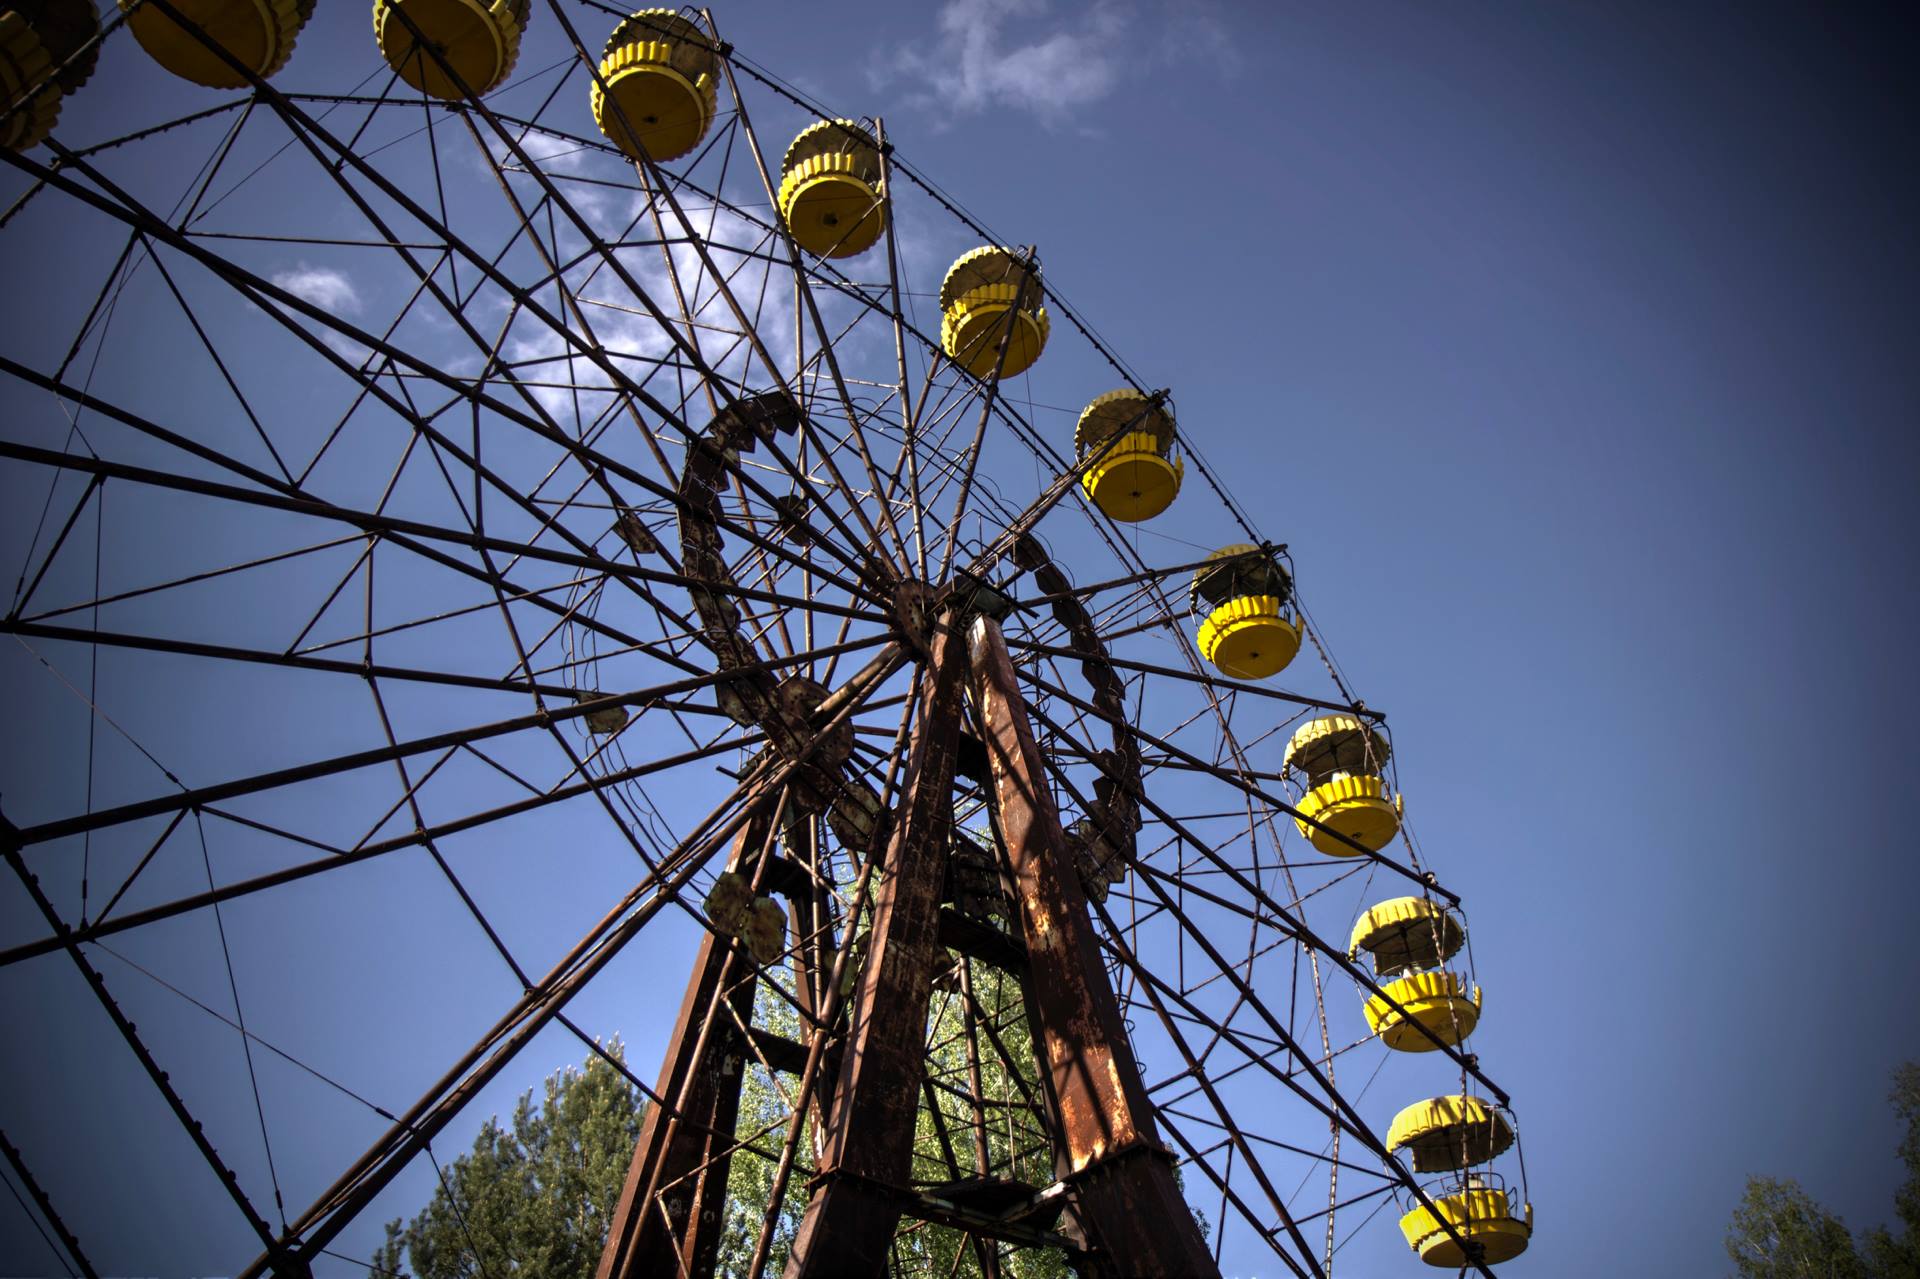
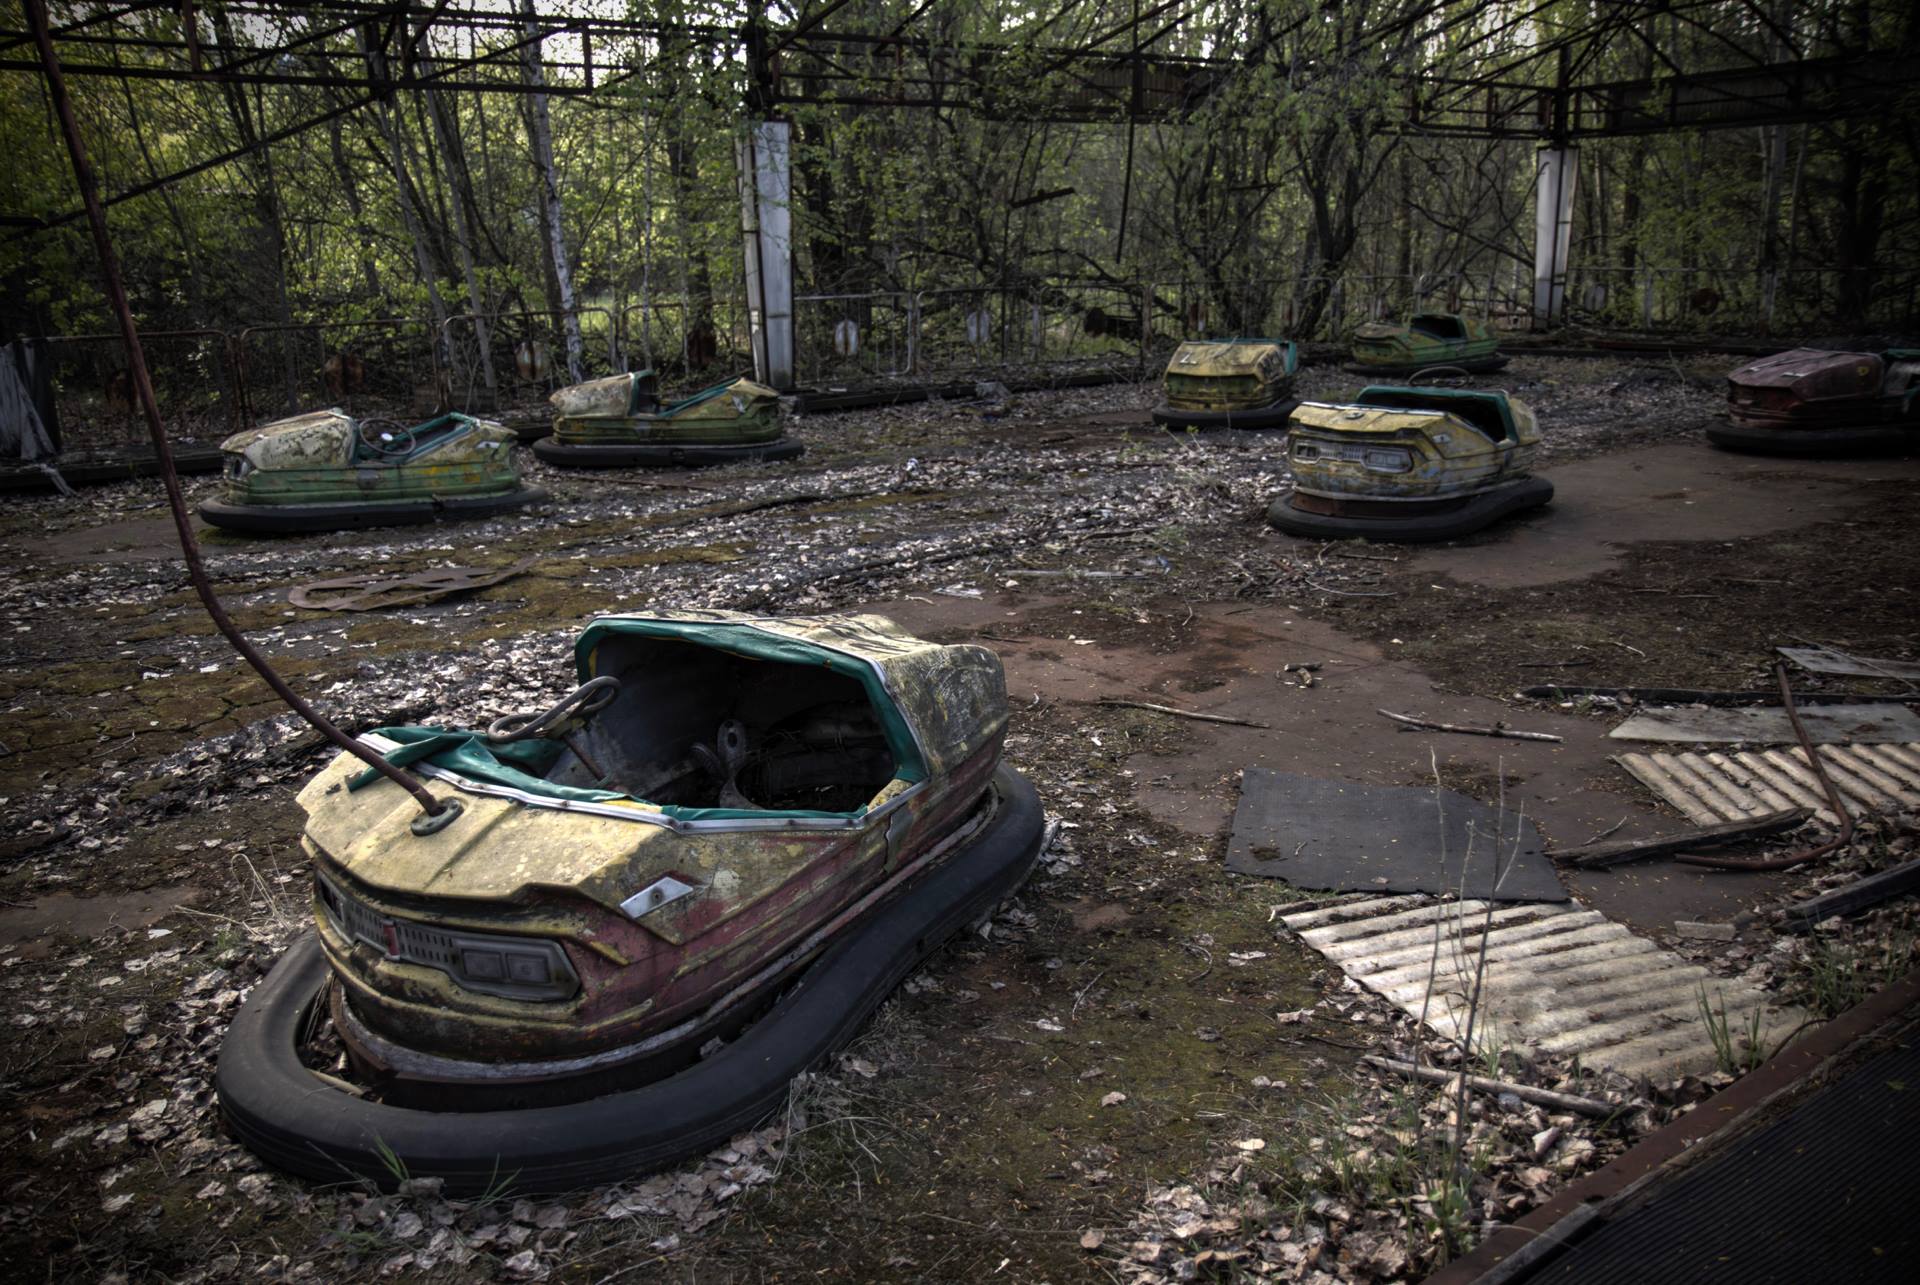
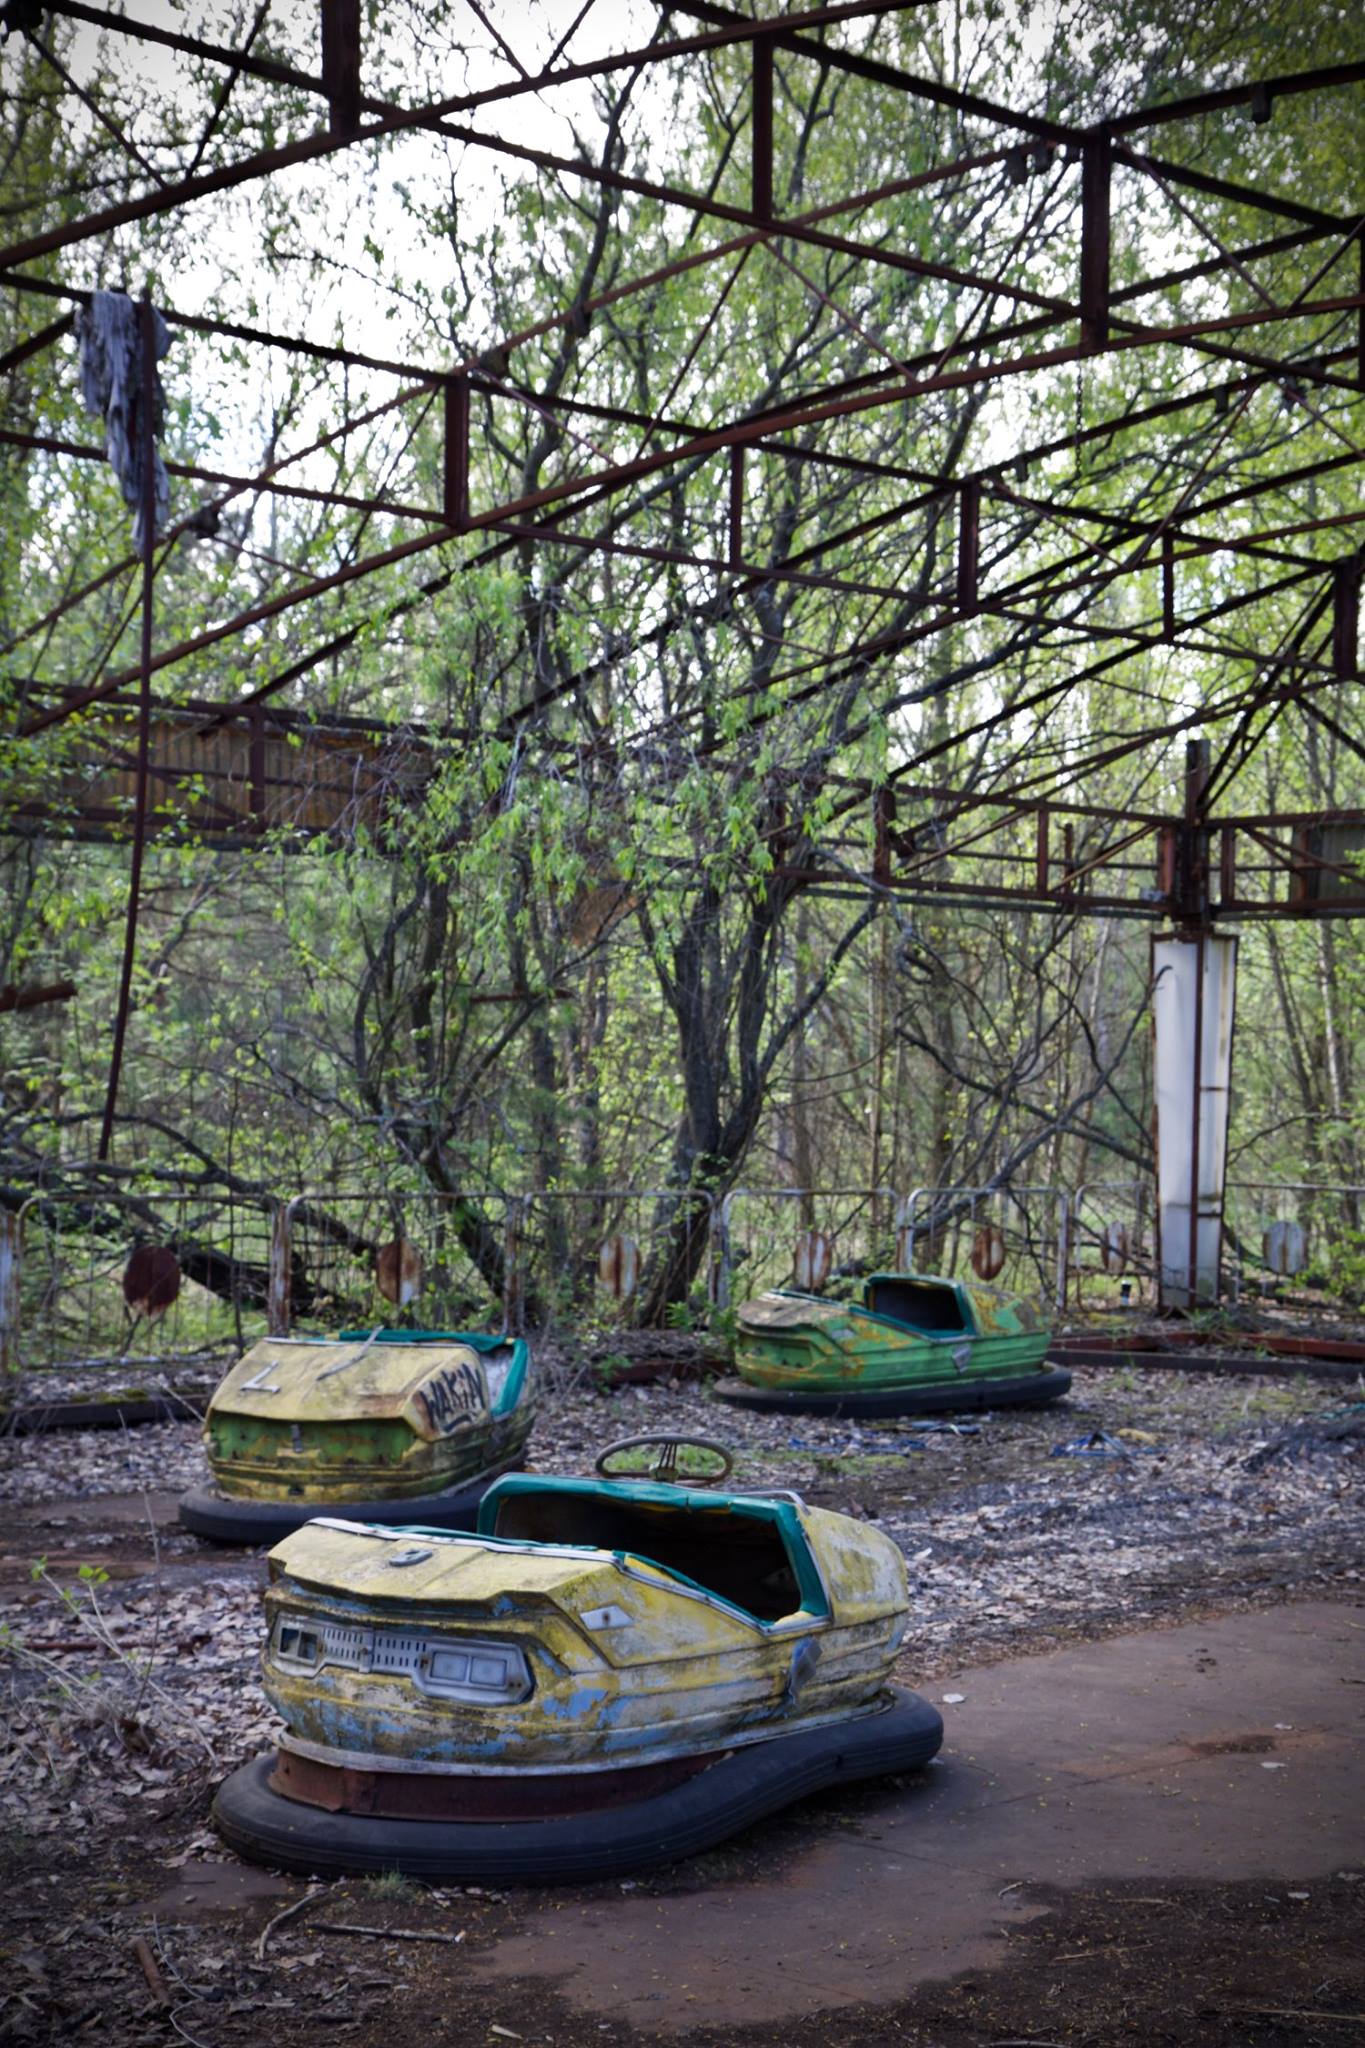
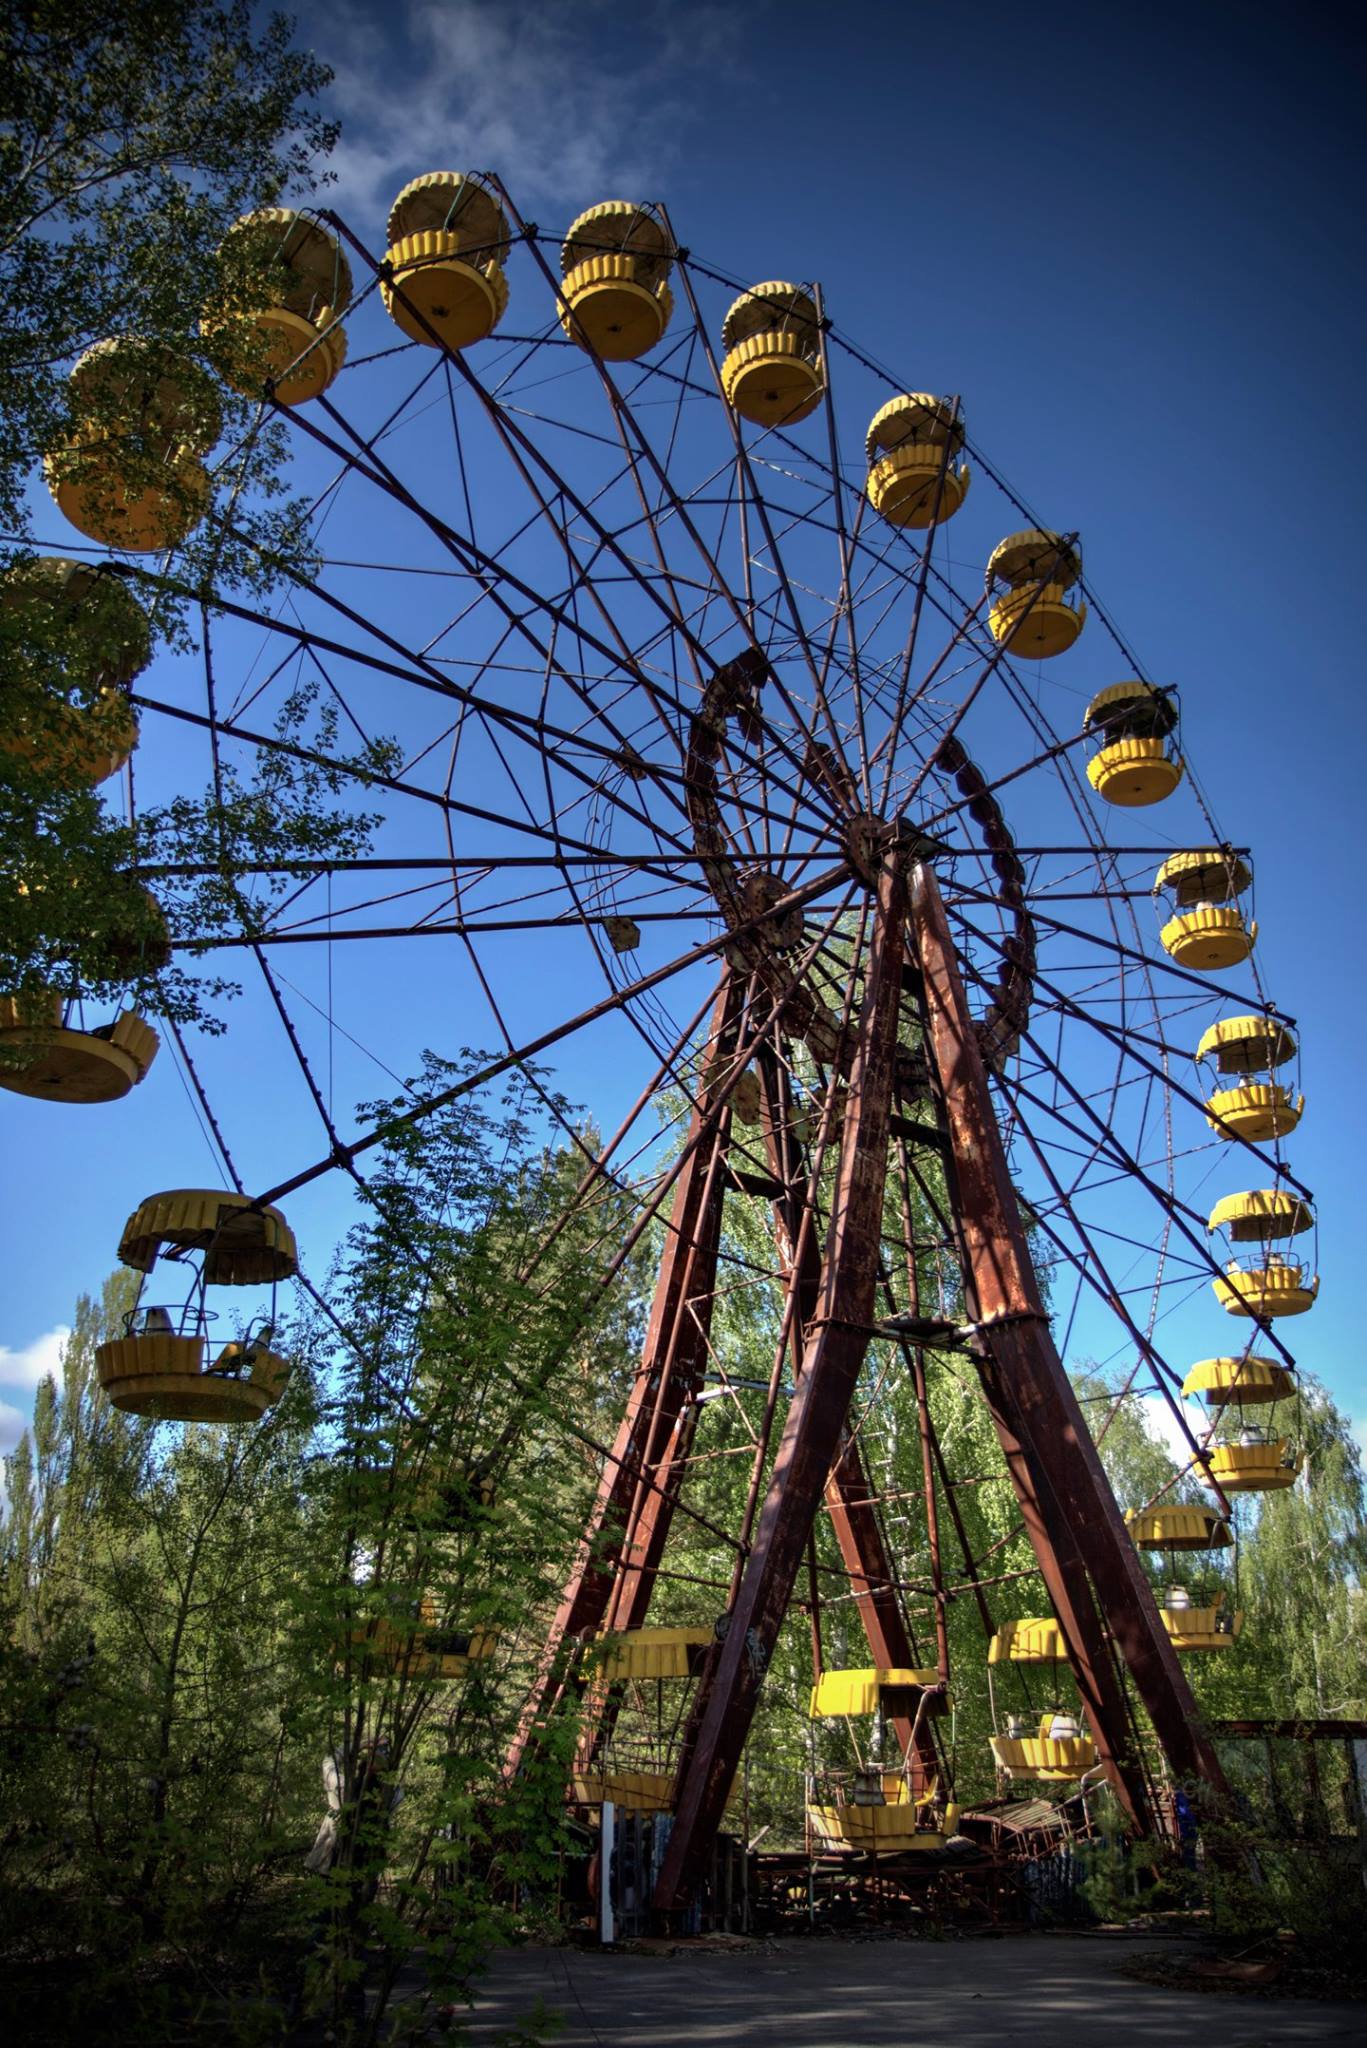
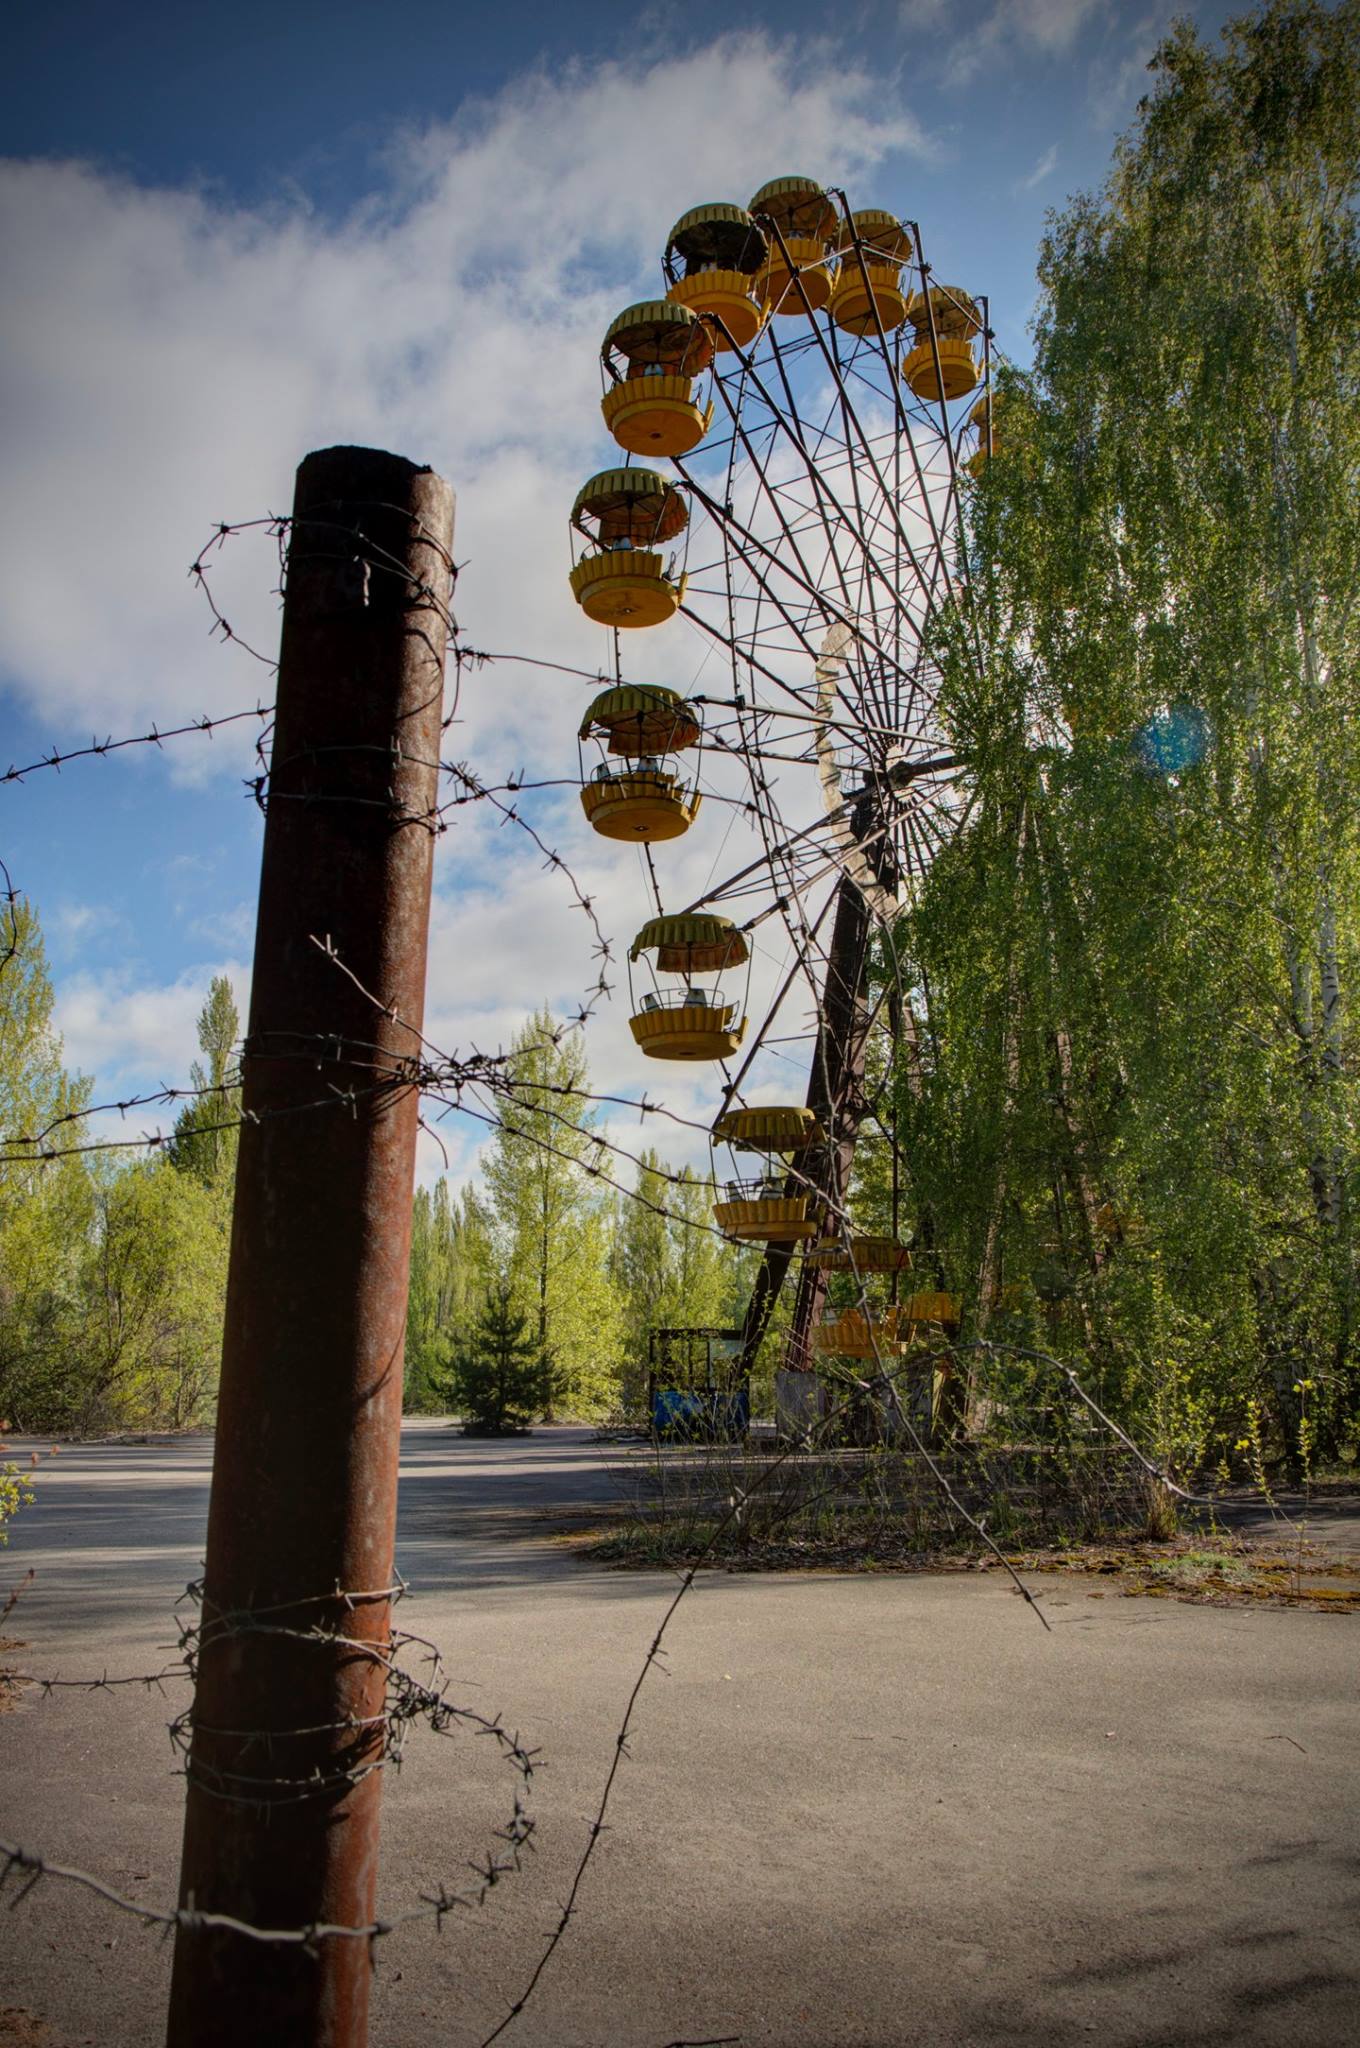
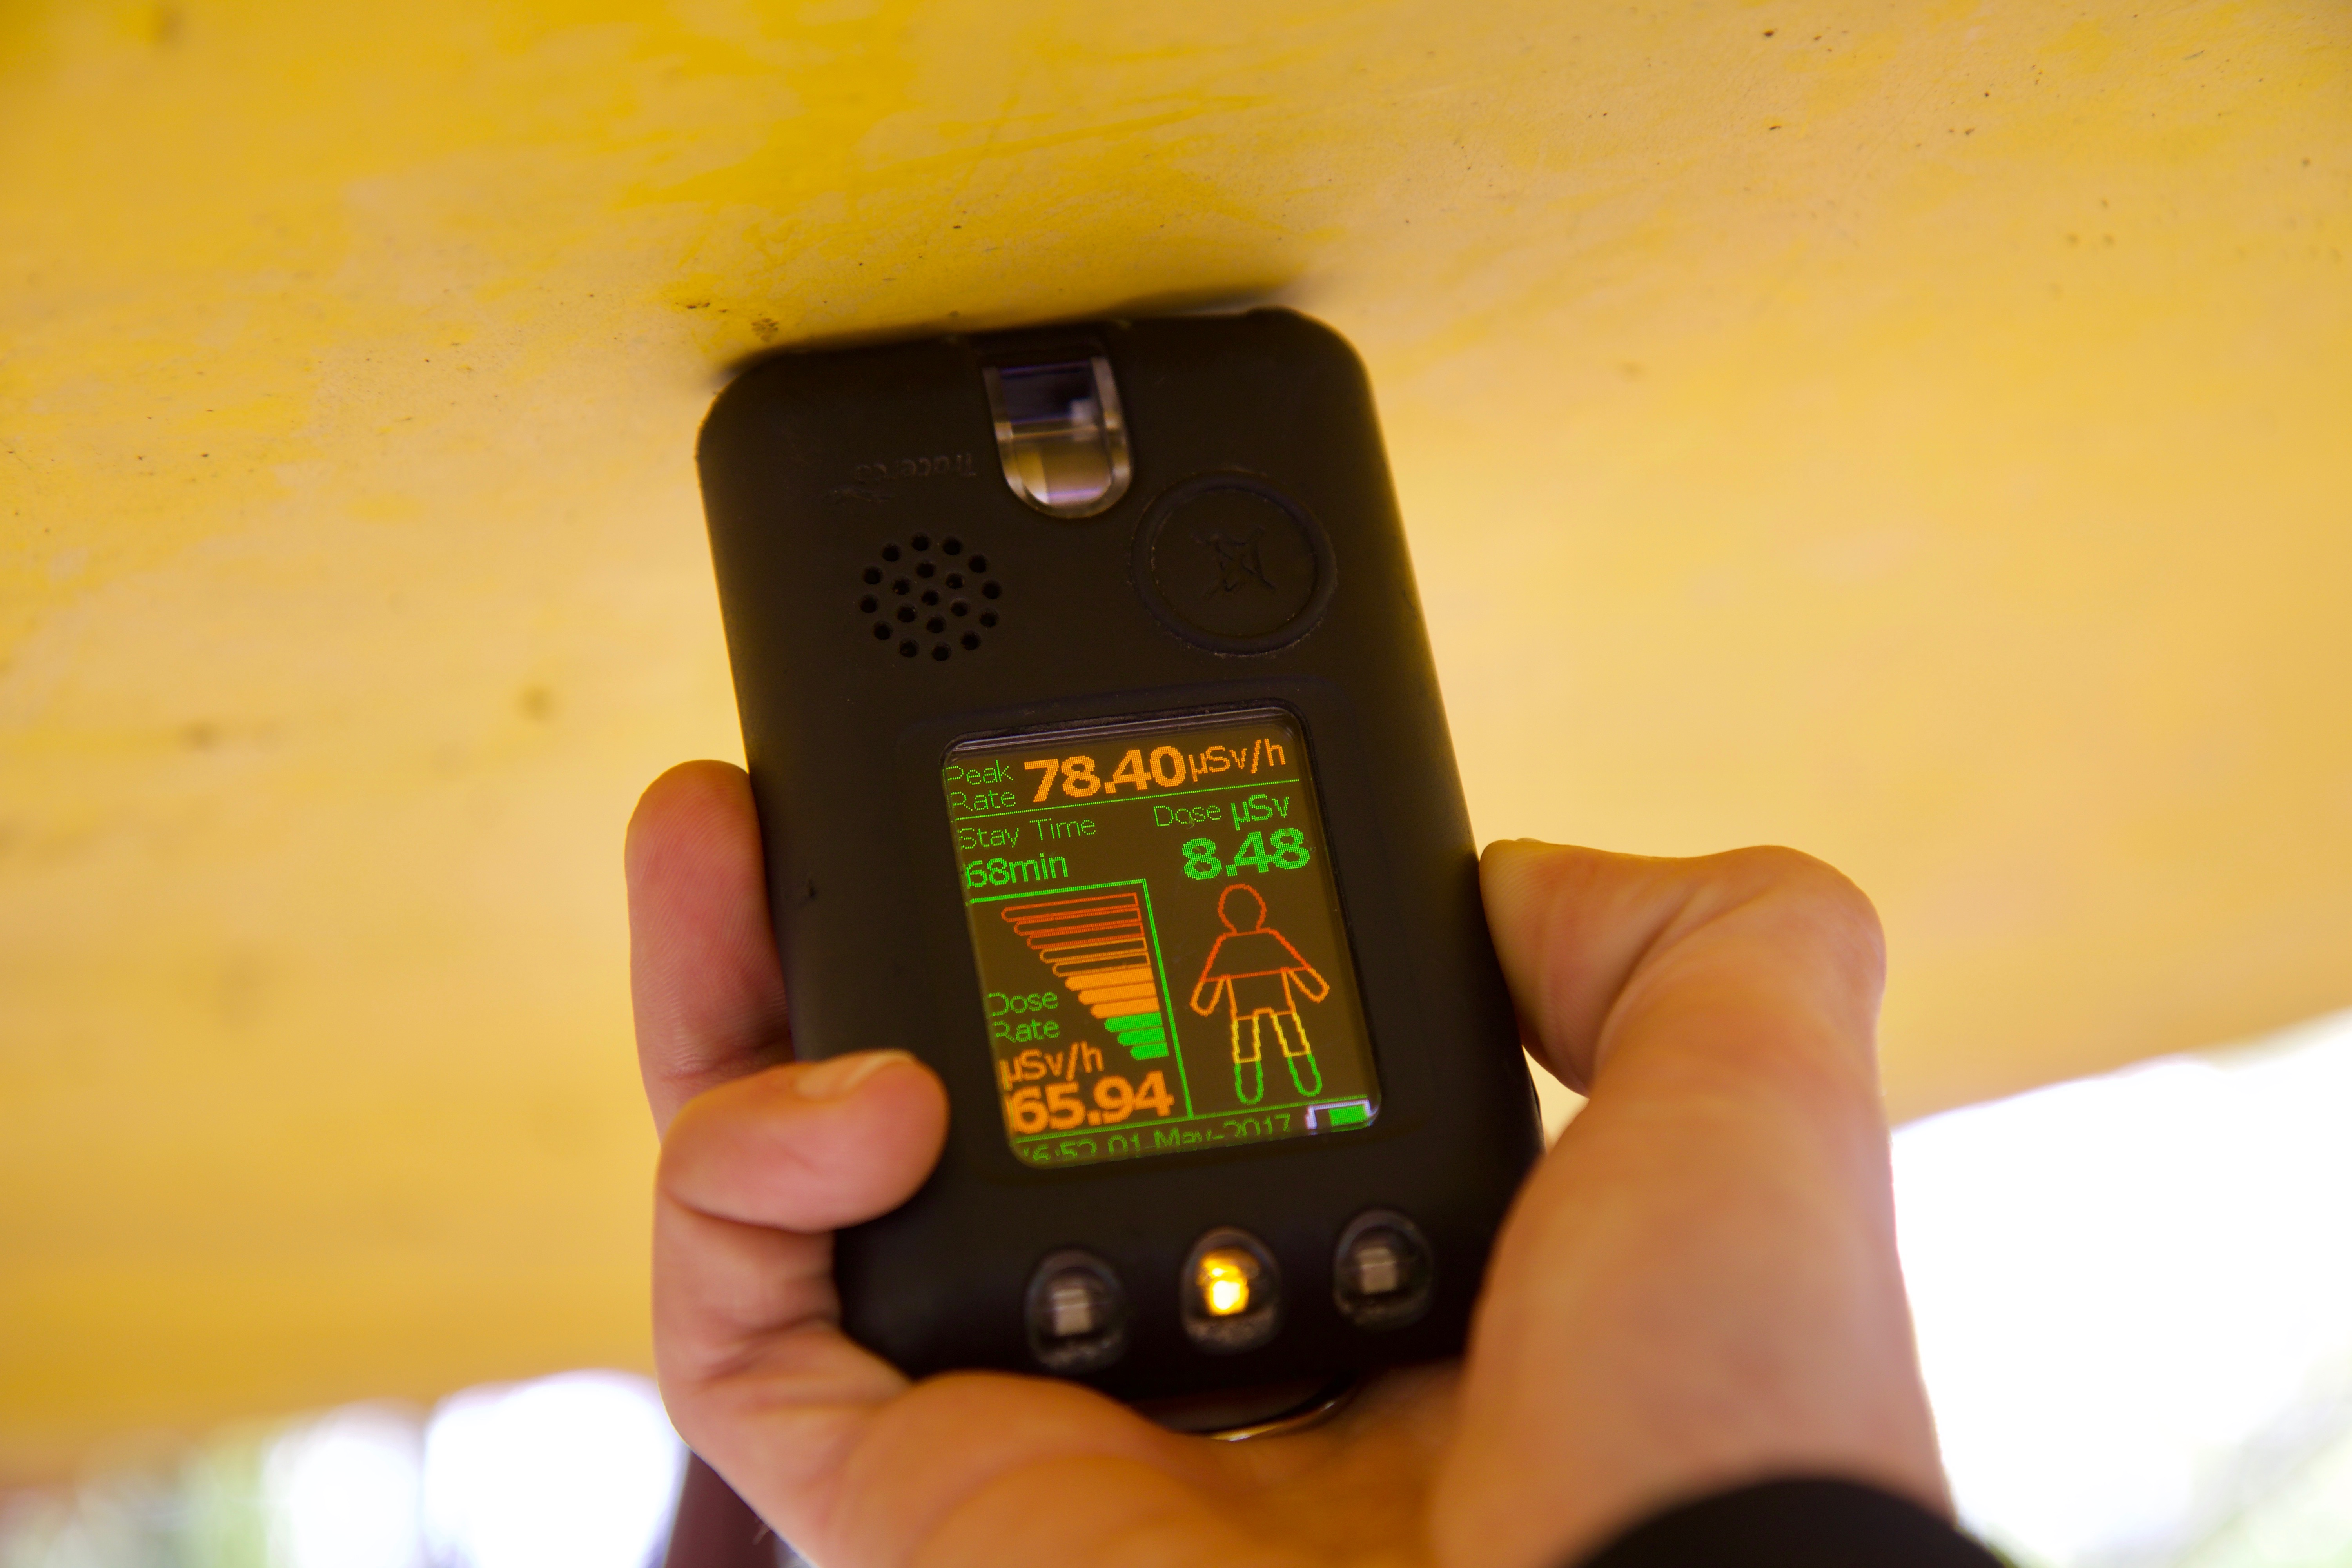
Walking on we arrive at the Amusement Park, rusty dodgems, a swing ride and a Ferris wheel with bright yellow fibreglass passenger cars are all that is left. The remains of a barbed wire fence surround the Ferris wheel and as we bring our dosimeter towards one of the cars we see the highest radiation level we’ll see on our trip, 78.4 μSv/h, contaminated material must still be sat in the bottom of the cars.

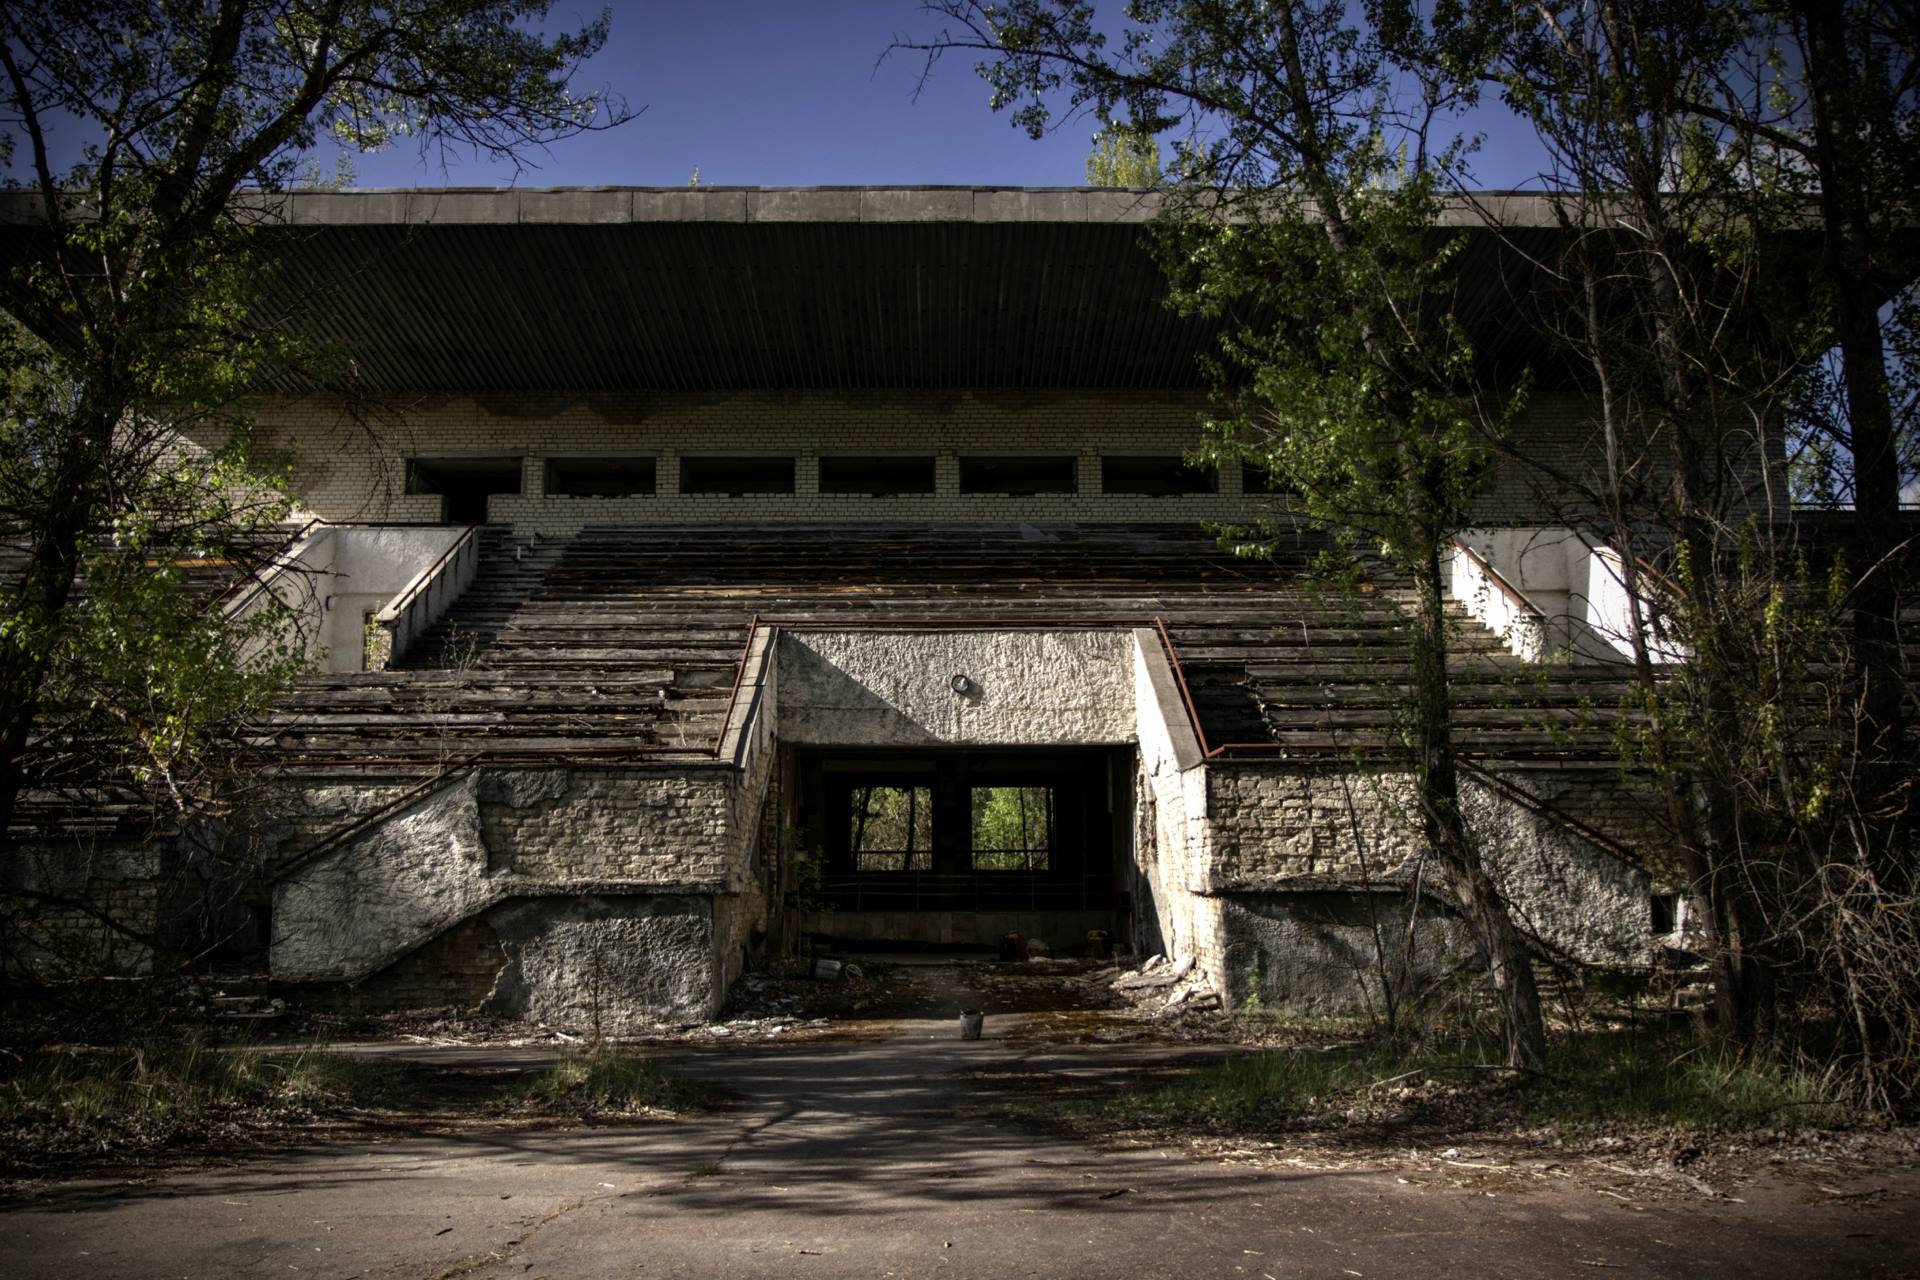
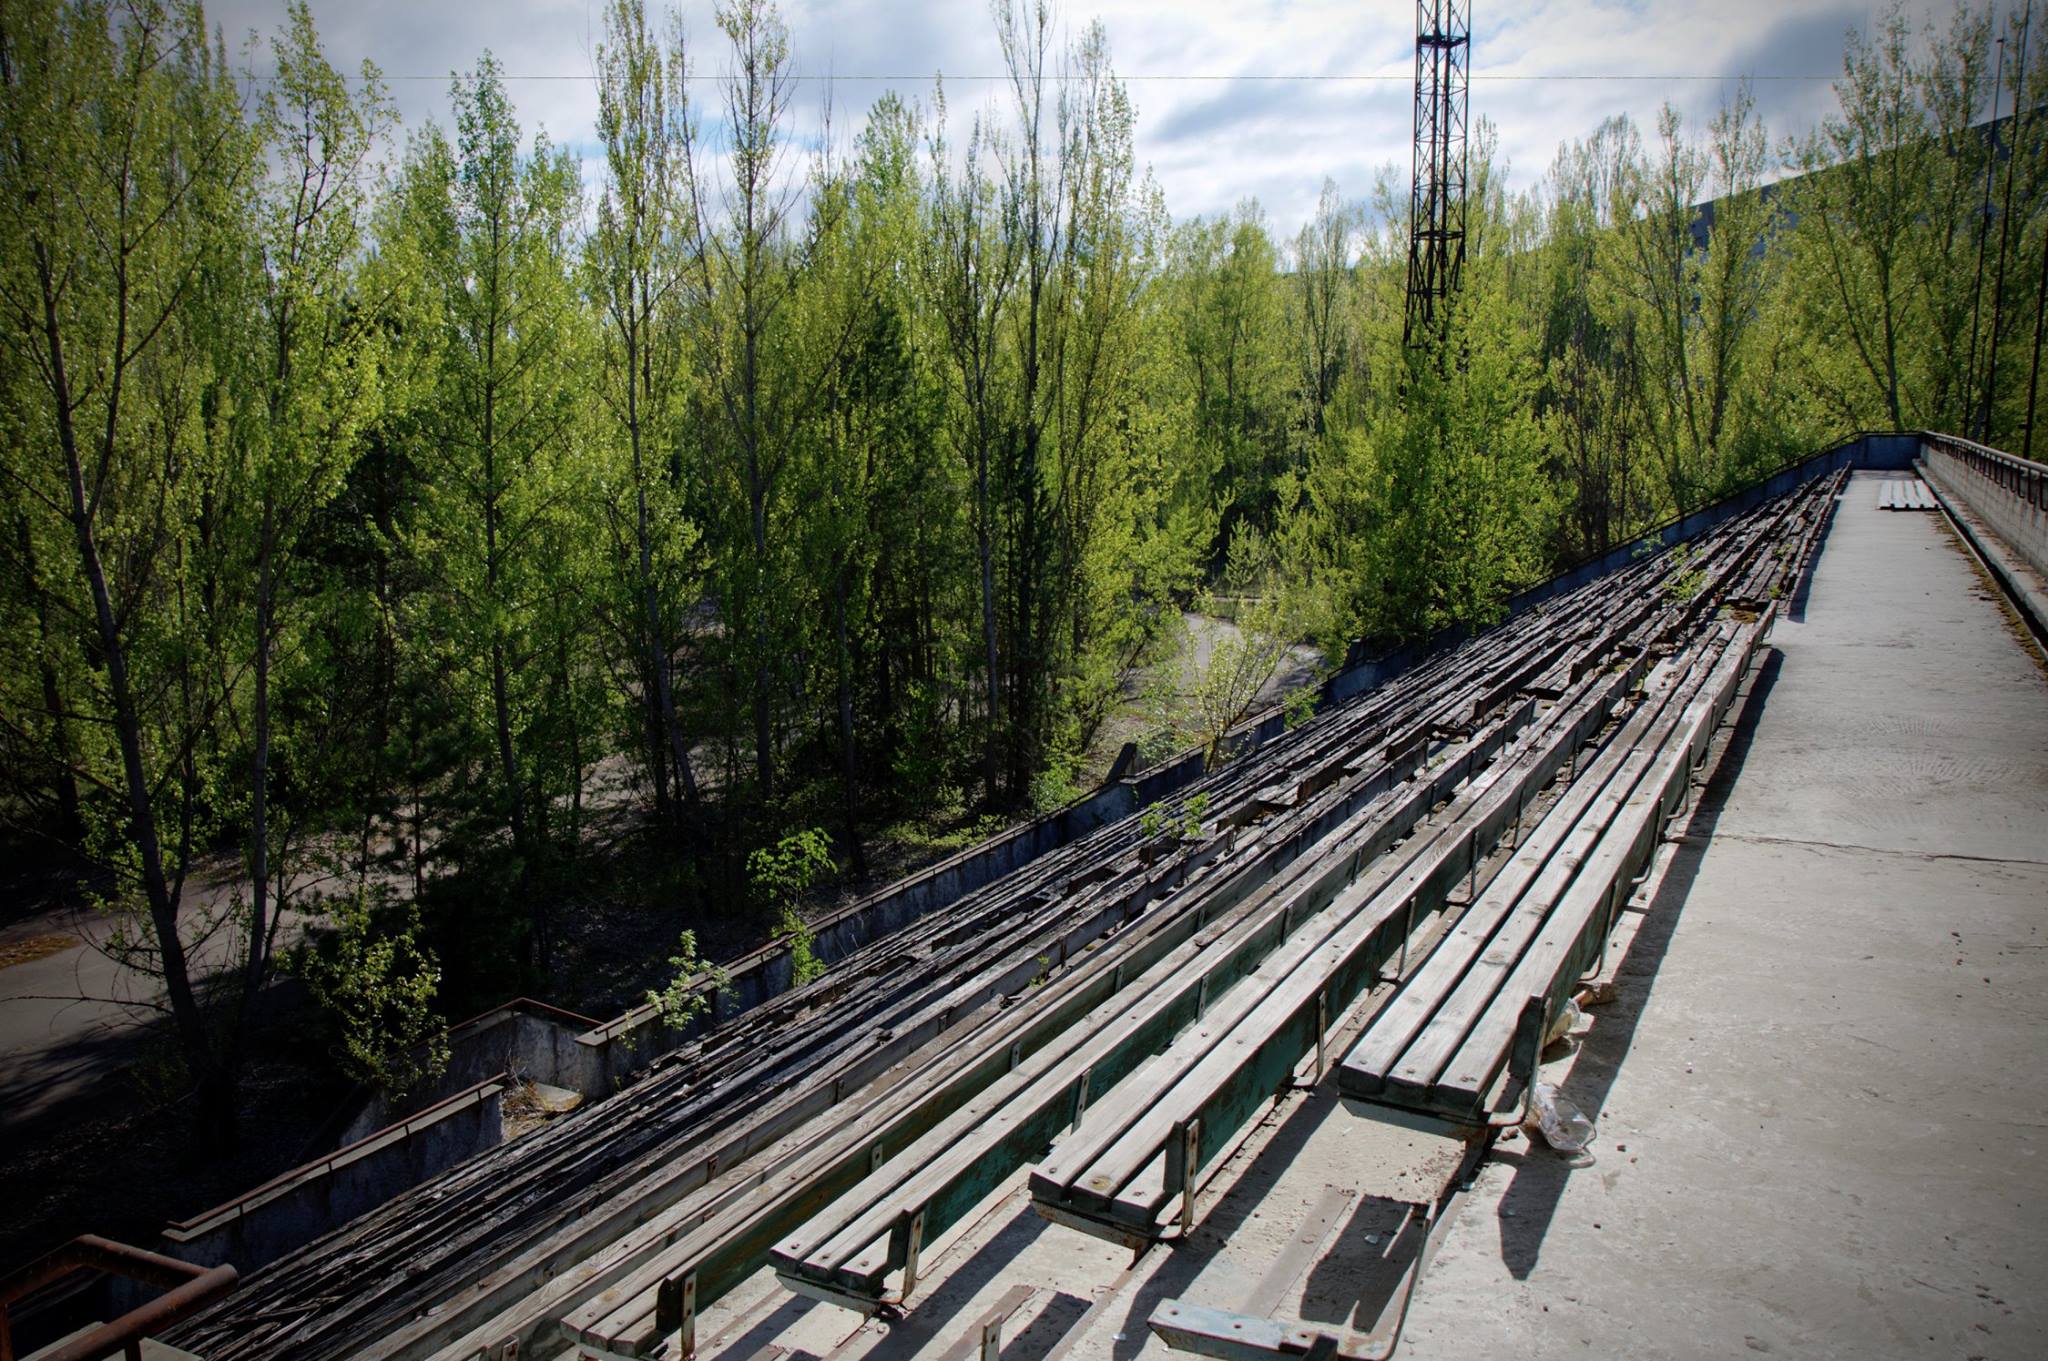
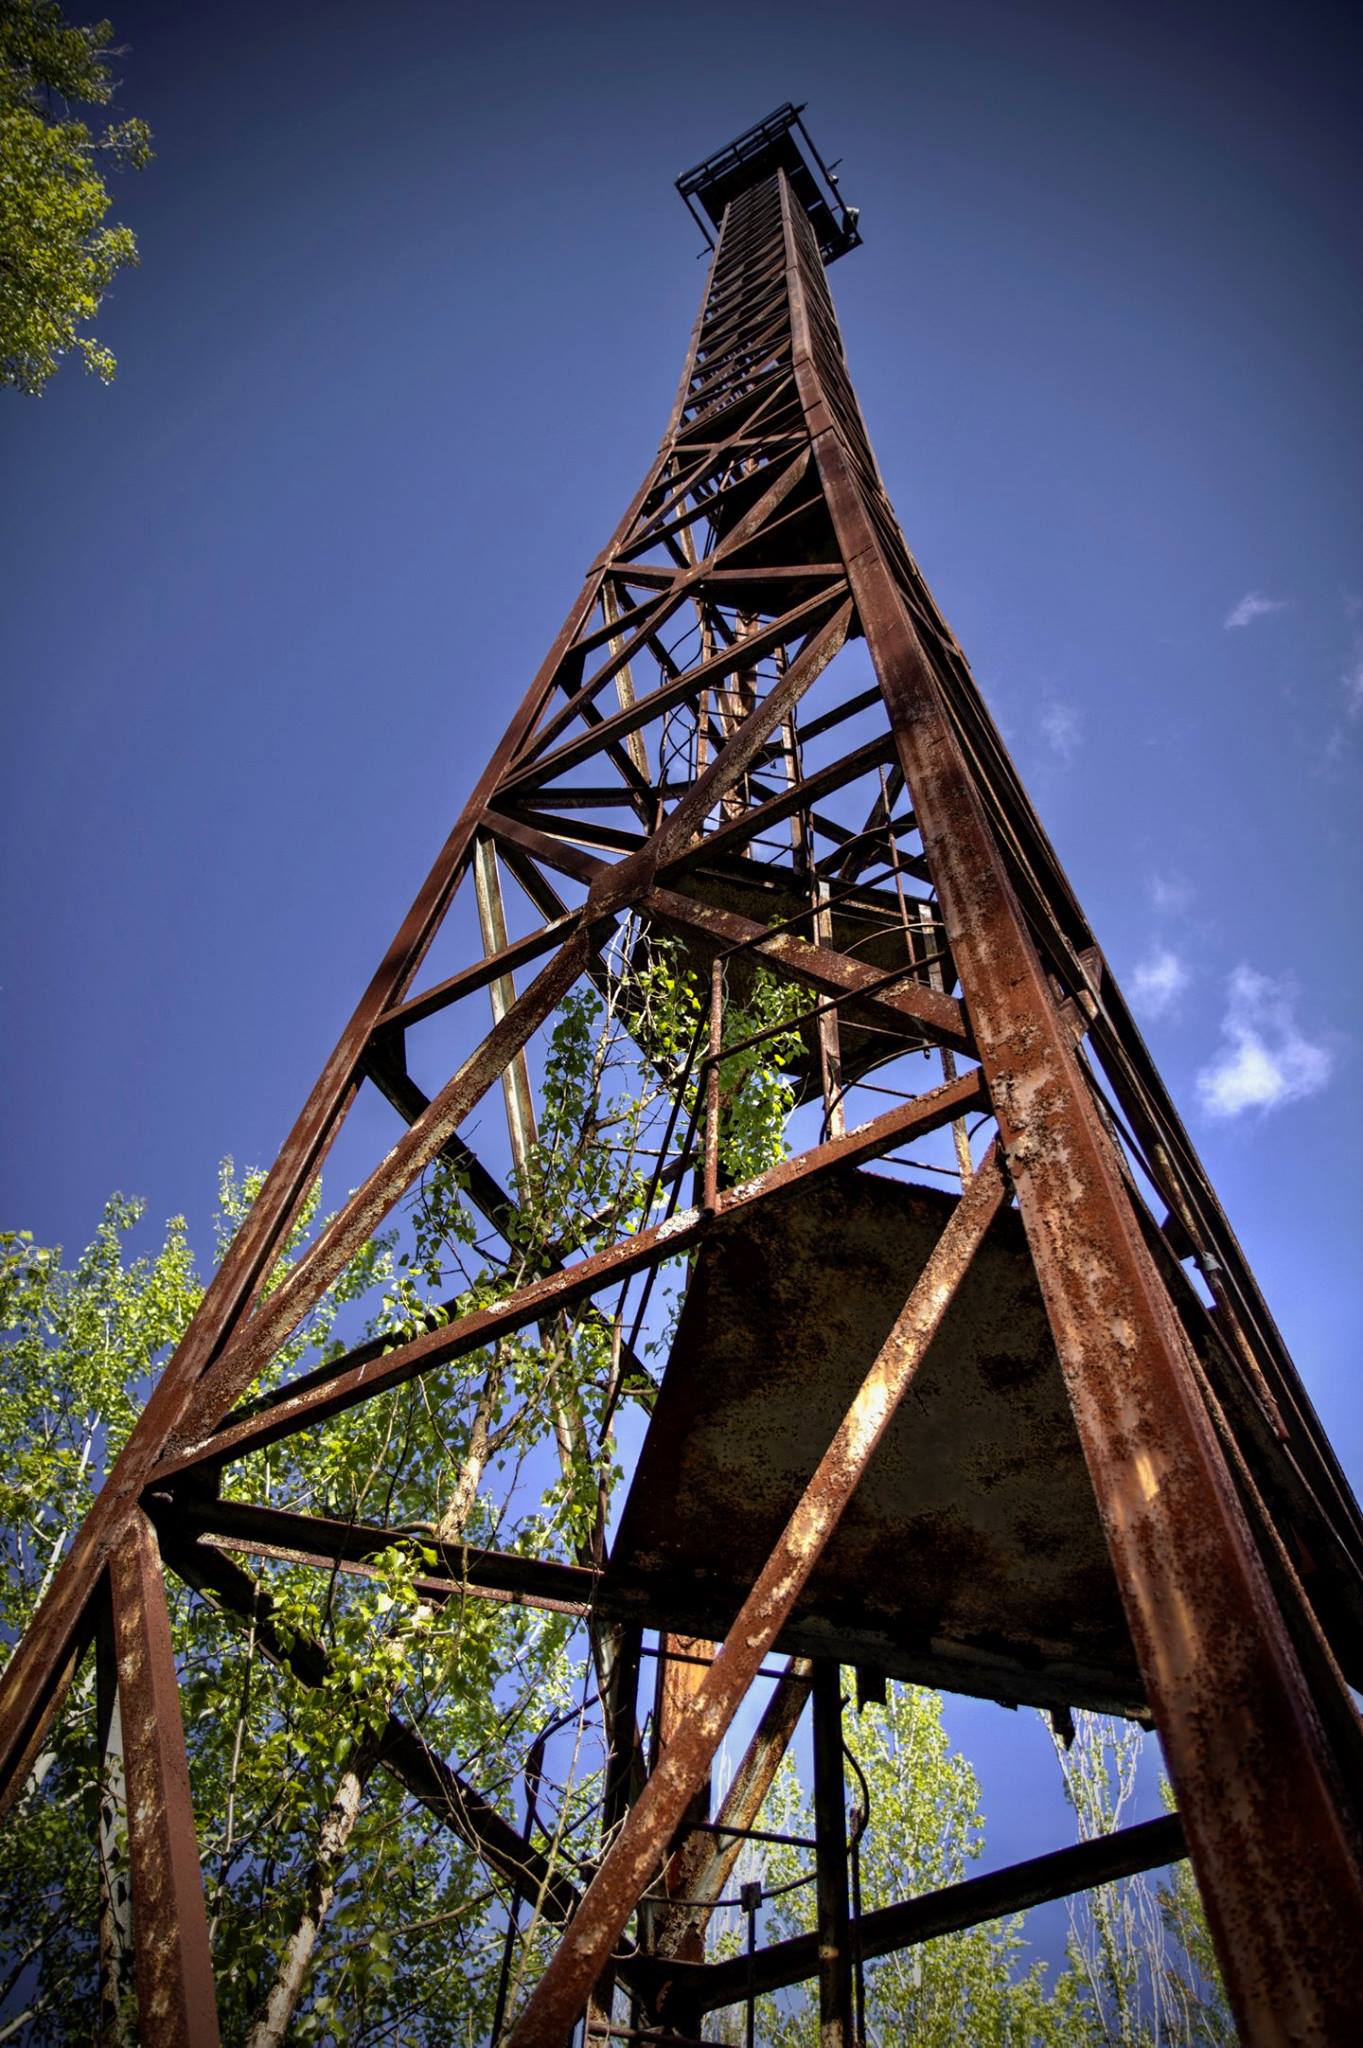
We carry on north and pass through a wooded area which opens up onto a concrete grandstand, Avanhard Stadium. The steel floodlight towers still stand next to what was the football pitch and running track, we look around inside and walk amongst the seats.
Background radiation level: 1 μSv/h
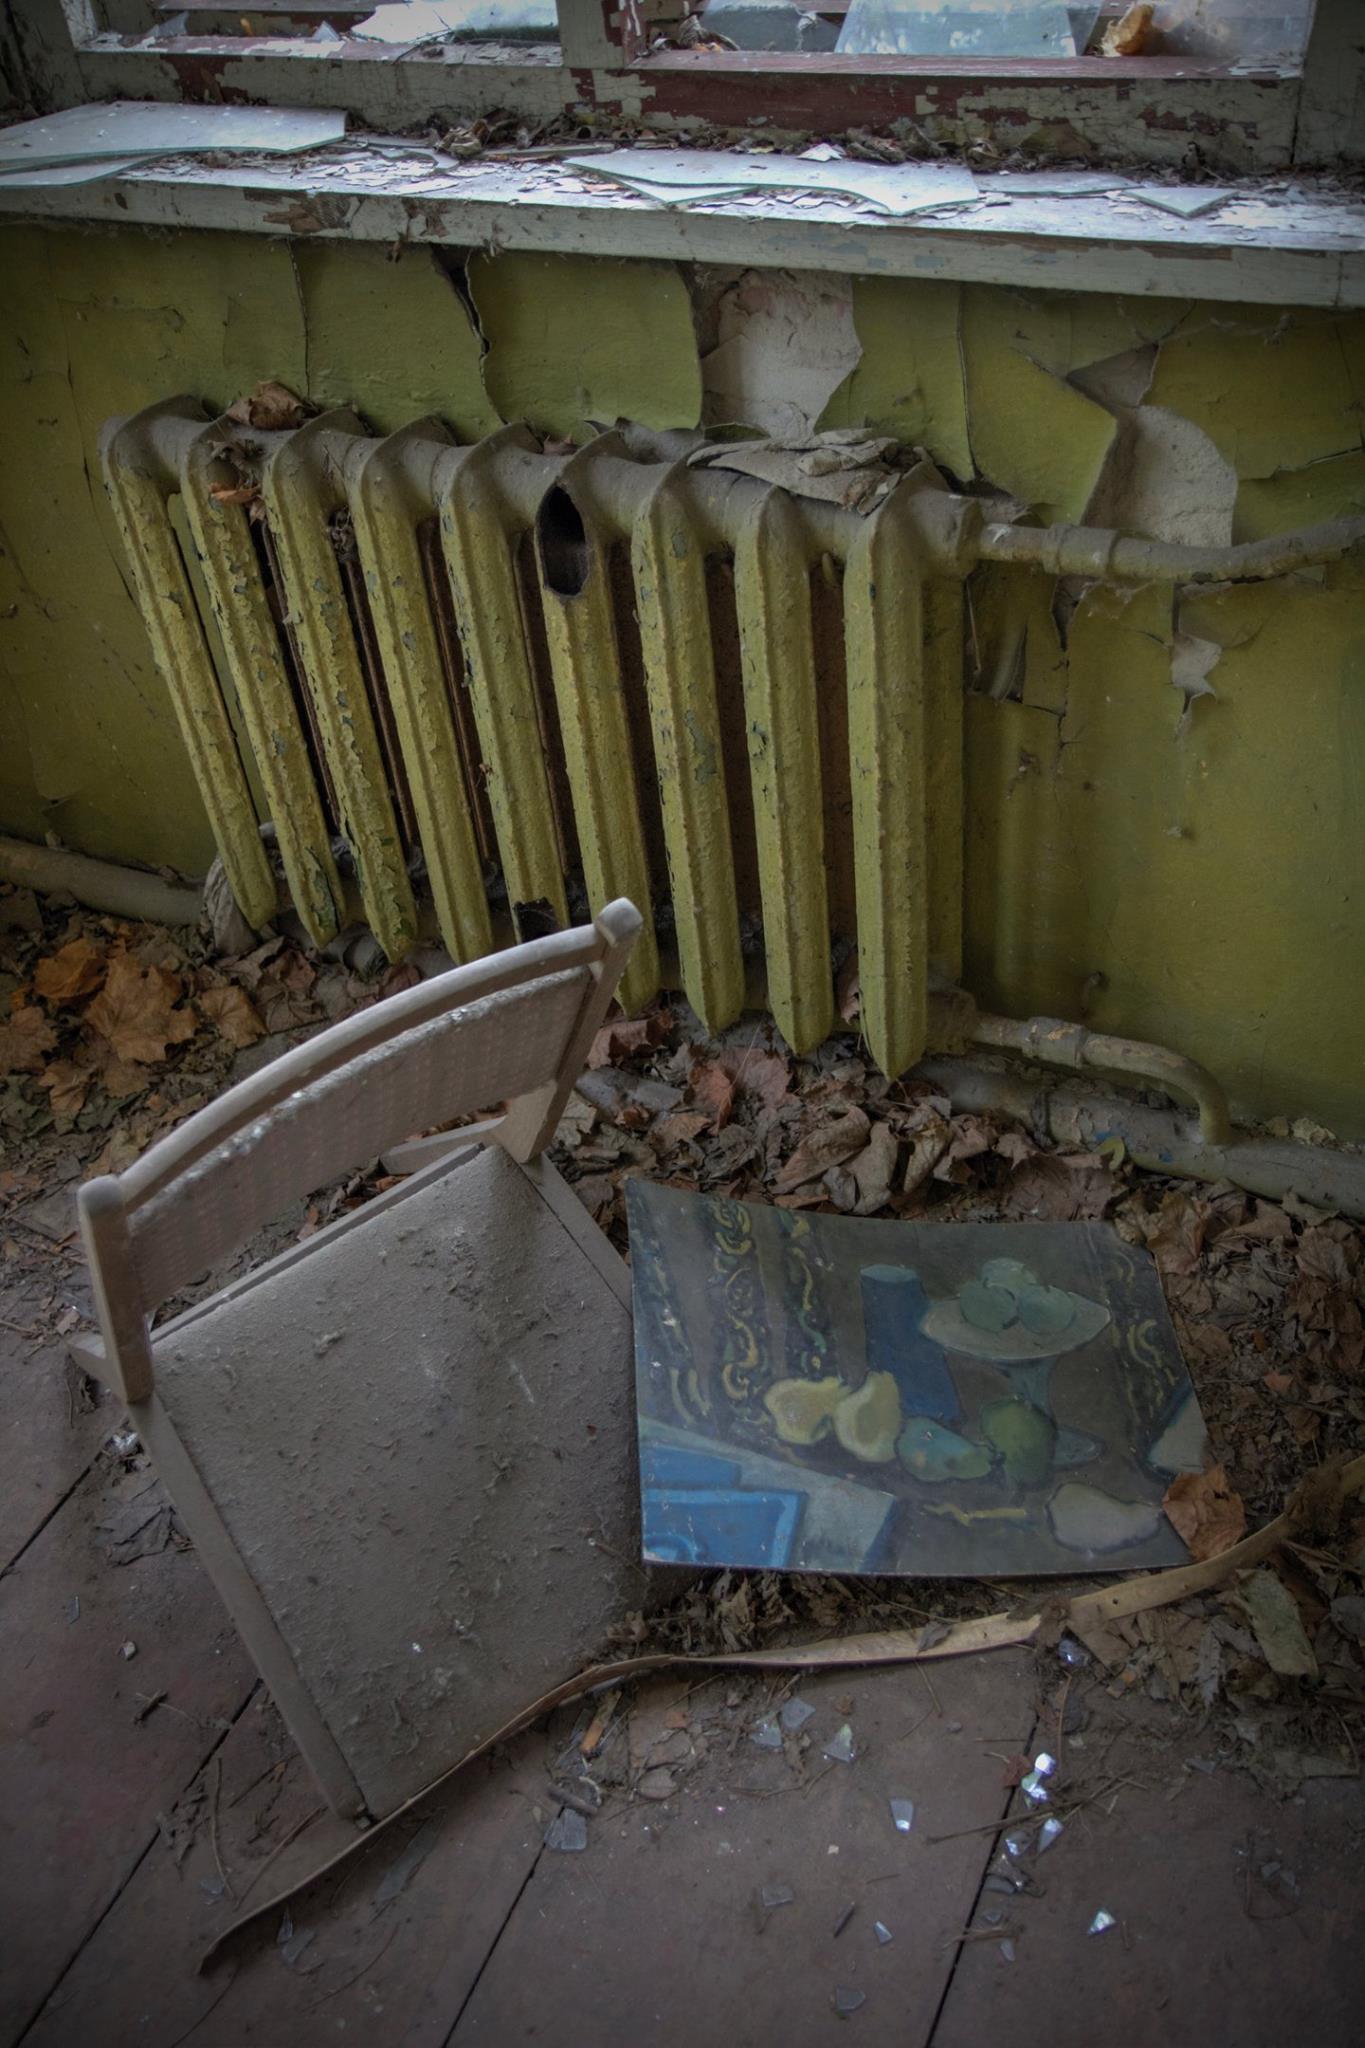
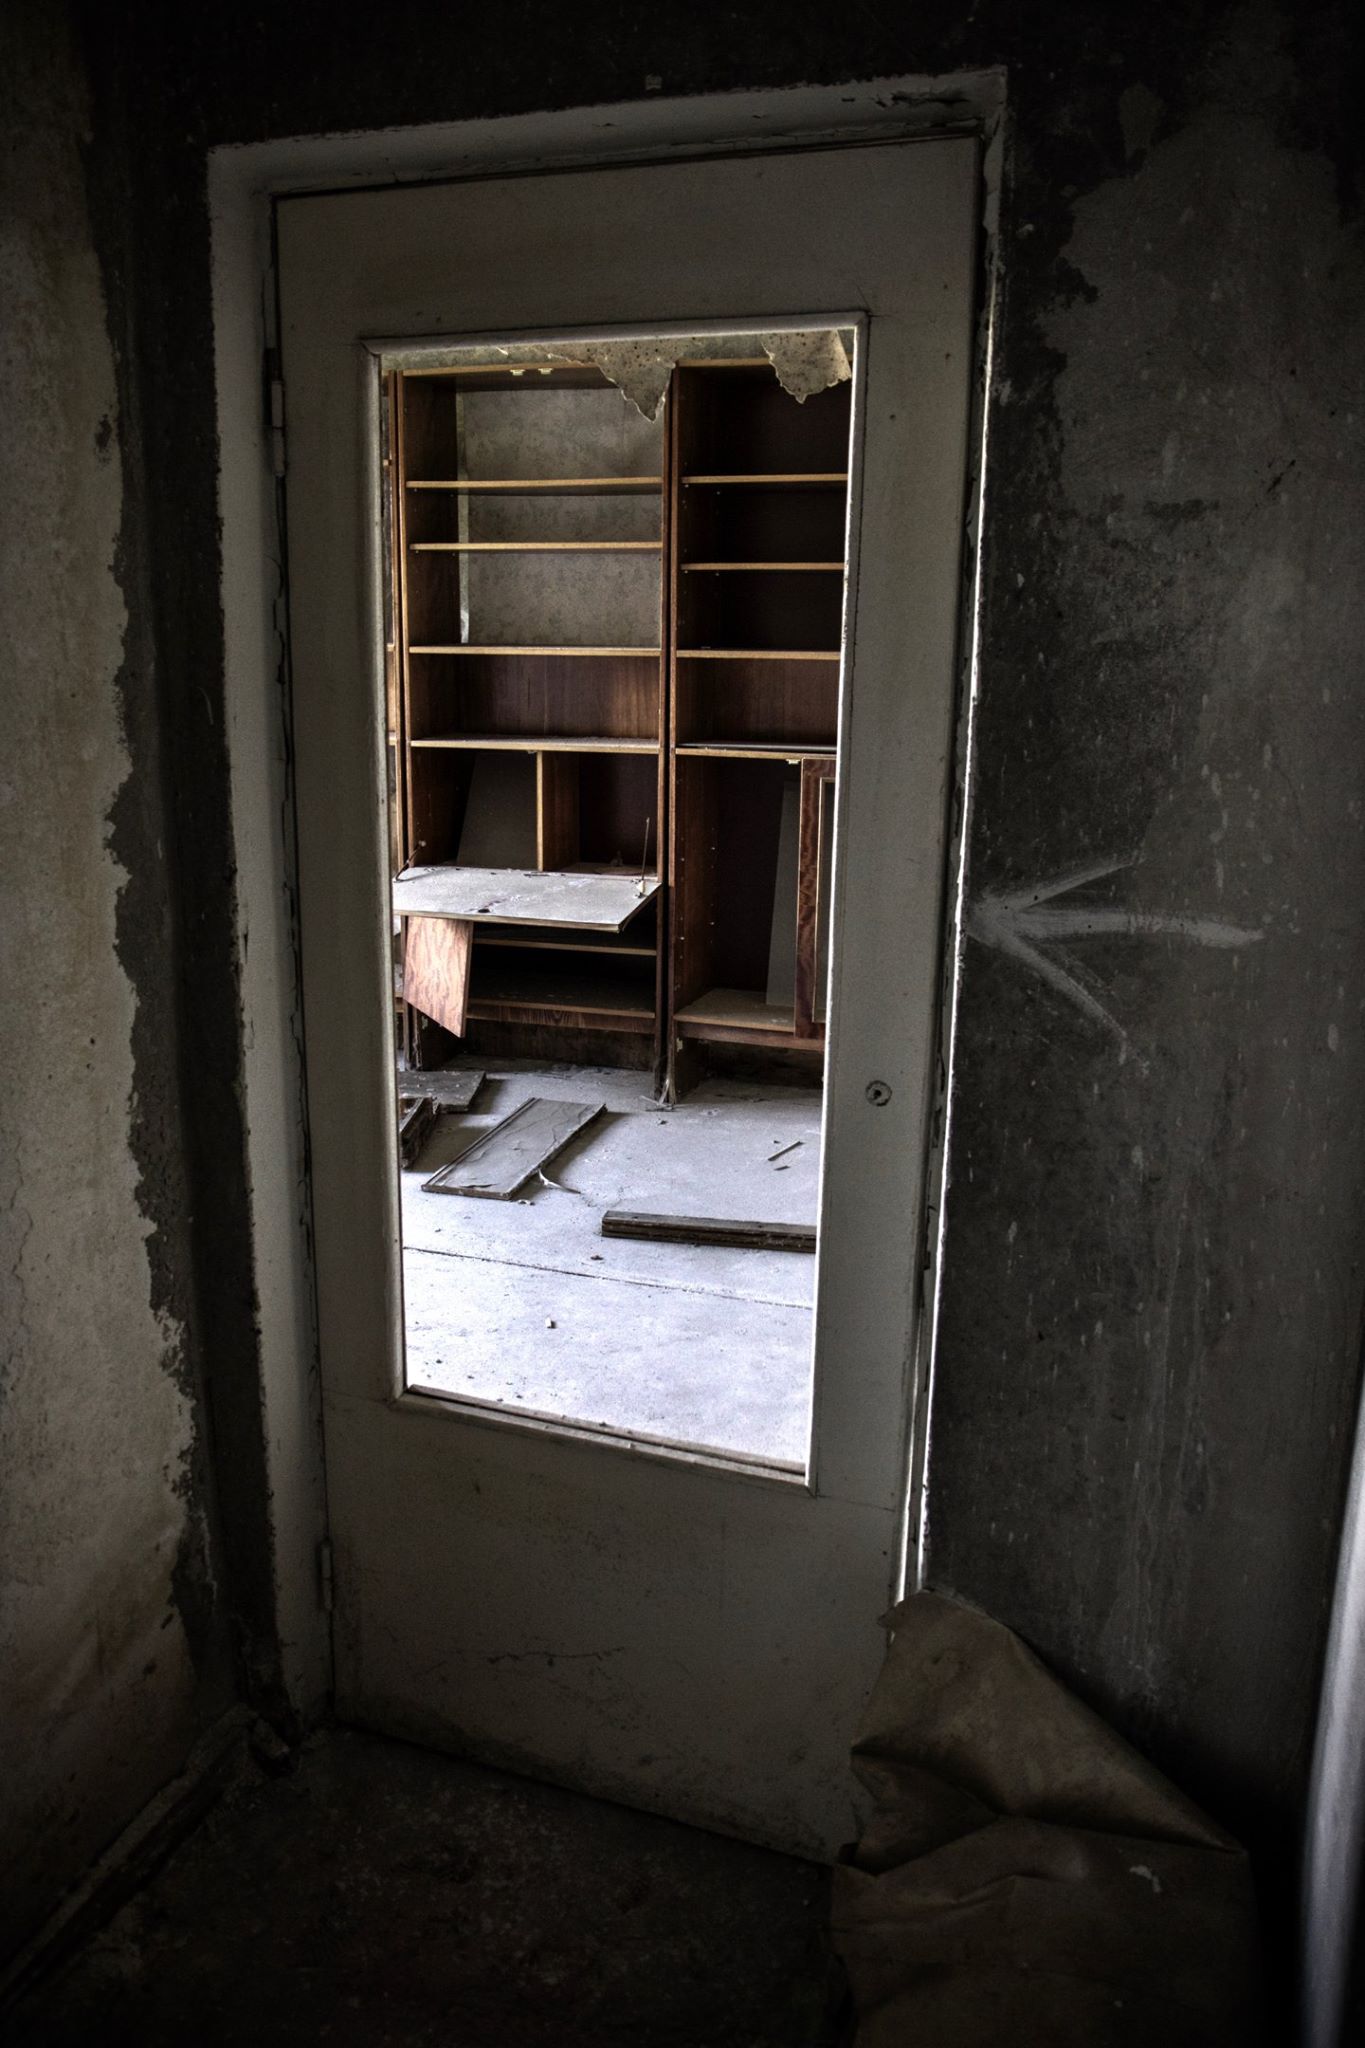
Heading west we went inside an apartment block and climbed the stairs to the roof, we spent some time there looking at the city from above with the Chernobyl Nuclear Power Plant not so far away, our dosimeters read 3.5 μSv/h. We began to walk back down the stairs, stopping on a few floors and looking inside some of the empty apartments. The majority of their contents had been removed during the cleanup, but a few personal items remained, photographs, children’s drawings and newspapers.
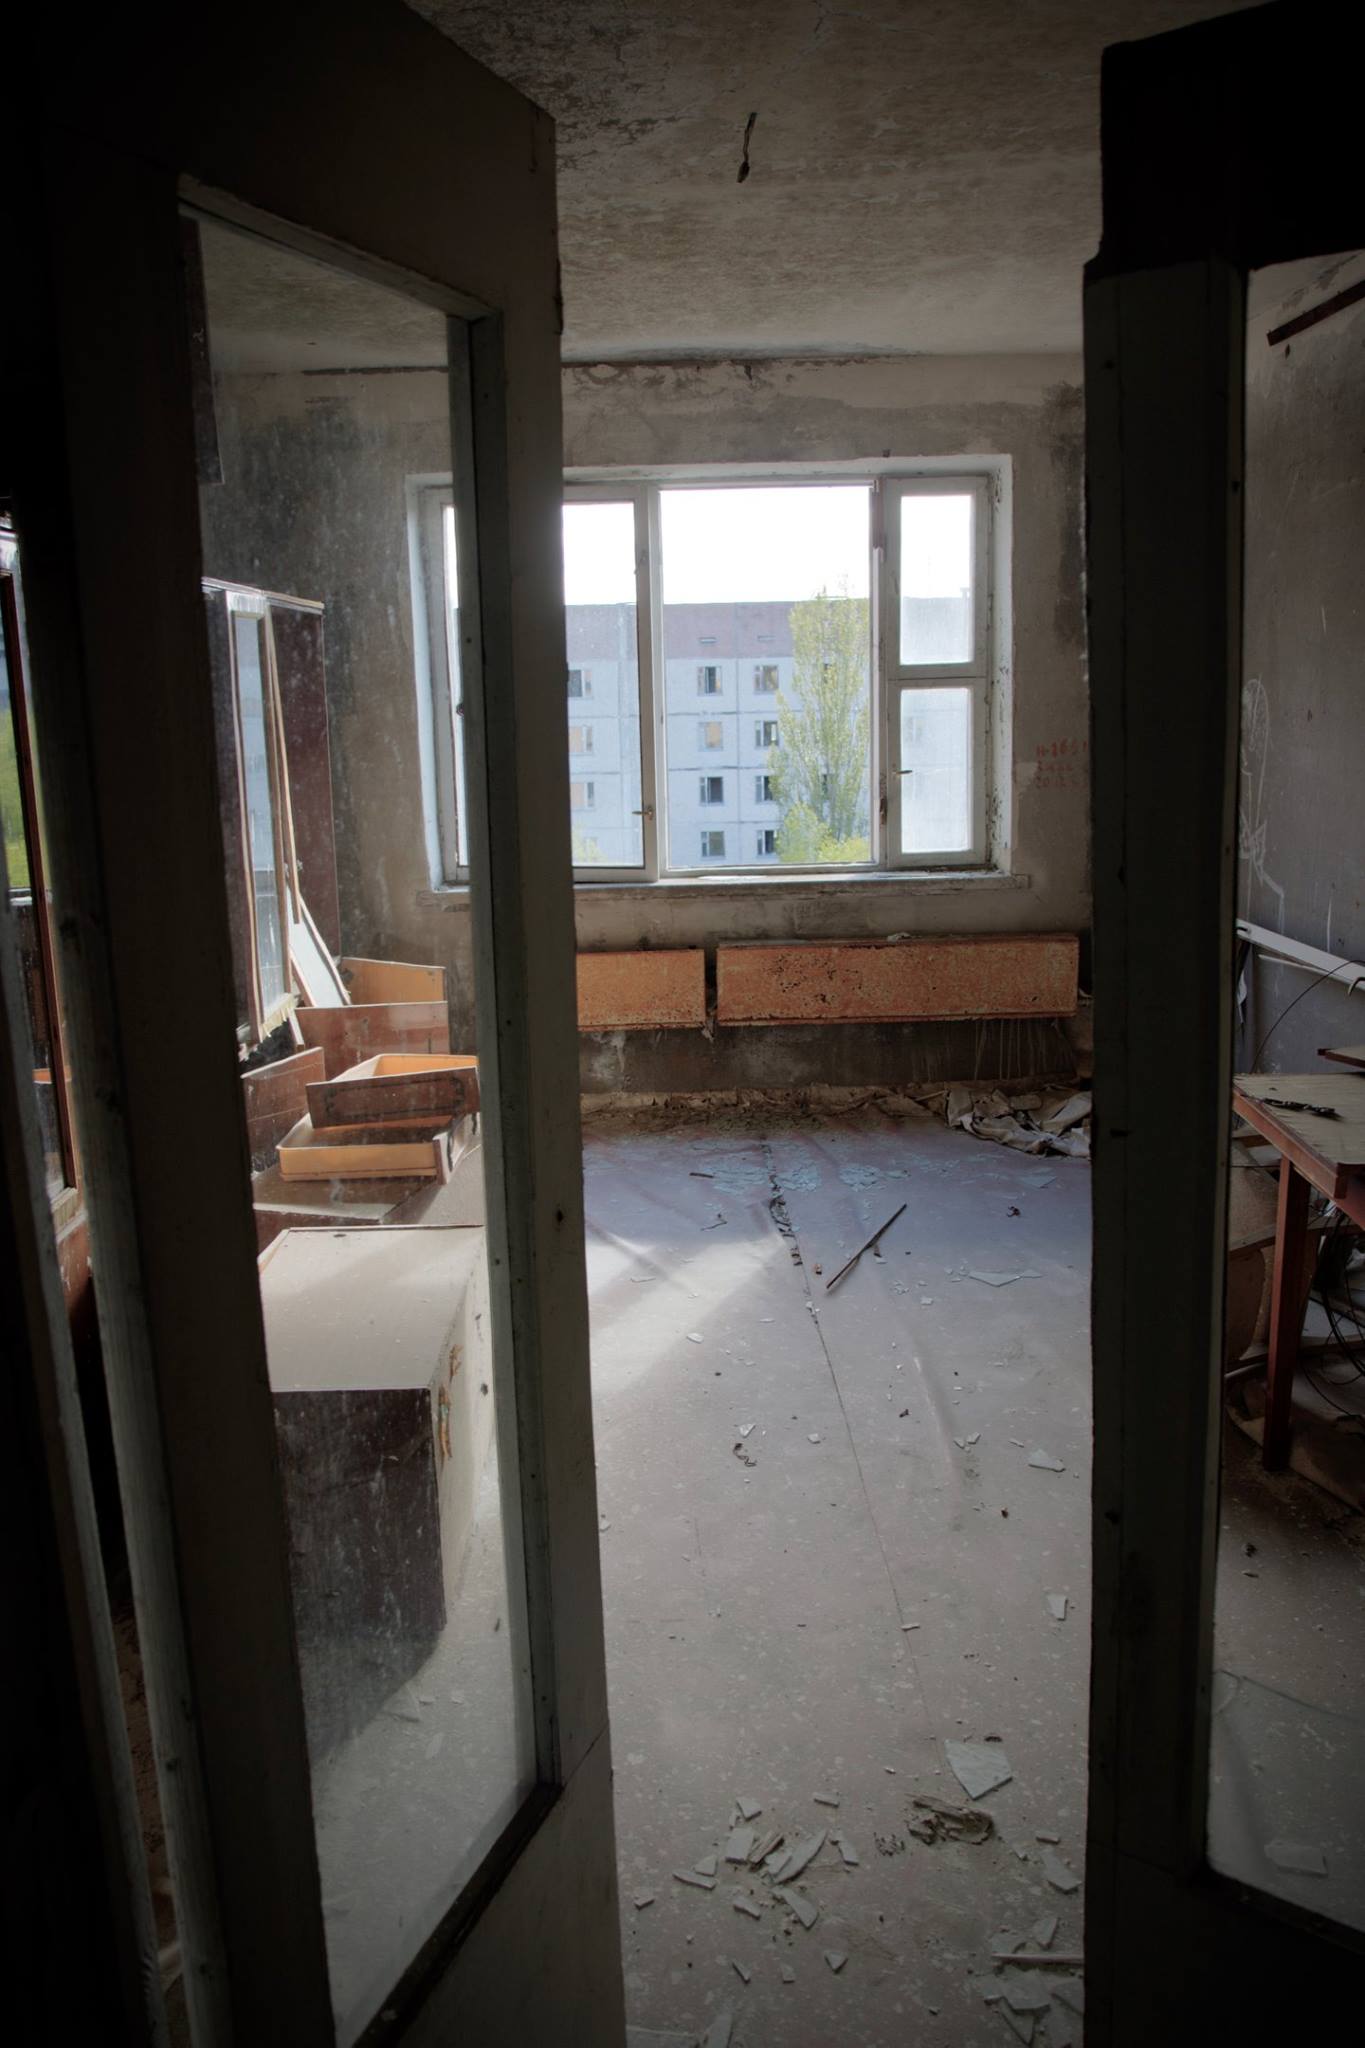
Background radiation level: 0.75 μSv/h
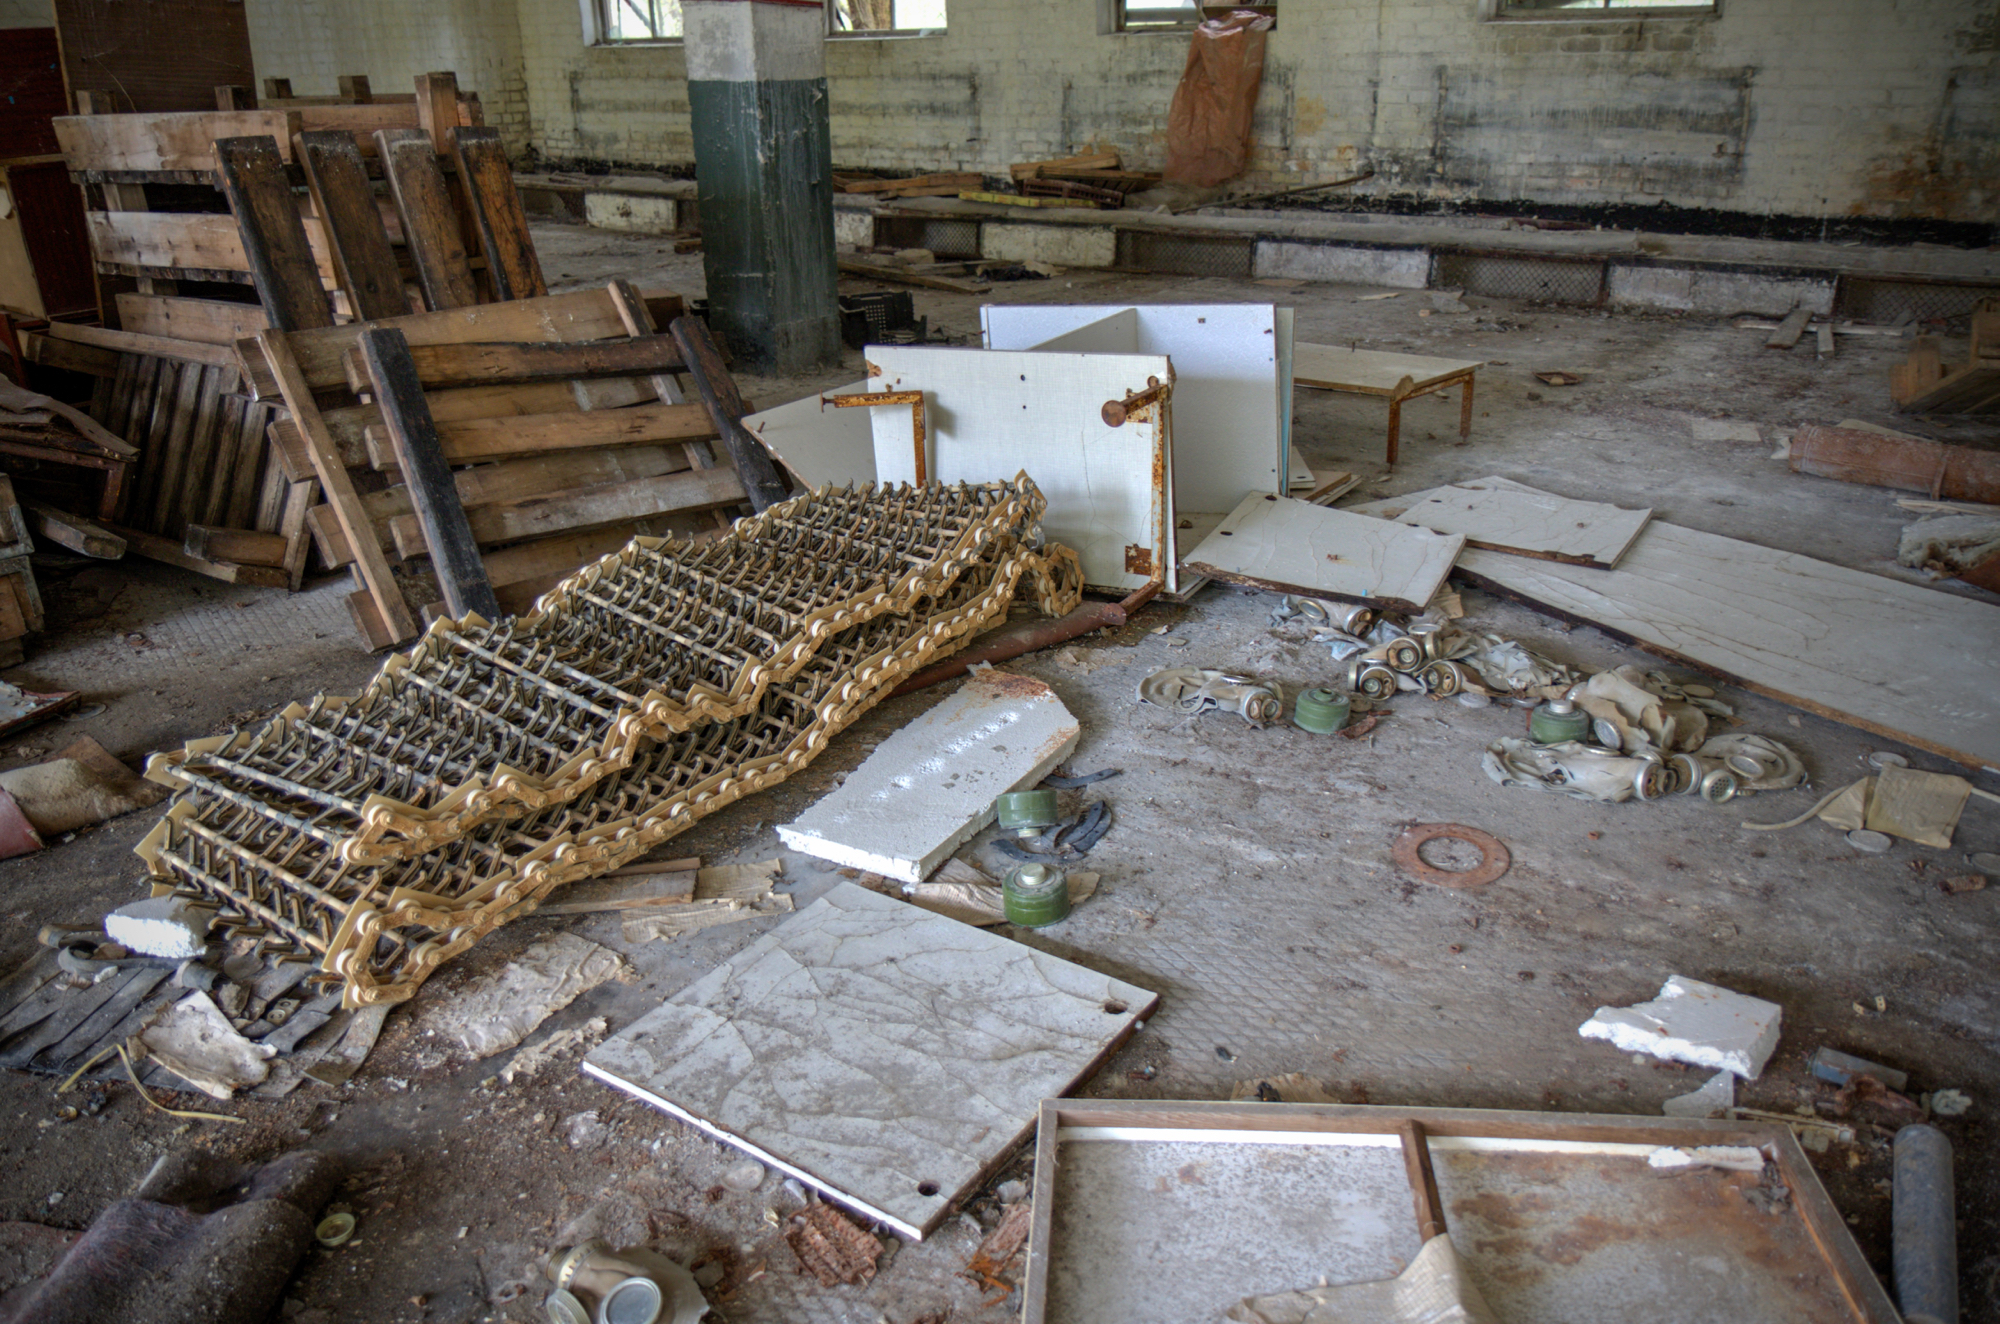
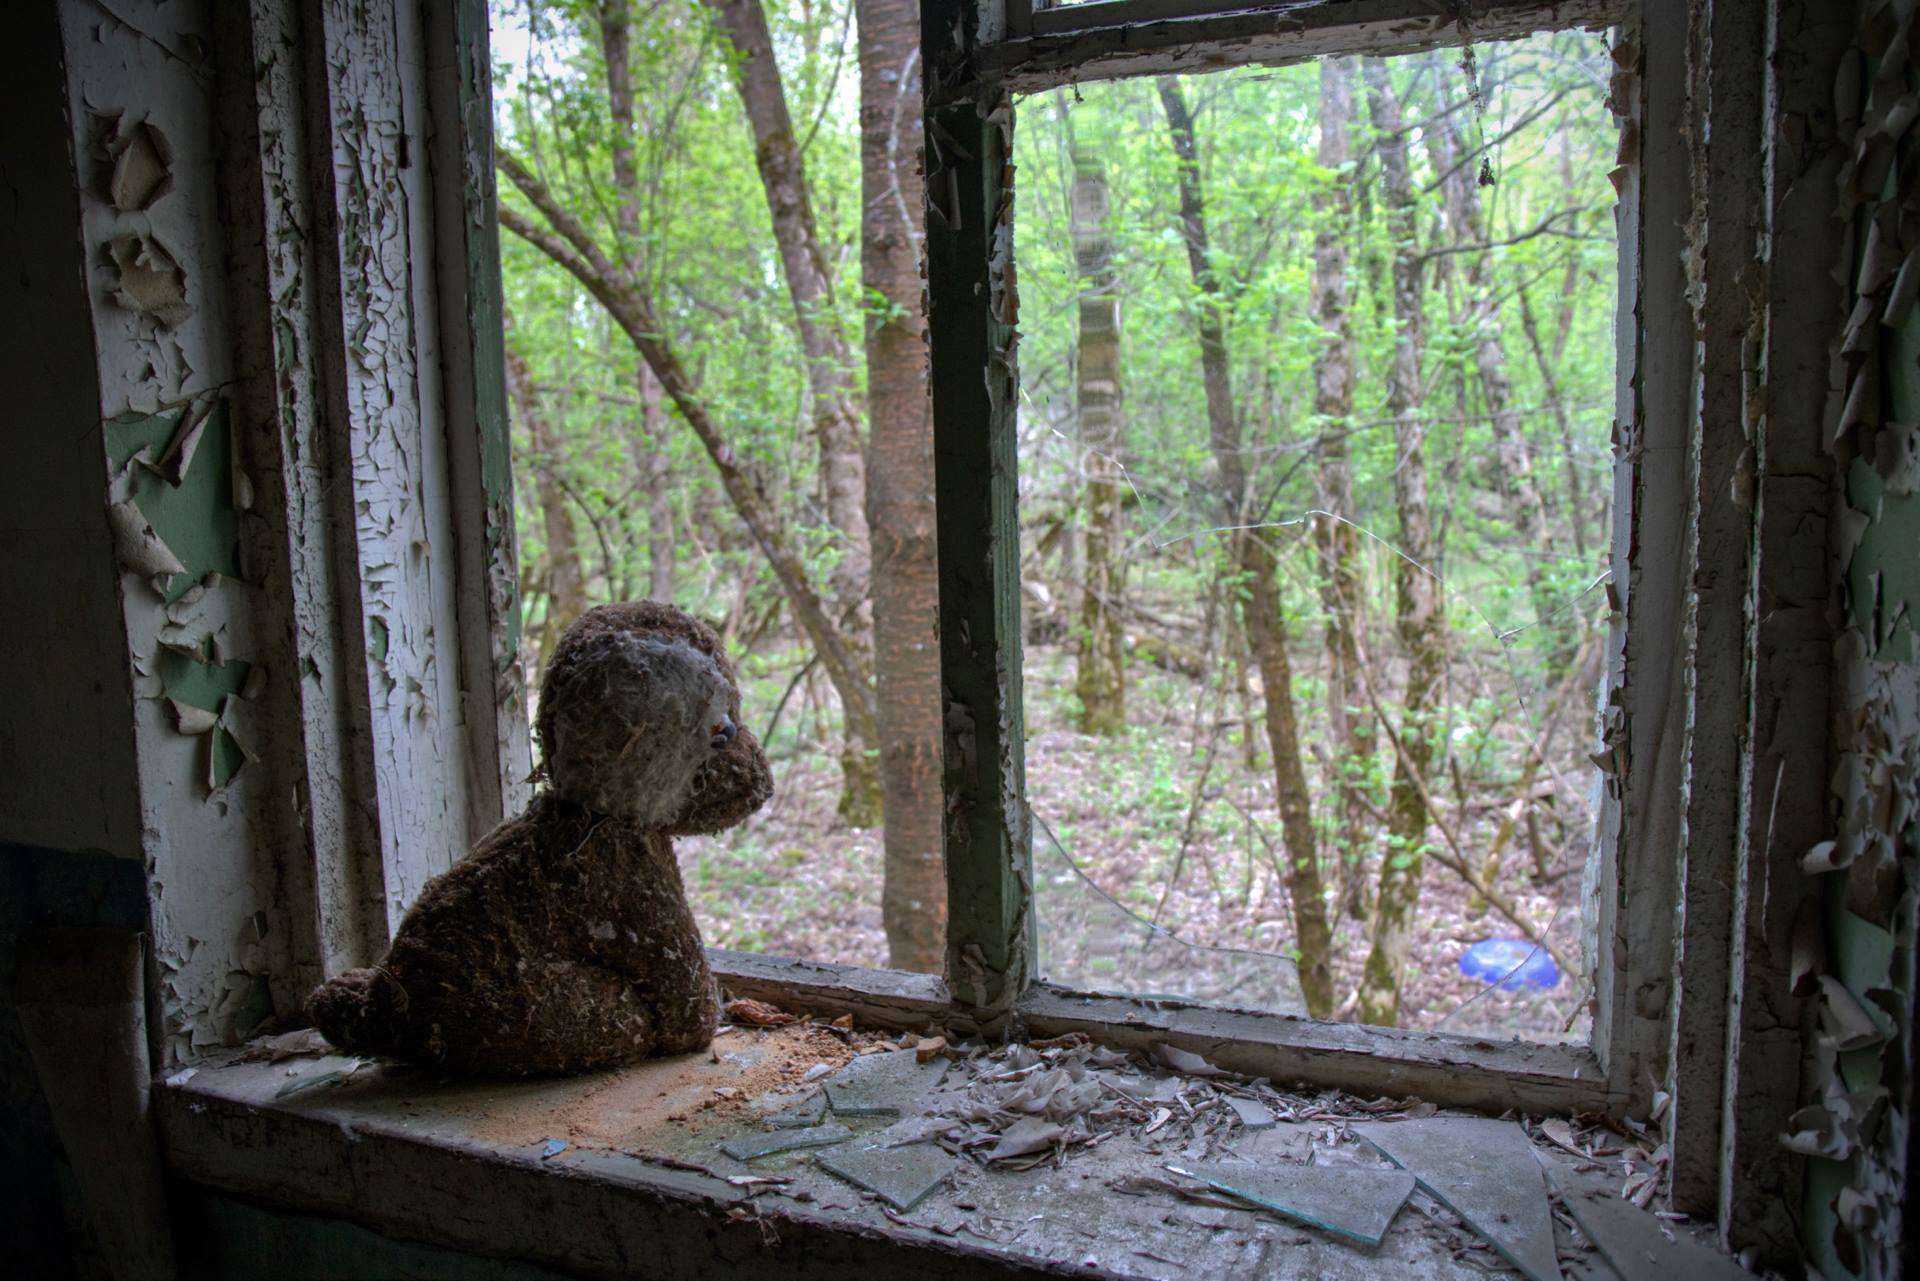
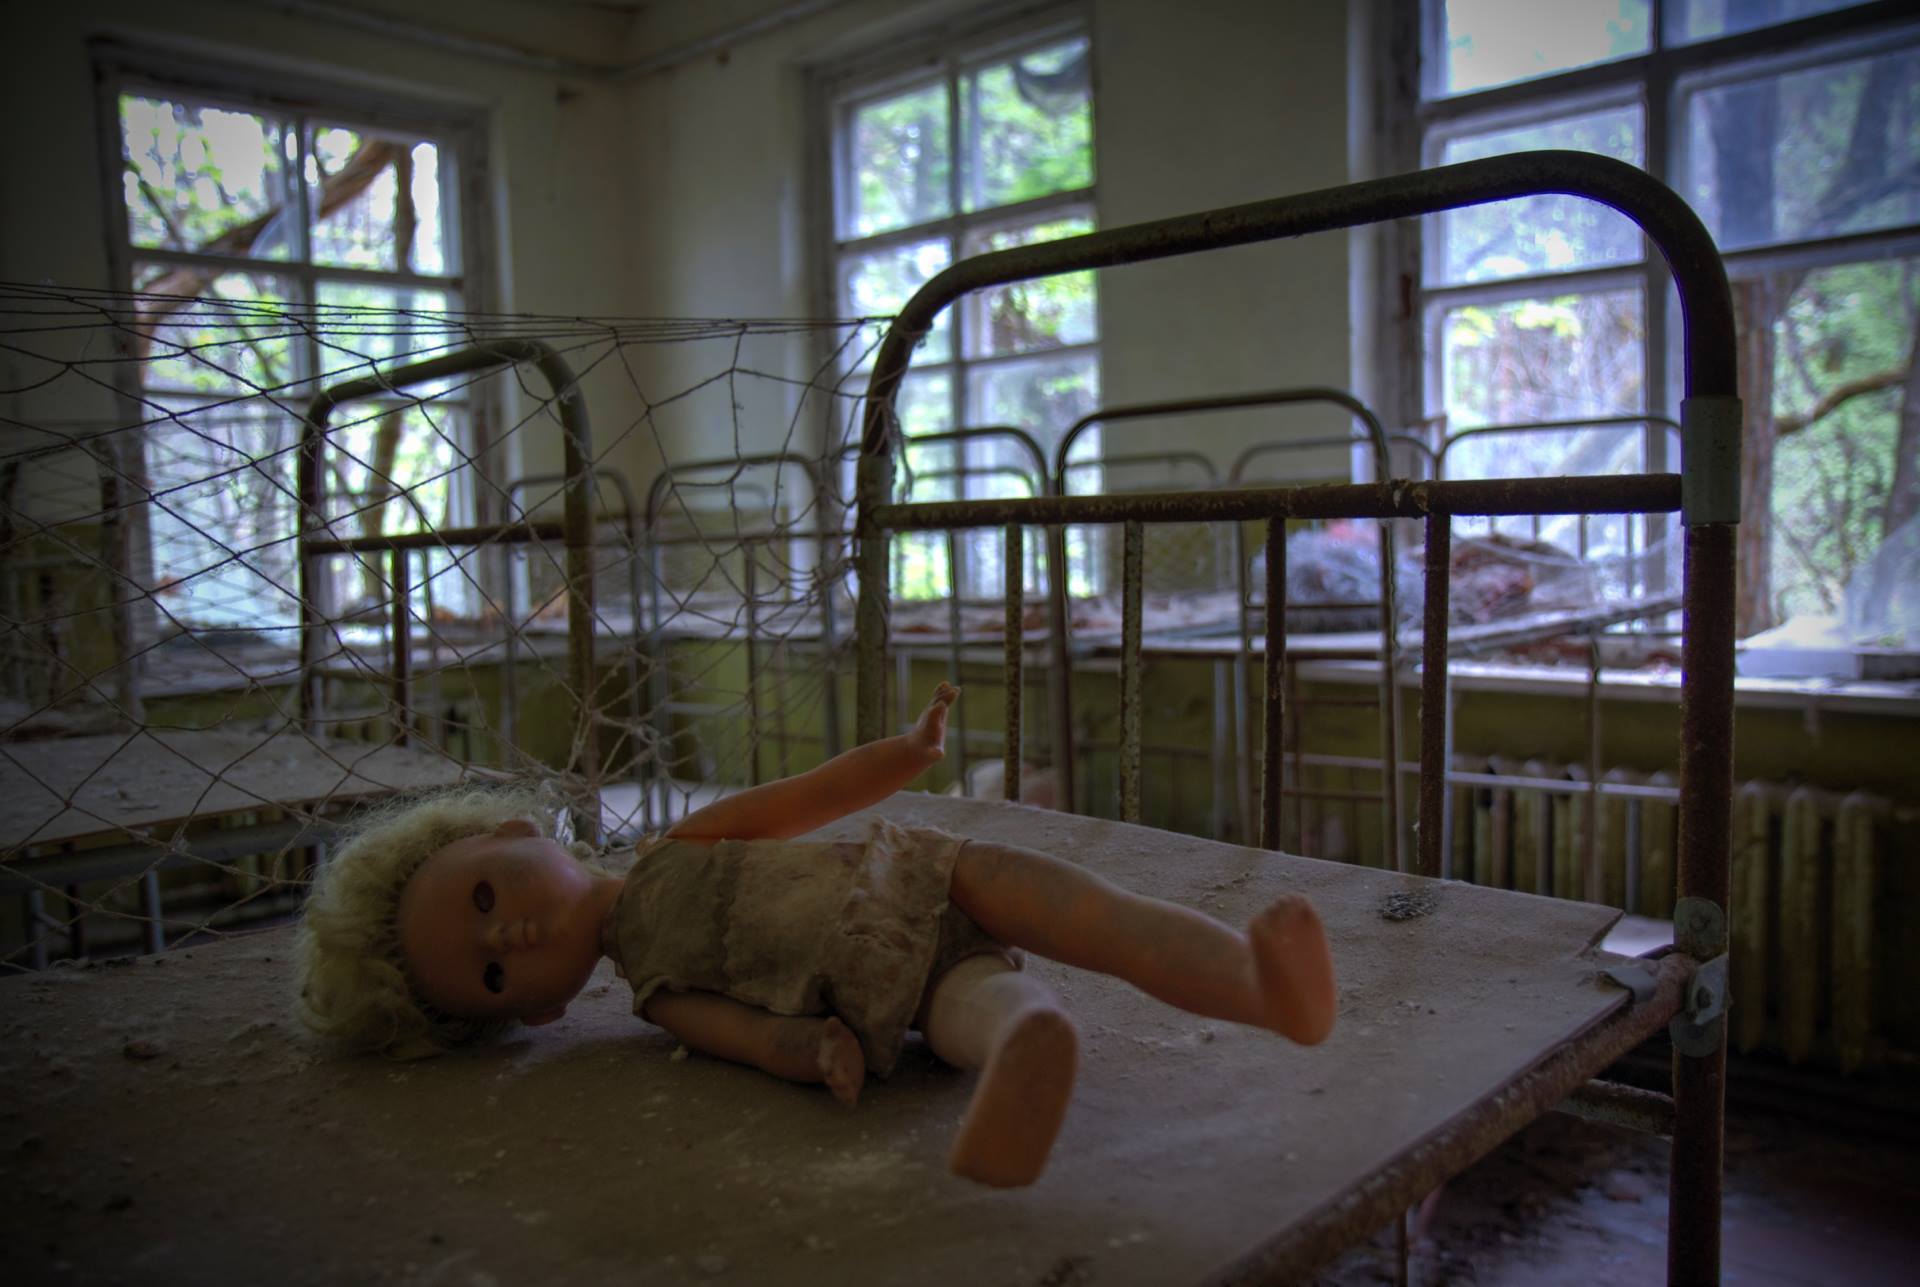
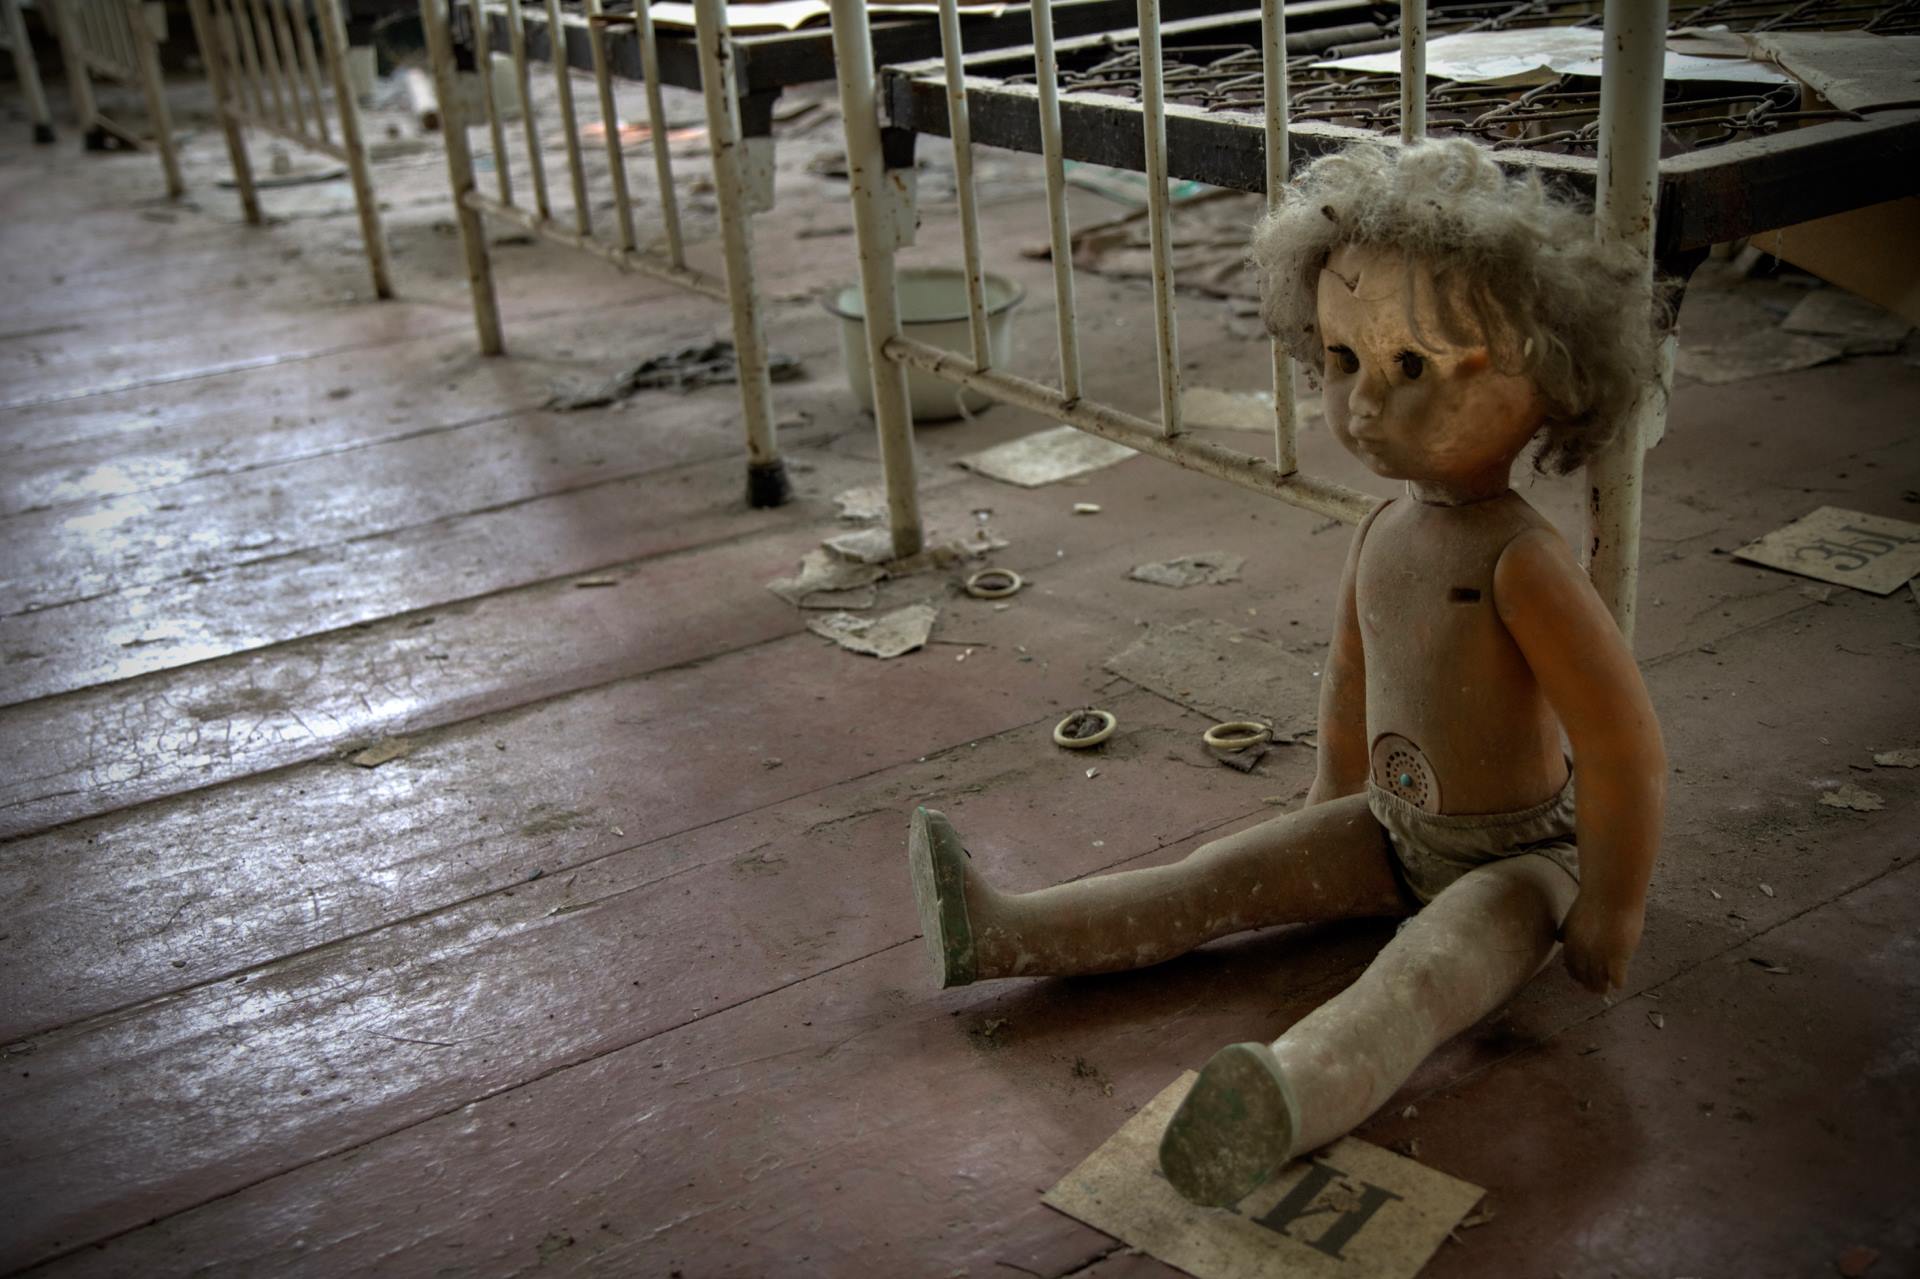
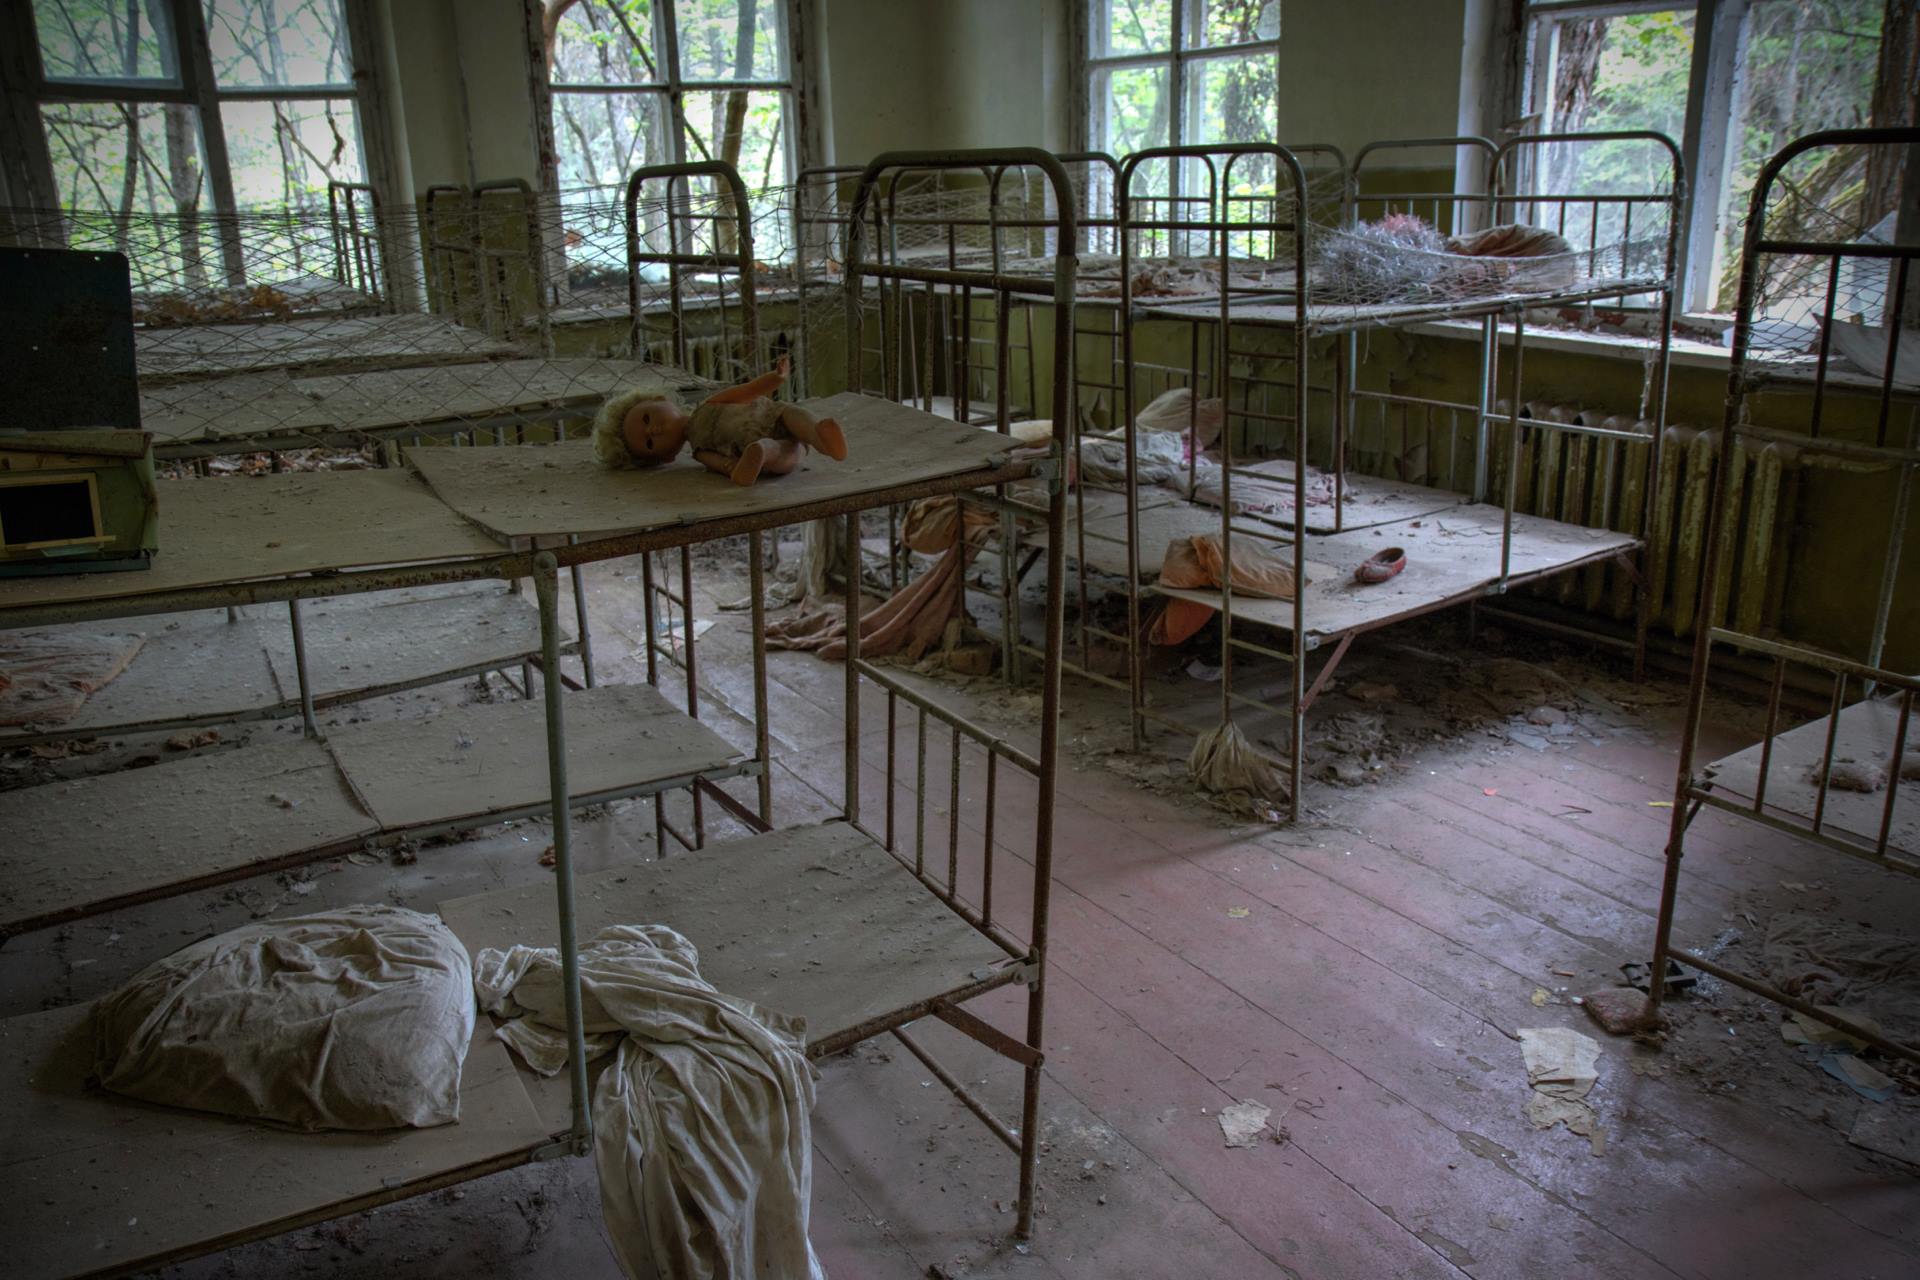
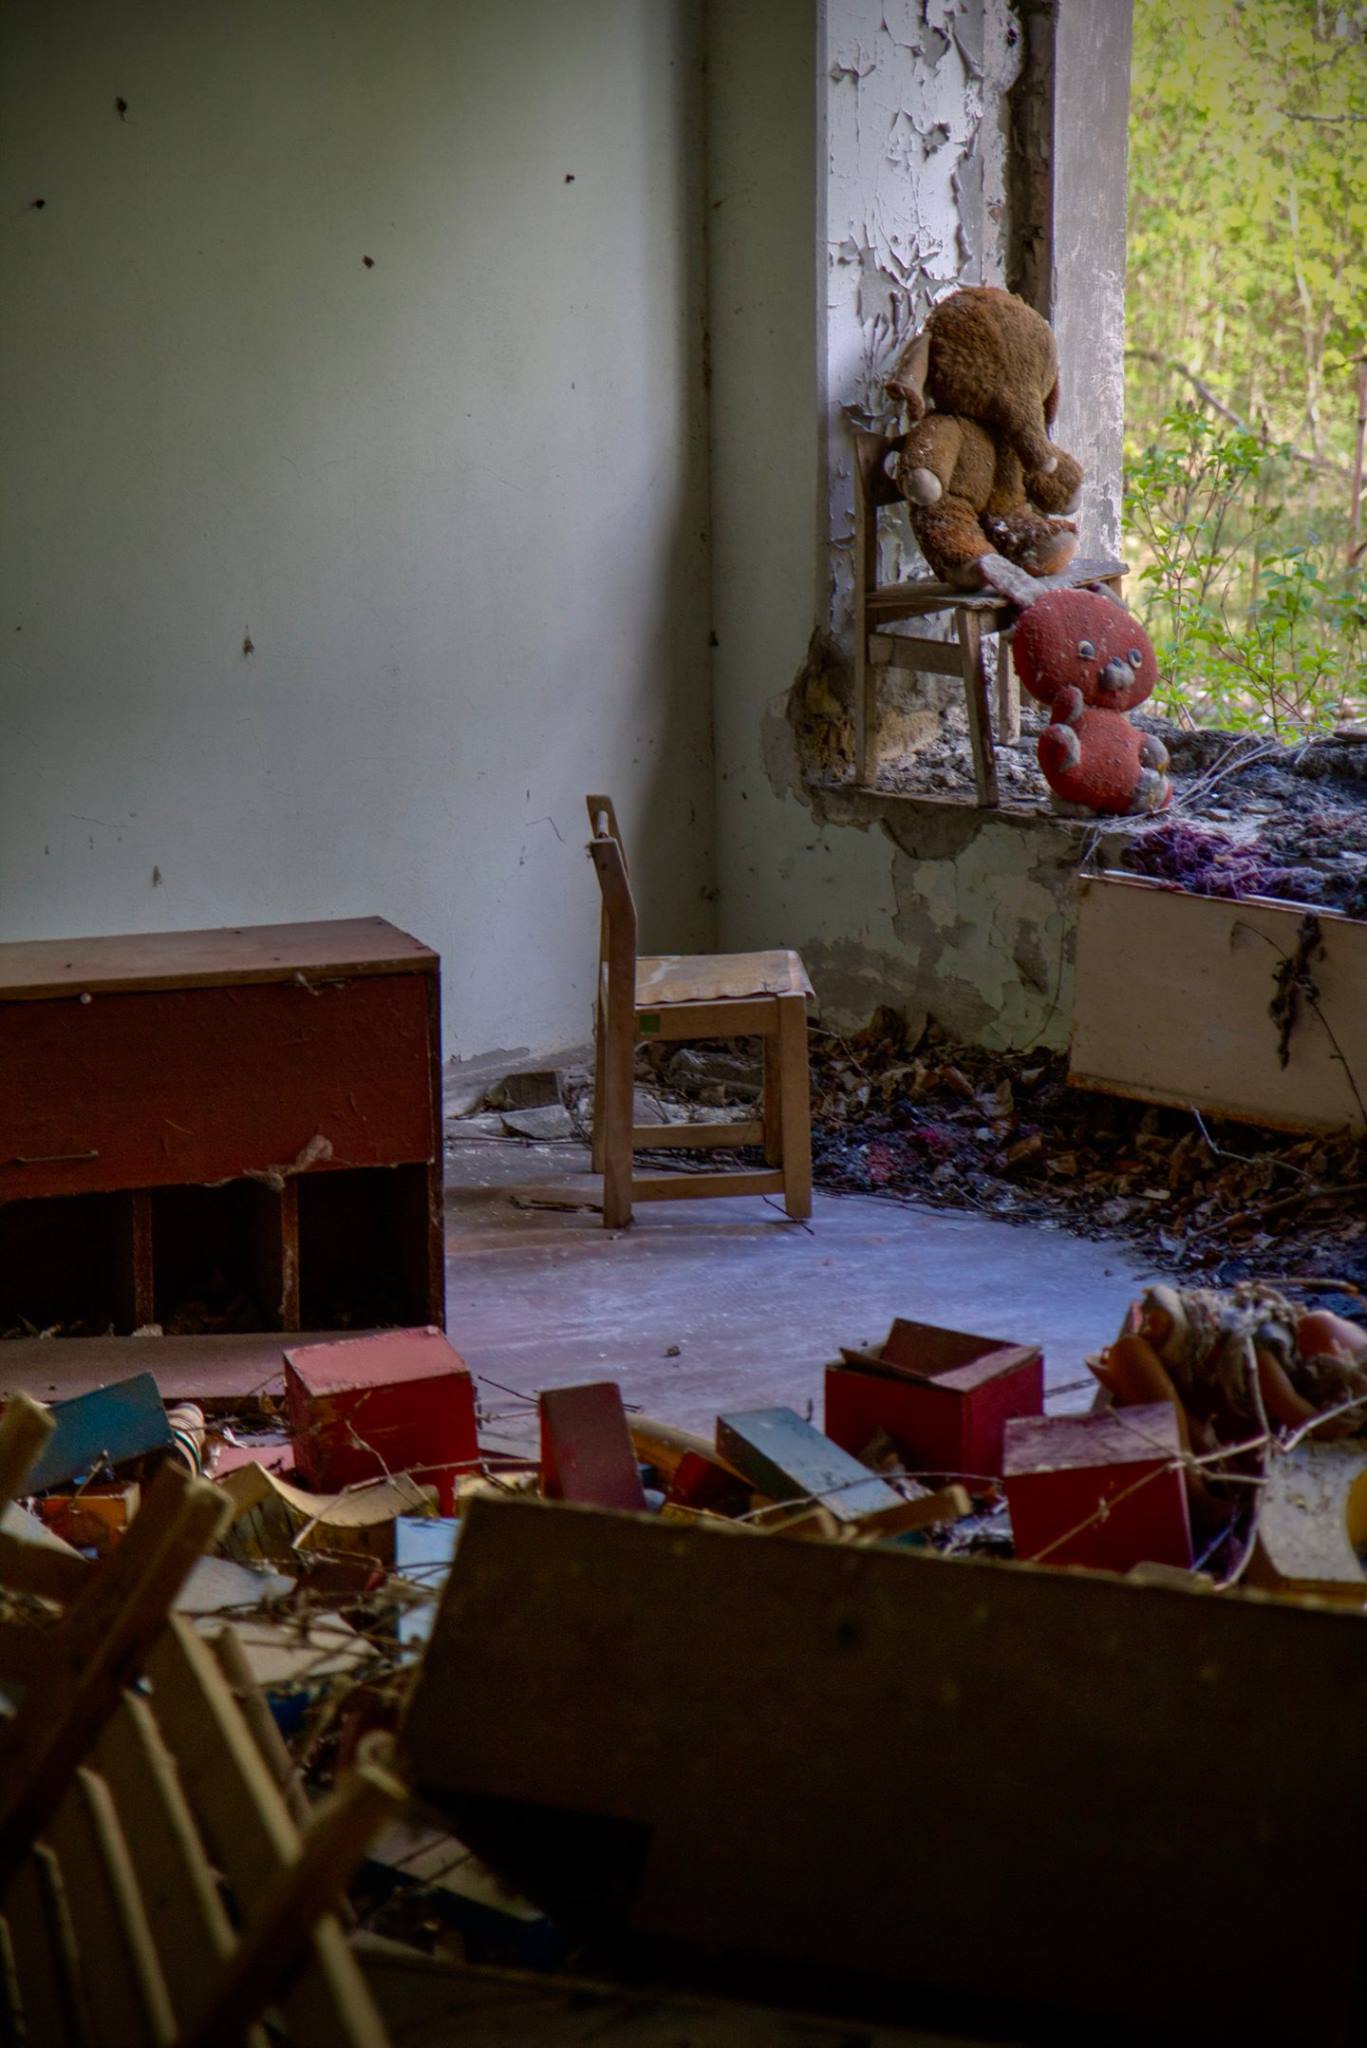
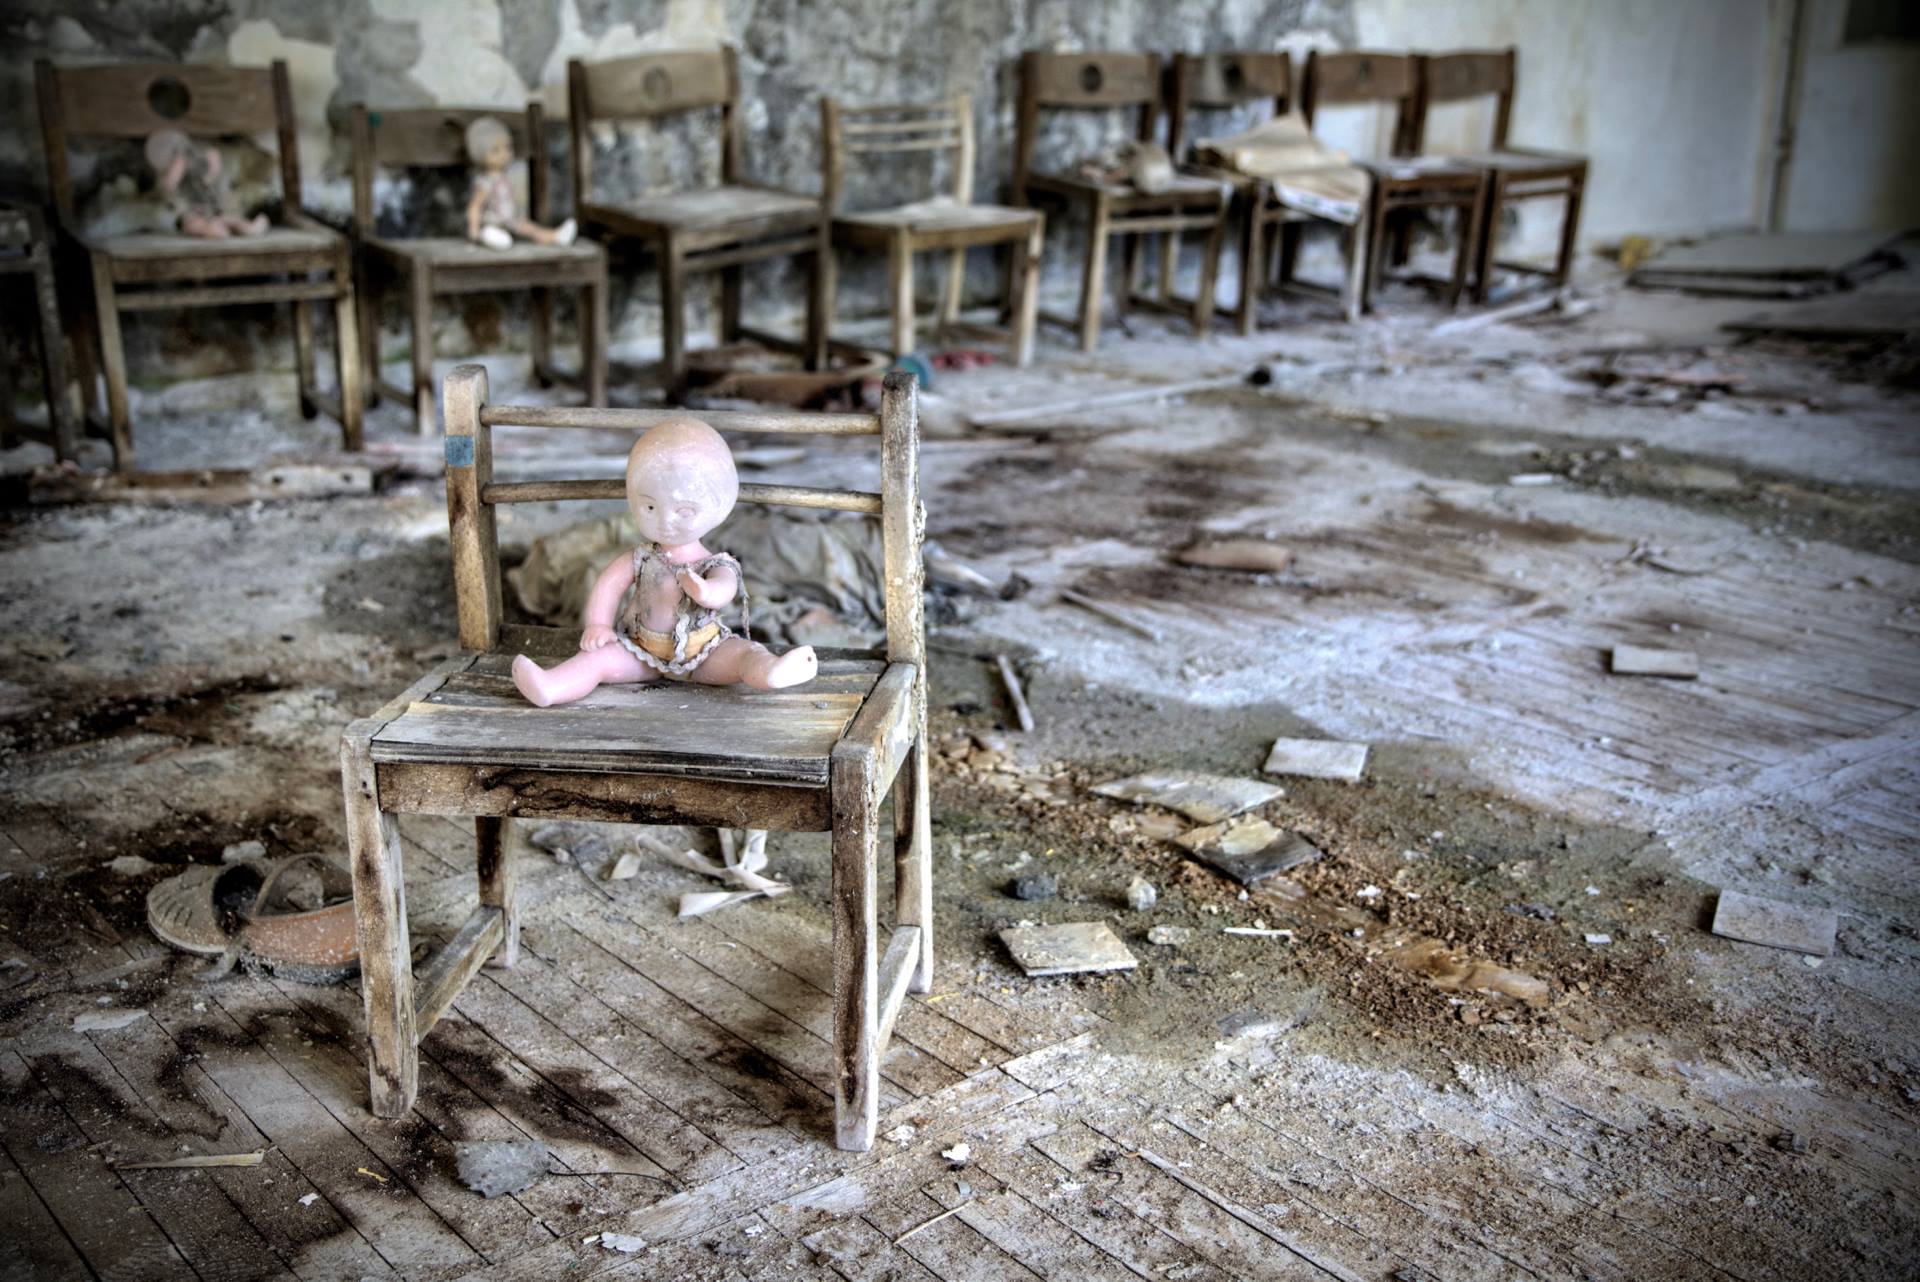
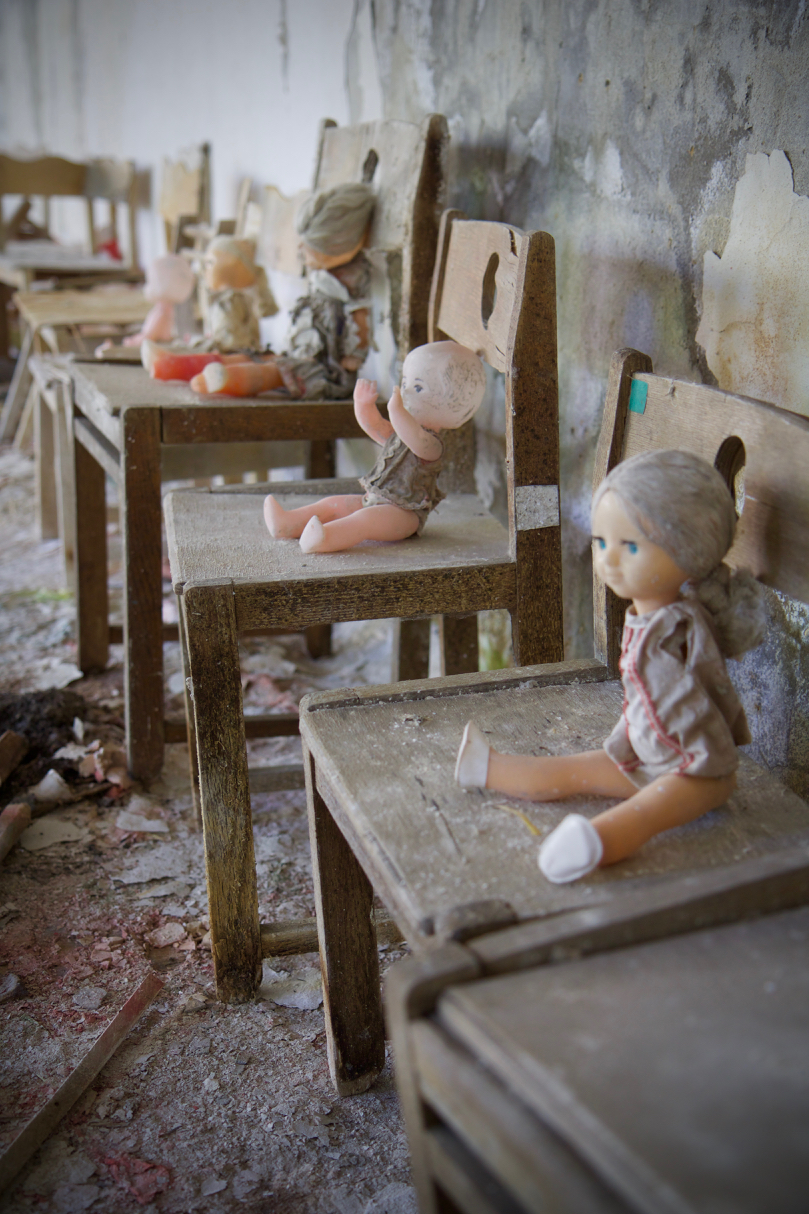
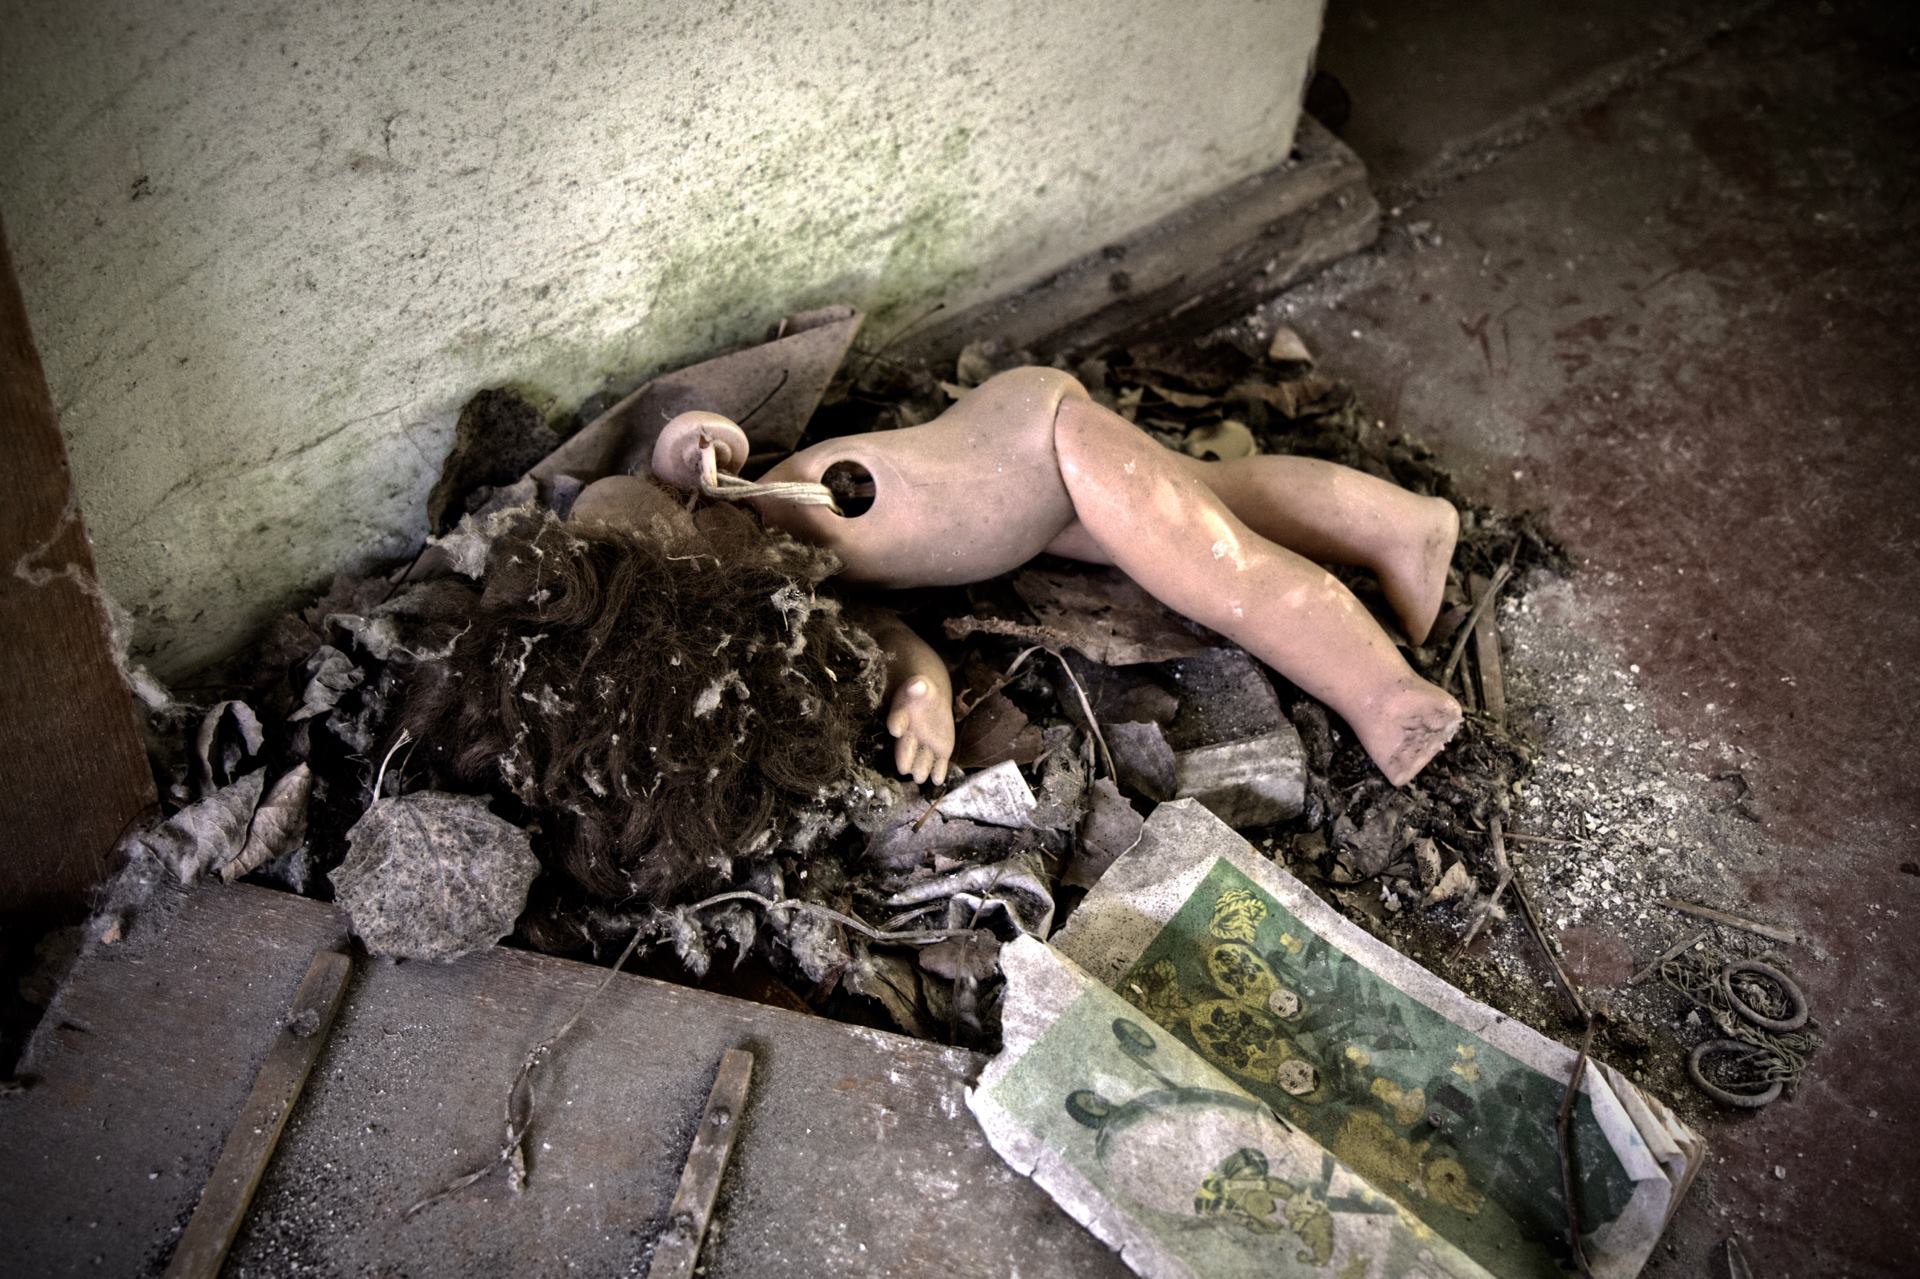
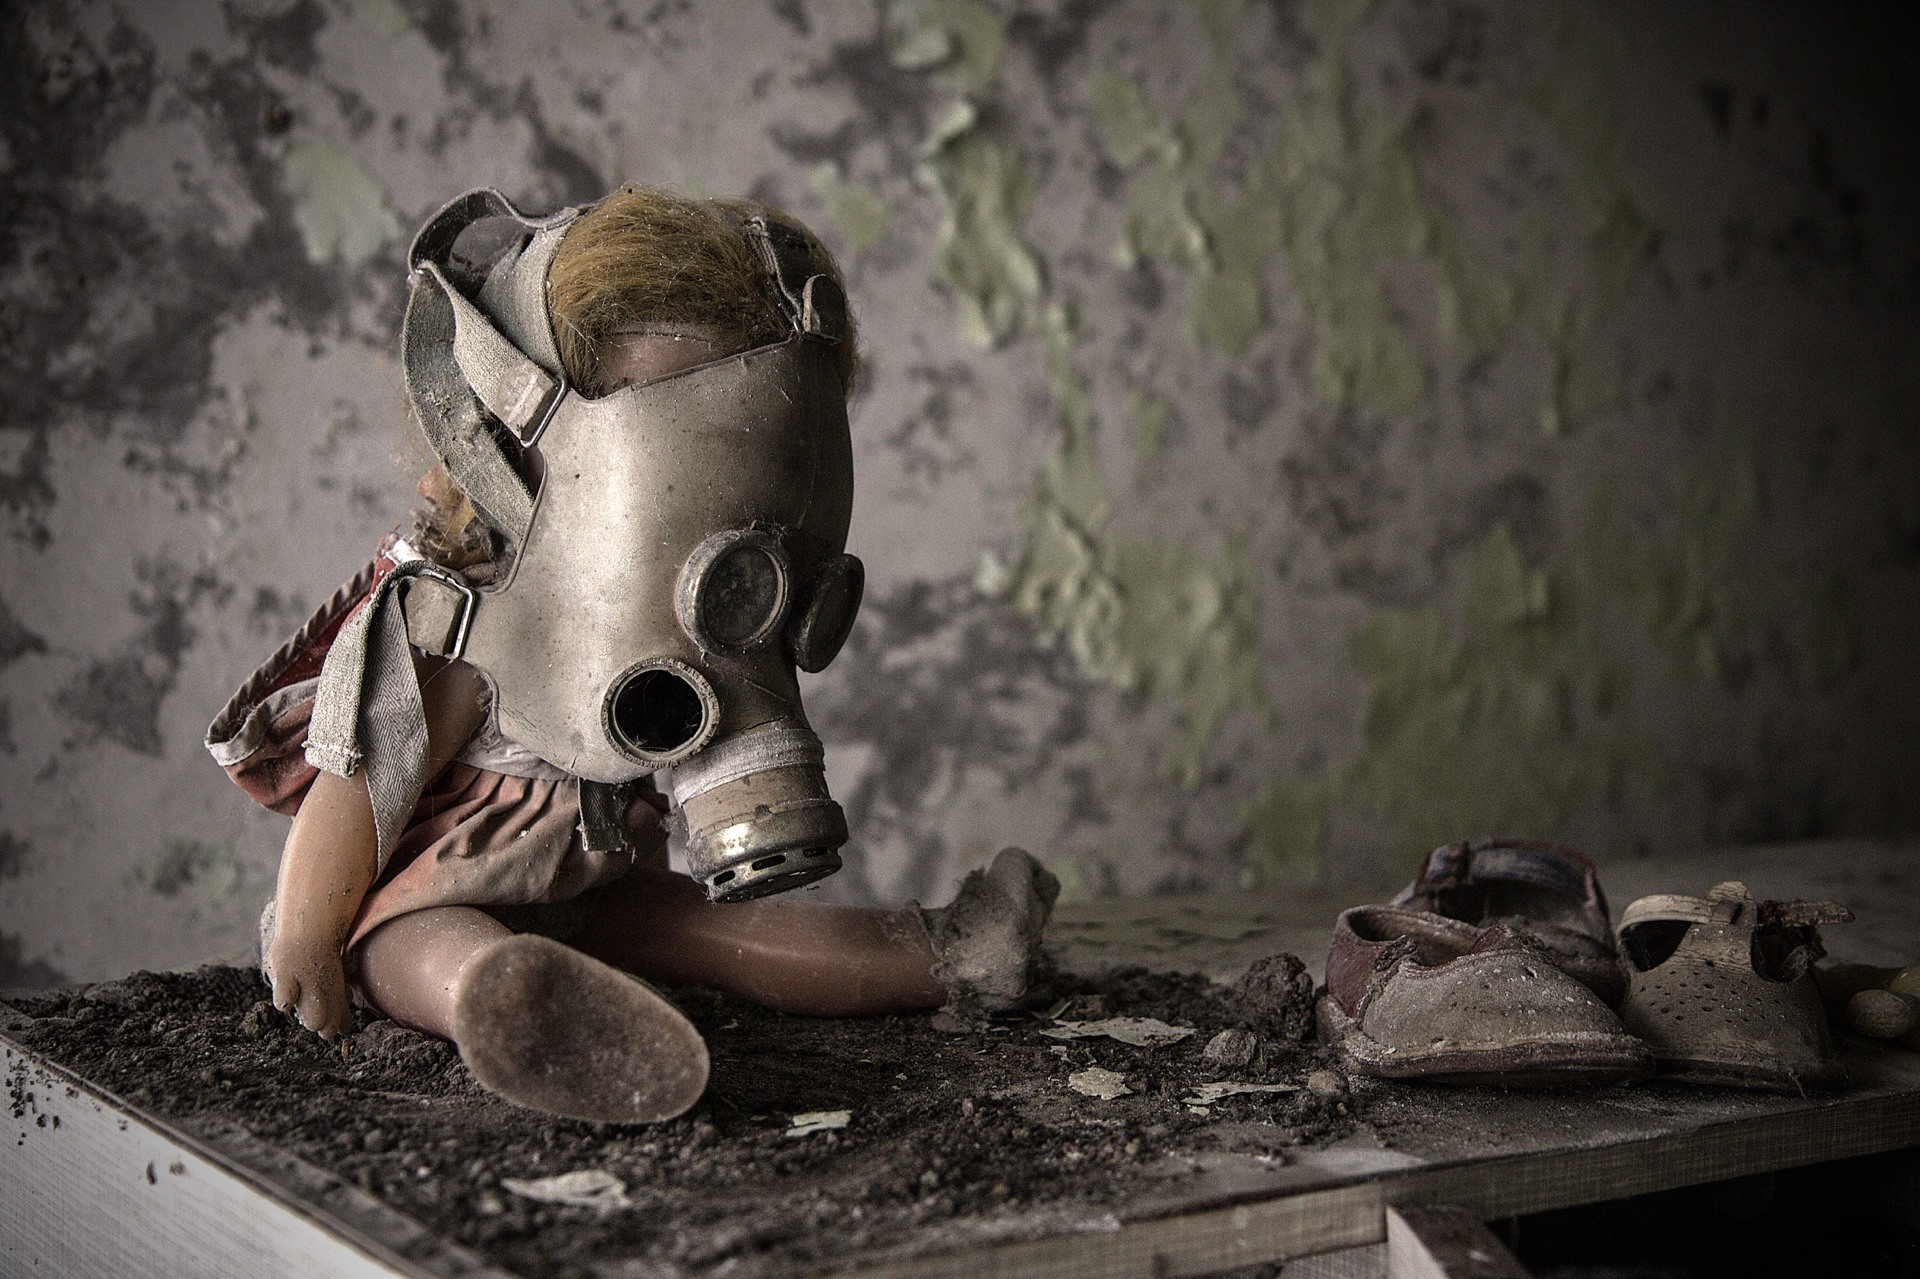
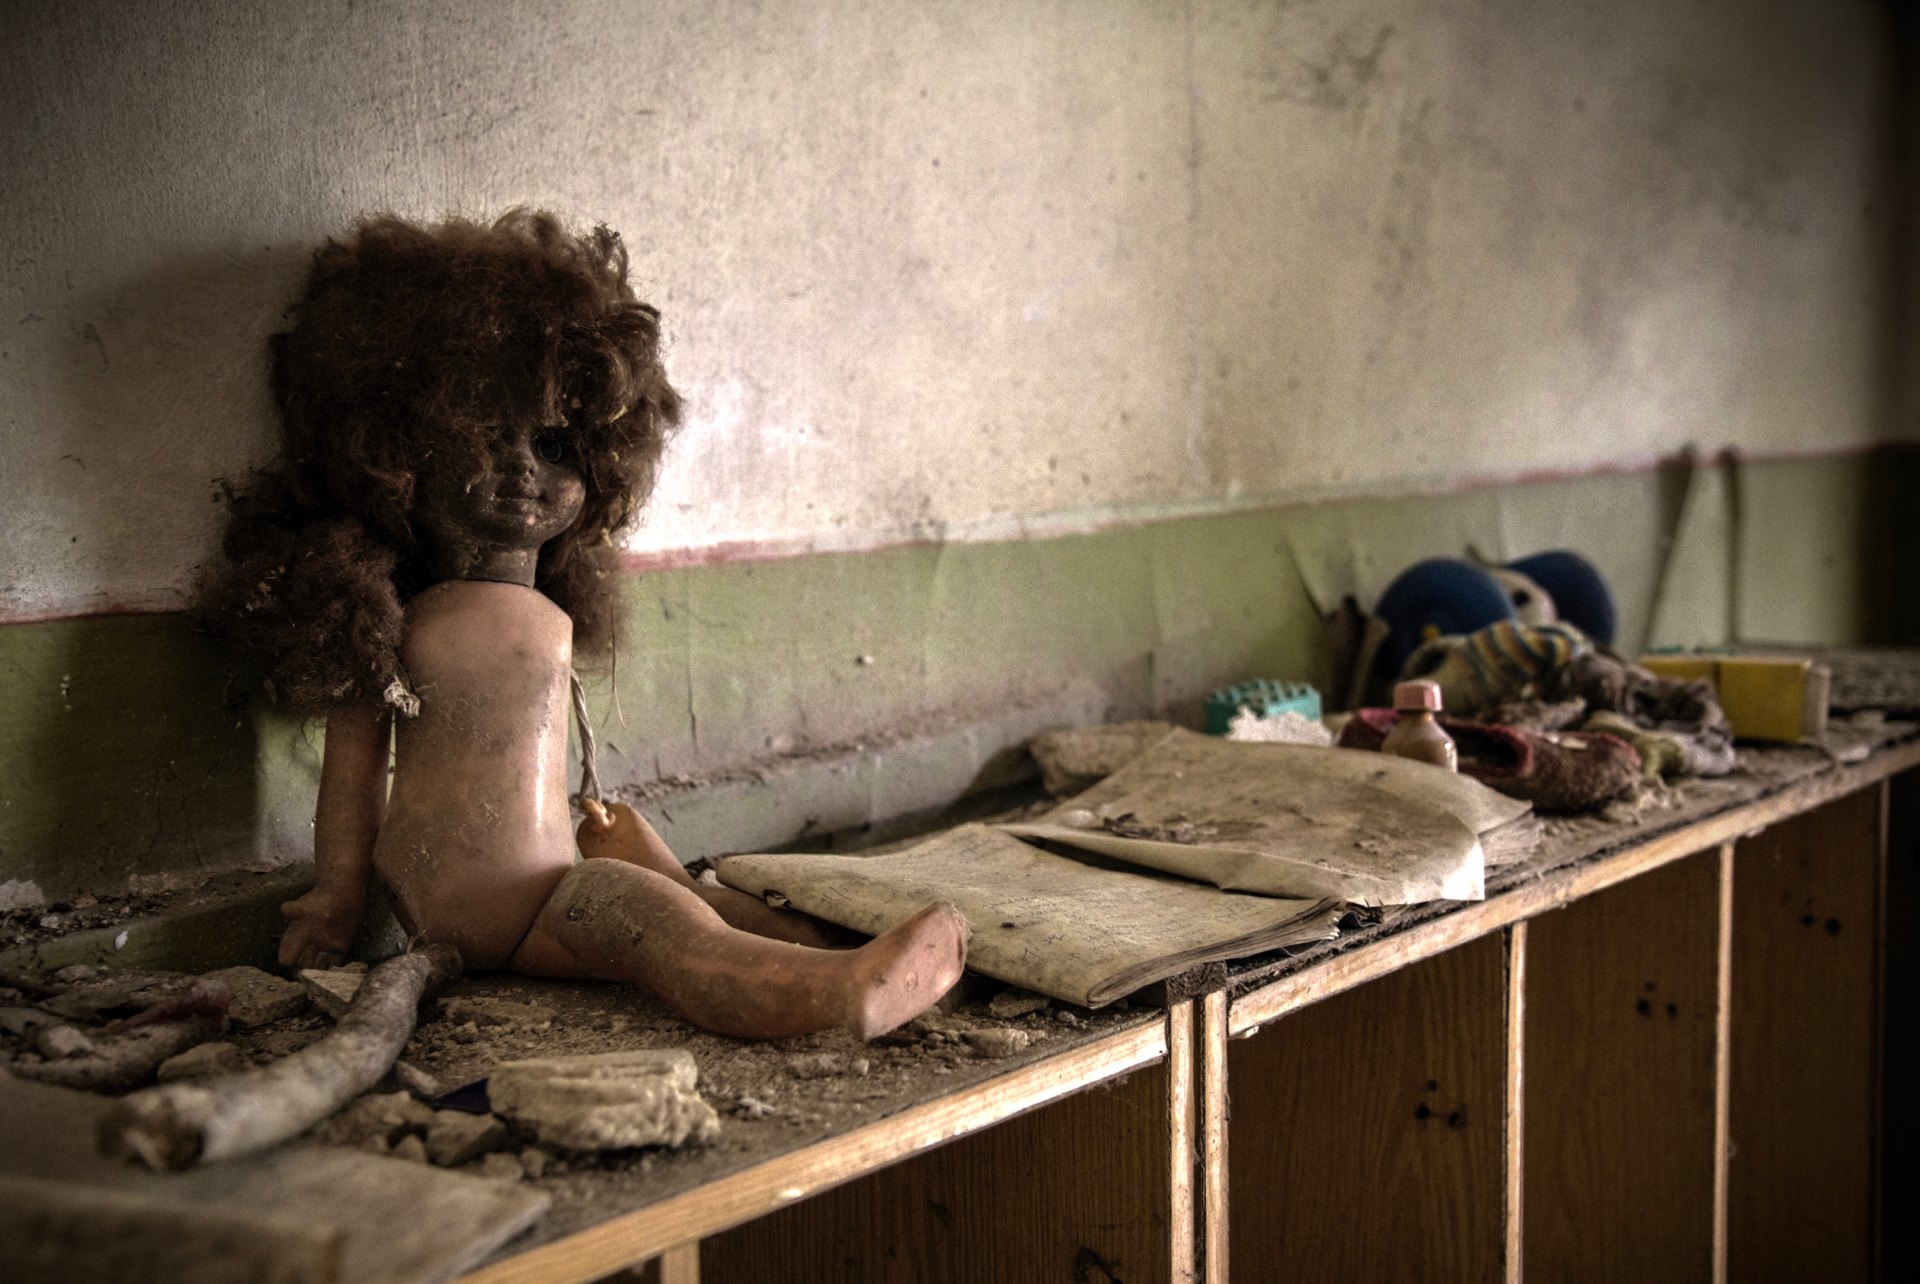
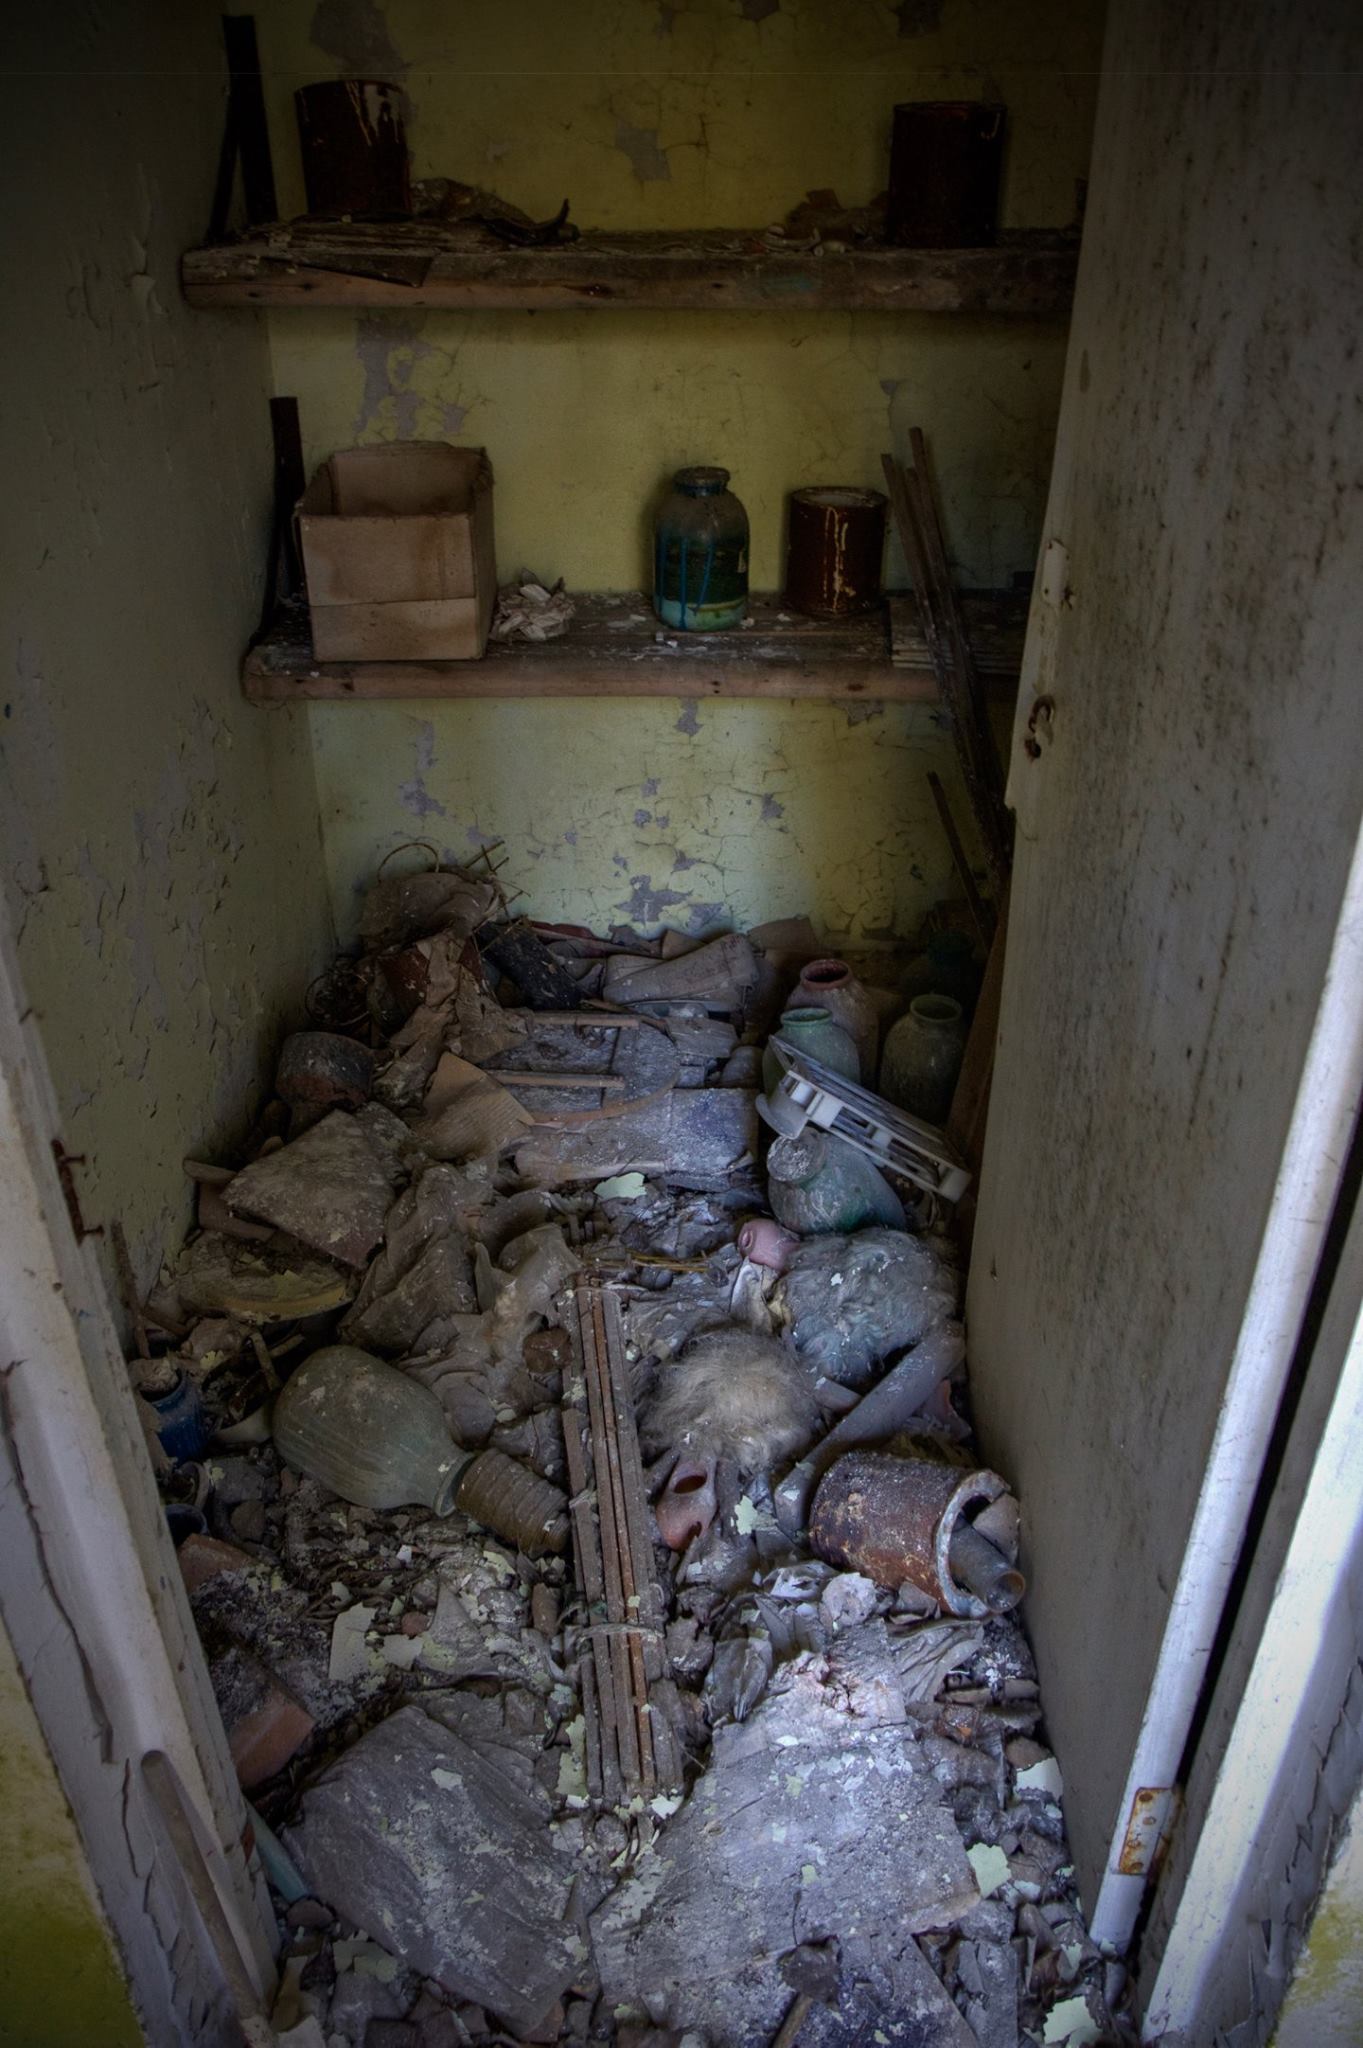
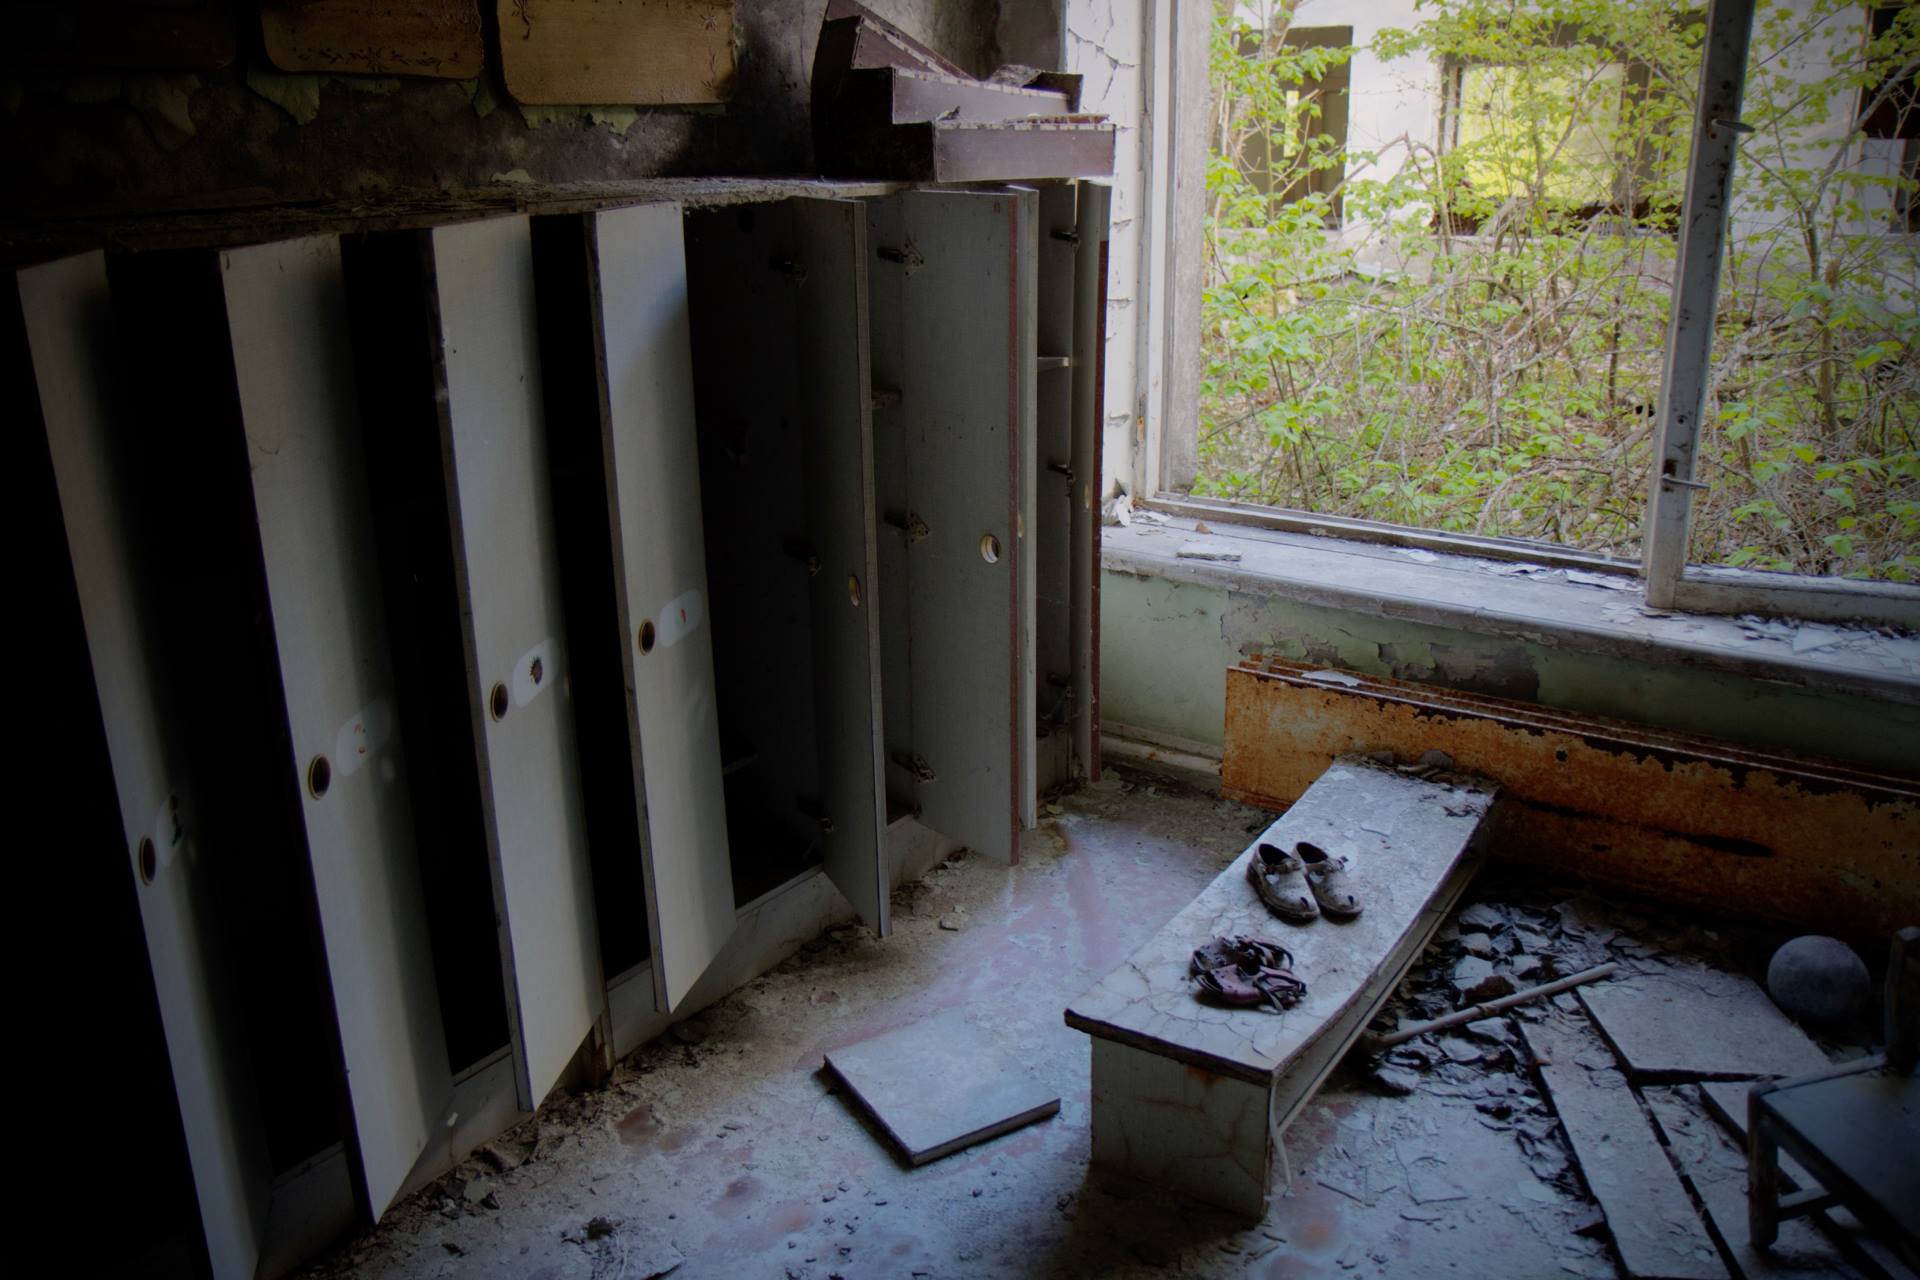
Back on the ground we started to make our return to the main square heading south west via the Cheburashka Kindergarten. Each room had seen a similar fate, cupboards raided and toys strewn around. Some rooms had been set up by previous visitors with dolls arranged on chairs or positioned wearing children’s gas masks.


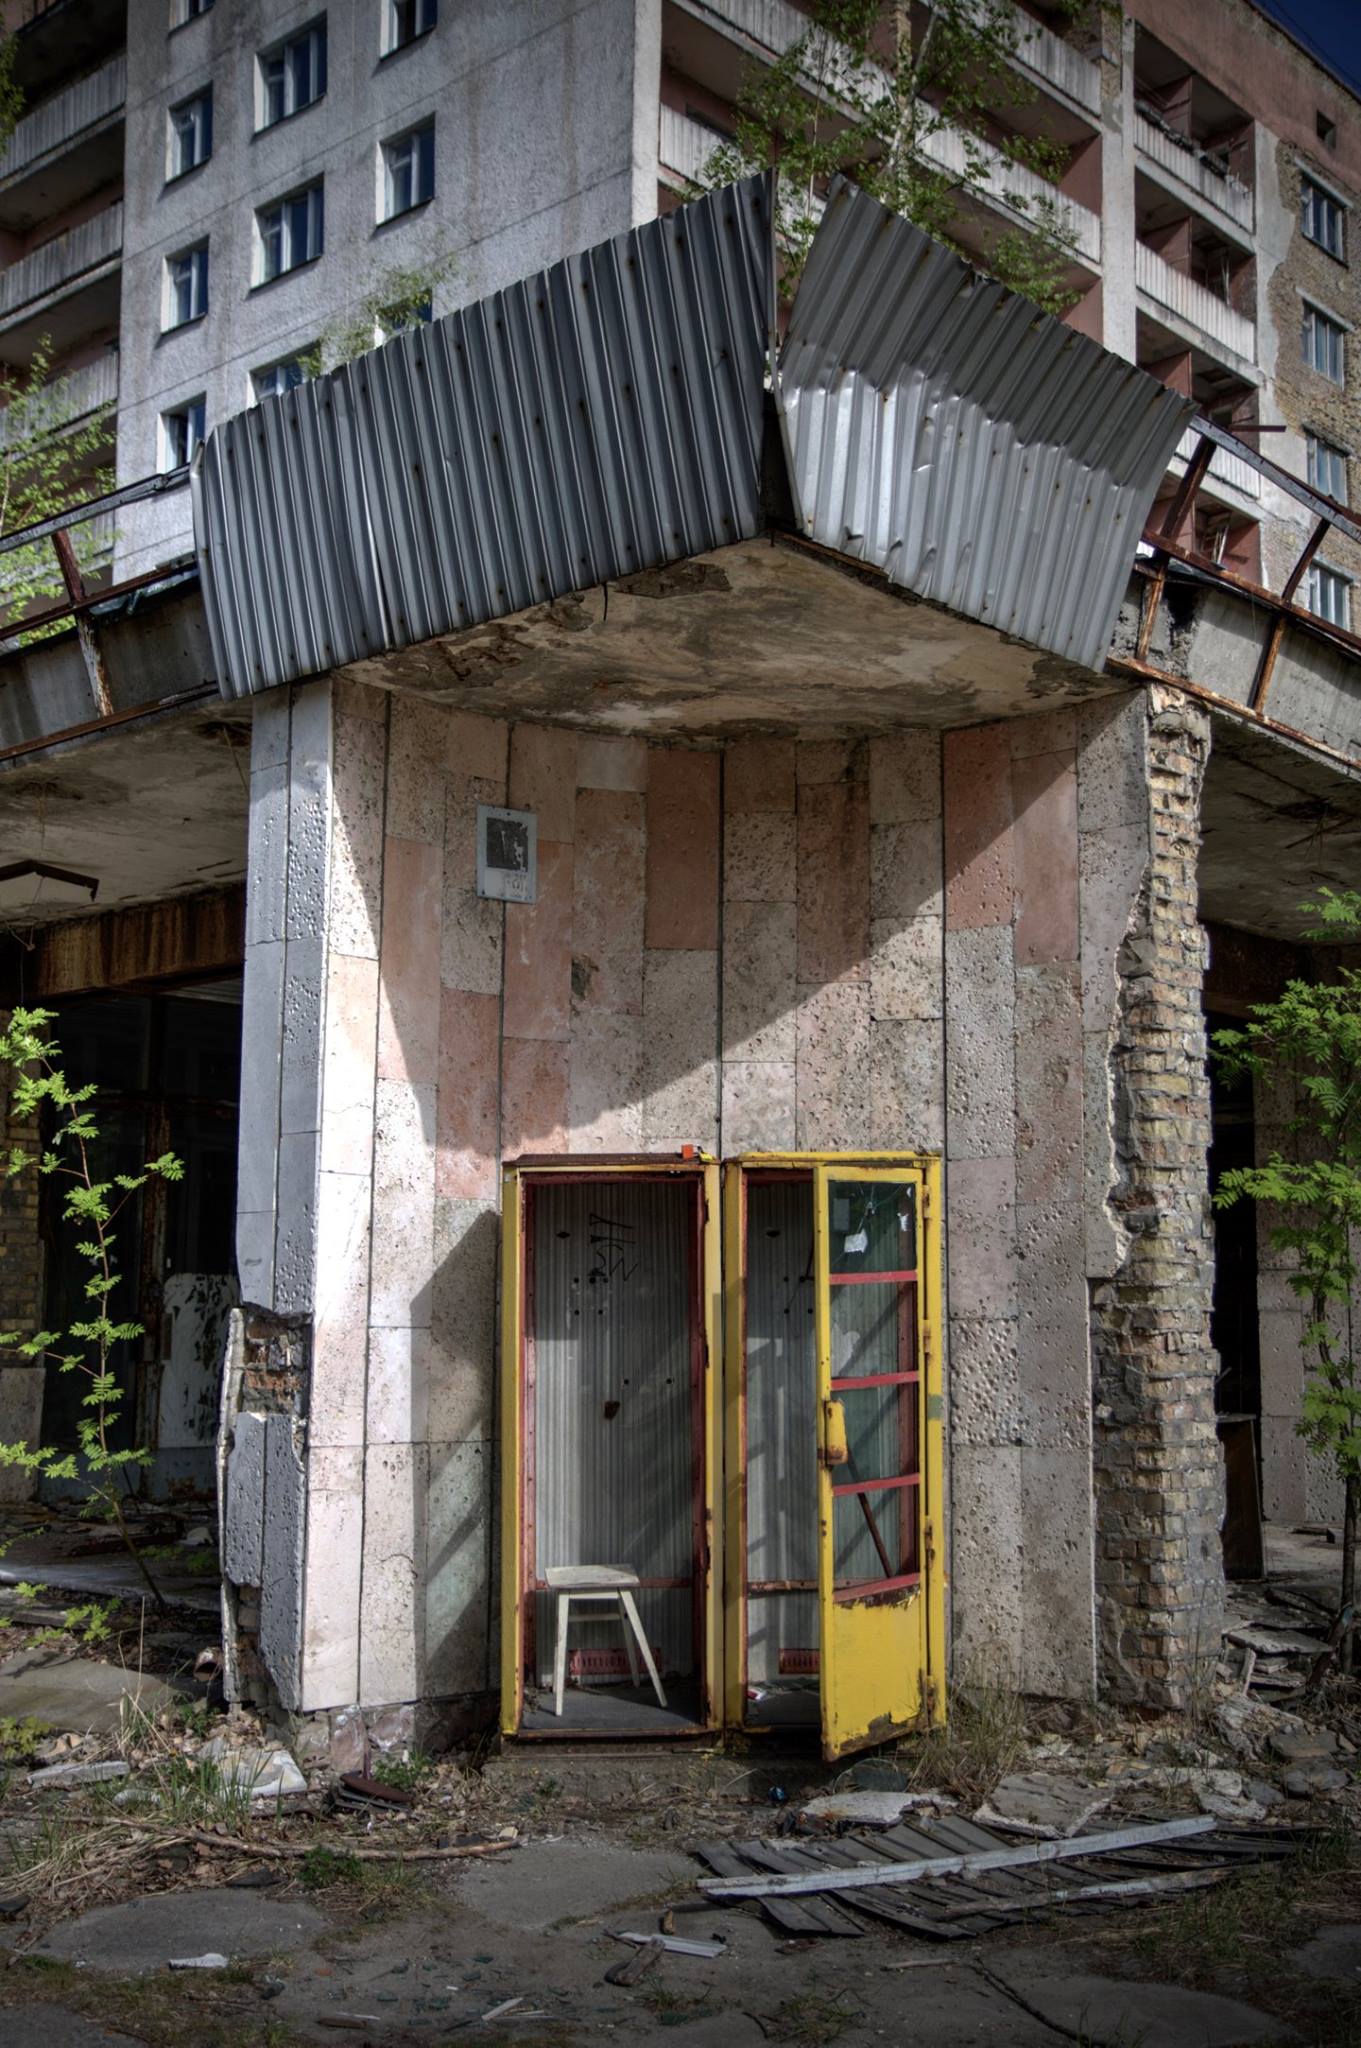
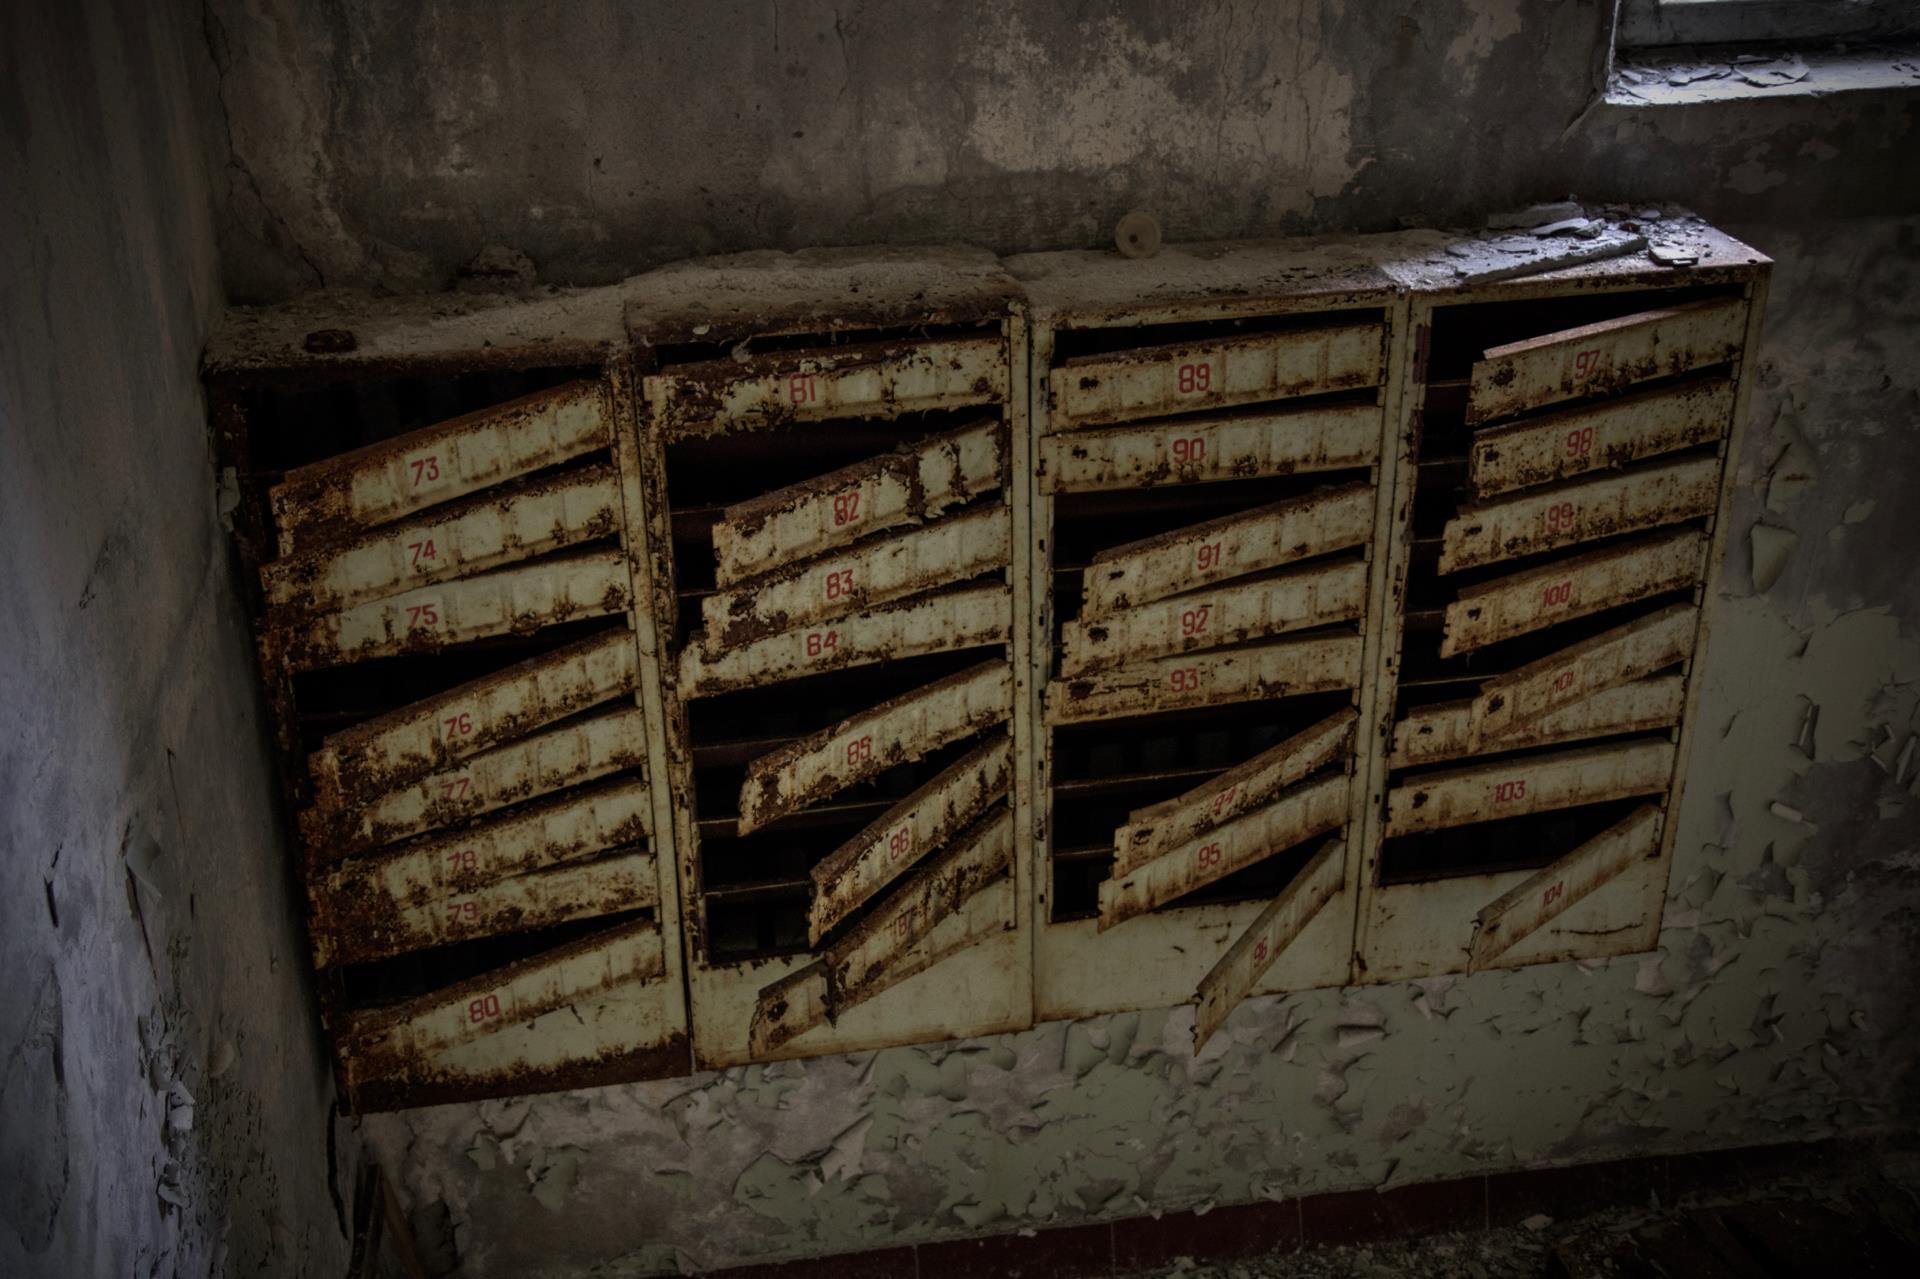
We walked the rest of the way back to the west of the main square passing behind the telephone exchange and the supermarket, the van was waiting for us, we had only spent 2 hours in Pripyat but it was time to leave.
On the journey back we stopped again at the Leliv checkpoint, our van drove through radiation monitoring equipment and we were all checked again in case we had been exposed to too much radiation.
We carried on back past the power plant and on to the final checkpoint, once again we got out of the van to be checked. All clear, back to the hotel.
My total dose of radiation from being within the 30km zone all day was 2.52 μSv.
We kept the dosimeters turned on during the 2 and a half hour flight back from Kiev to Amsterdam, the total dose we received in the air, 6.02 μSv.
In the UK safe exposure limits for the public are set at 1 mSv per year, or 1000 μSv.